Decadent Peppermint Brownies – Easy Festive Treat
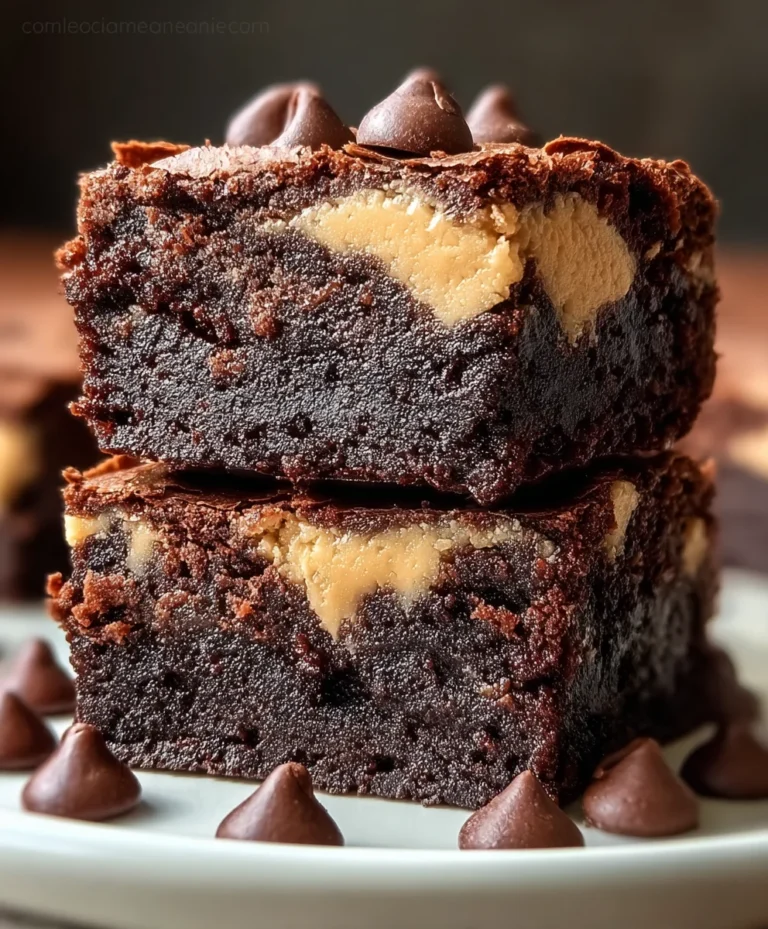
Peppermint Brownies are more than just a delightful treat; they’re a warm hug on a cold day and a burst of festive cheer, no matter the season. There’s something utterly magical about the rich, fudgy depth of a perfectly baked brownie meeting the invigorating, cool kiss of peppermint. It’s a combination that instantly transports us to cozy evenings by the fire or joyful holiday gatherings. What makes these peppermint brownies so universally loved? It’s the exquisite balance of intense chocolate flavor, achieved through a high-quality cocoa and perfectly melted chocolate, contrasted with the crisp, refreshing notes of peppermint extract. This isn’t just any chocolate brownie; it’s an experience. The texture is key – a crackly, slightly crisp top yielding to a dense, chewy interior that melts in your mouth. And the peppermint? It cuts through the sweetness, making each bite intensely satisfying and surprisingly light. Get ready to discover why this recipe for peppermint brownies is destined to become a new favorite in your baking repertoire.
Ingredients:
- ½ cup unsalted butter, plus 2 tablespoons more for the frosting
- ¾ cup granulated sugar
- 2 large eggs
- 1 teaspoon vanilla extract
- ⅓ cup unsweetened cocoa powder
- ½ cup all-purpose flour
- ¼ teaspoon salt
- 1 cup powdered sugar
- 1 to 2 tablespoons milk
- ½ teaspoon peppermint extract
- 2 to 3 drops red food coloring (optional, for a festive touch)
- ¼ cup crushed candy canes, for topping
Making the Rich Chocolate Brownie Base
Let’s start with the heart of our Peppermint Brownies: the fudgy, intensely chocolatey base. This is where the magic begin extracts, and it’s surprisingly simple to achieve that perfect chewy texture.
-
Preheat and Prepare Your Pan:
First things first, get your oven preheated to 350°F (175°C). This ensures even baking from the moment the brownies go in. Next, take an 8×8 inch baking pan and grease it well. You can use butter or cooking spray. For extra assurance against sticking and for easy removal, line the pan with parchment paper, leaving an overhang on two opposite sides. This overhang acts as handles, allowing you to lift the entire brownie slab out of the pan once it’s cooled, making cutting a breeze.
-
Melt the Butter and Sugar:
In a medium saucepan, combine the ½ cup of unsalted butter and the ¾ cup of granulated sugar. Place this over medium-low heat and stir gently until the butter is completely melted and the sugar has dissolved. You’re not trying to cook this mixture, just melt the butter and incorporate the sugar smoothly. Once combined and smooth, remove the saucepan from the heat. It’s important to let this mixture cool slightly before adding the eggs, otherwise, you risk scrambling them.
-
Incorporate Wet Ingredients and Cocoa:
Once the butter and sugar mixture has cooled down a bit (you should be able to touch the pan without it being too hot), whisk in the 2 large eggs, one at a time, ensuring each is fully incorporated before adding the next. Next, stir in the 1 teaspoon of vanilla extract. Now, it’s time for the deep chocolate flavor. Sift the ⅓ cup of unsweetened cocoa powder directly into the wet ingredients. Sifting is a crucial step here as it breaks up any lumps in the cocoa powder, ensuring a smooth batter and preventing little pockets of dry cocoa in your finished brownies. Stir until everything is well combined and the batter is a rich, uniform chocolate color.
-
Add Dry Ingredients and Mix Gently:
In a separate small bowl, whisk together the ½ cup of all-purpose flour and the ¼ teaspoon of salt. This ensures the salt and flour are evenly distributed. Now, gently fold the dry ingredients into the wet chocolate mixture. Be careful not to overmix at this stage. Mix just until you no longer see streaks of flour. Overmixing can develop the gluten in the flour, leading to tougher brownies, and we want that delightful chegrape juicess. The batter will be thick.
-
Bake the Brownies:
Pour the thick brownie batter into your prepared baking pan. Use a spatula to spread it evenly into the corners. Place the pan in the preheated oven and bake for approximately 25 to 30 minutes. The baking time can vary depending on your oven, so it’s important to watch for doneness. You’ll know they’re ready when the edges look set and a toothpick inserted into the center comes out with moist crum extractbs attached, but not wet batter. Avoid overbaking, as this will dry out your brownies. Once baked, remove the pan from the oven and let the brownies cool completely in the pan on a wire rack. This cooling process is essential for achieving that perfect fudgy texture and for the frosting to set properly.
Crafting the Peppermint Frosting
Now for the delightful peppermint swirl that gives these brownies their festive charm. This frosting is light, airy, and packed with minty goodness.
-
Whip Up the Frosting Base:
While the brownies are cooling, let’s make the frosting. In a medium bowl, combine the 2 tablespoons of softened unsalted butter and the 1 cup of powdered sugar. Start by mixing them on low speed with an electric mixer (or vigorously by hand with a whisk). Gradually add the milk, 1 tablespoon at a time, beating until the frosting is smooth and spreadable. You might need slightly more or less milk depending on the consistency you prefer; aim for a texture that’s easy to spread but not runny.
-
Infuse with Peppermint and Color:
Once you have a smooth frosting base, add the ½ teaspoon of peppermint extract. The intensity of peppermint extract can vary, so start with ½ teaspoon and taste. You can always add a tiny bit more if you desire a stronger mint flavor, but be cautious as it can become overpowering. If you’re going for that classic candy cane look, add 2 to 3 drops of red food coloring to the frosting and gently swirl it in with a toothpick or a small spatula. You don’t want to fully incorporate the color; a marbled effect is what we’re after, creating beautiful red streaks throughout the white frosting.
-
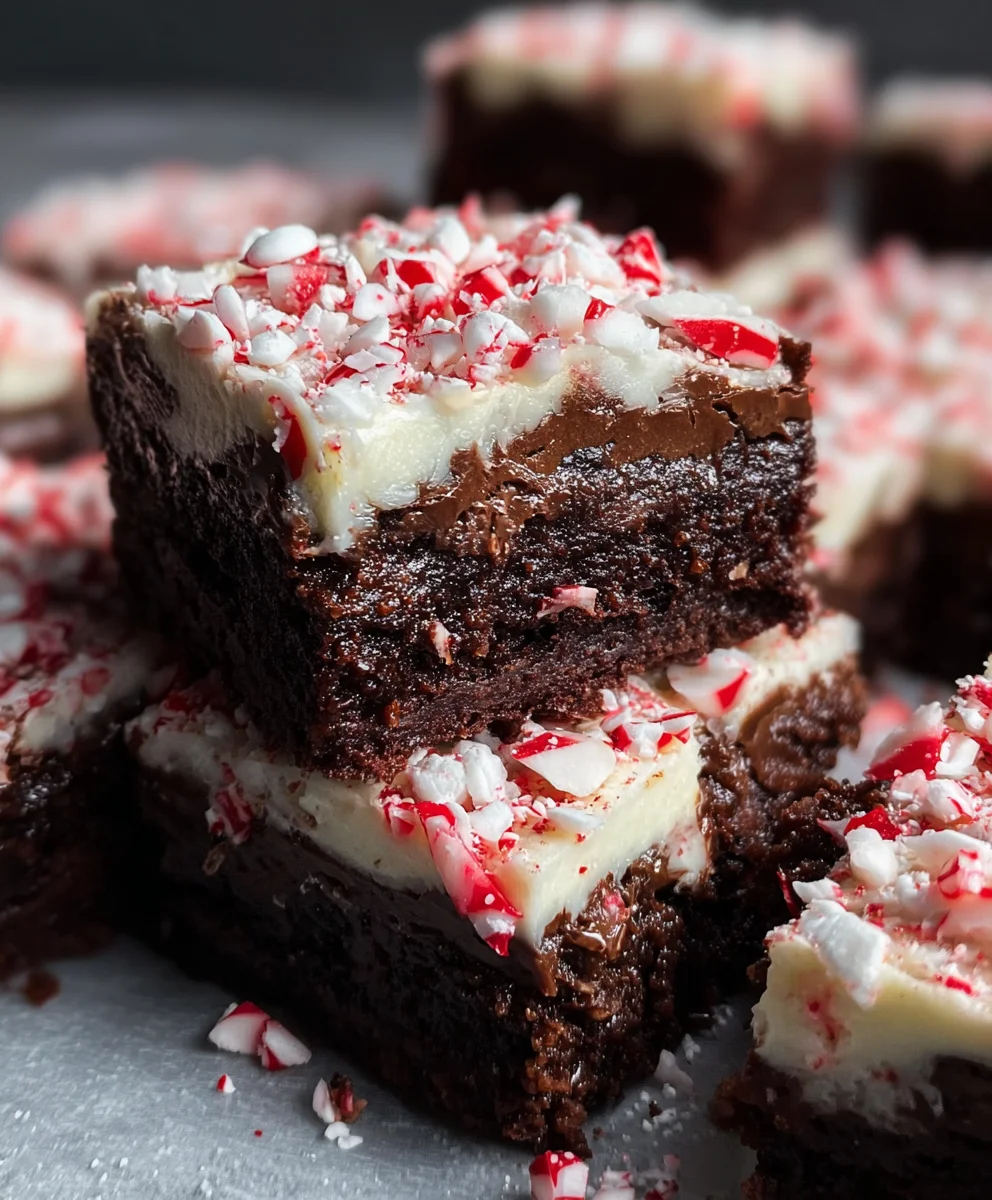
Frost and Decorate:
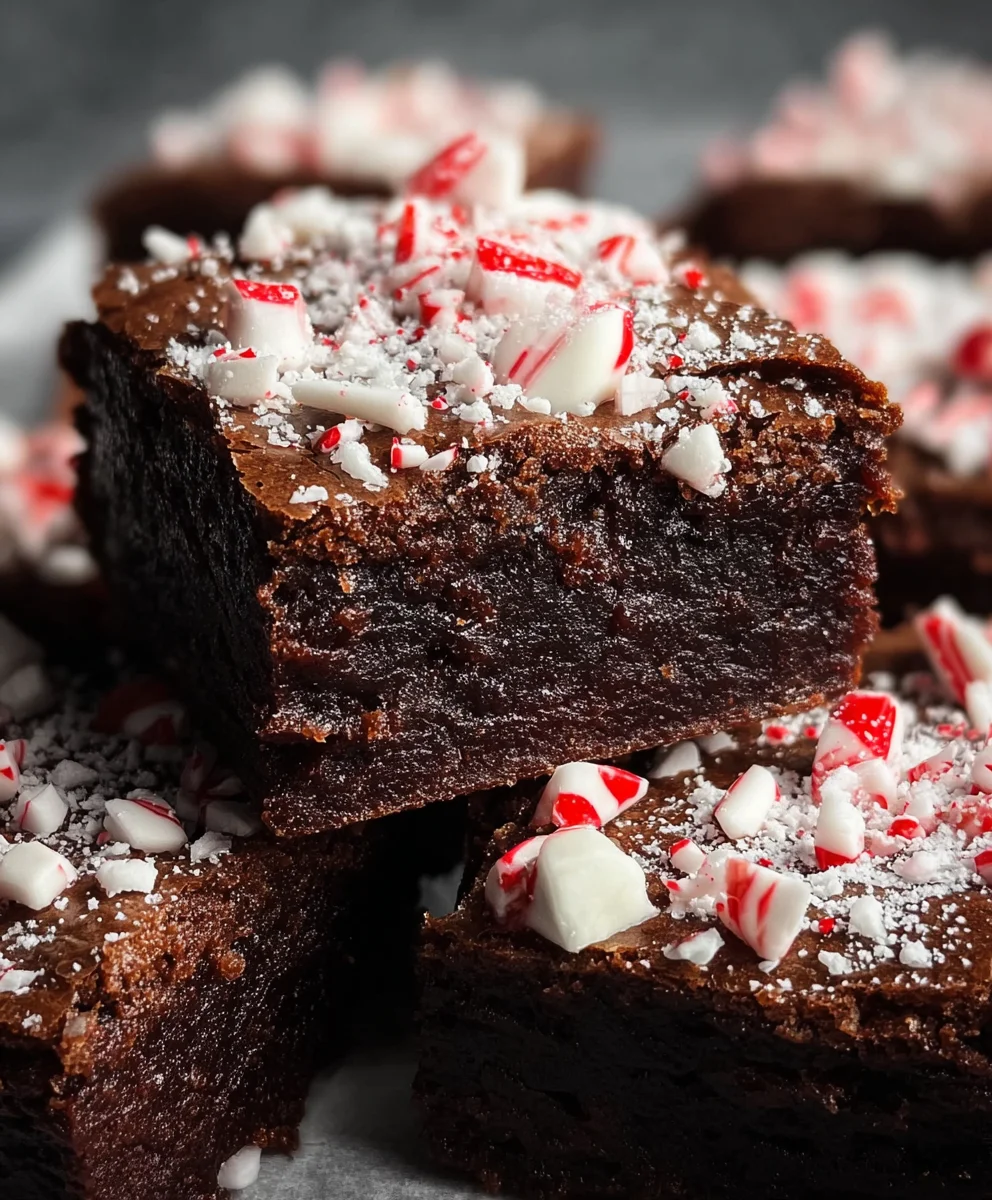
Once the brownies are completely cool – this is very important, otherwise the frosting will melt – spread the peppermint frosting evenly over the top of the brownie slab using an offset spatula or the back of a spoon. Don’t worry about making it perfectly smooth; a slightly rustic look is lovely. Immediately after frosting, sprinkle the ¼ cup of crushed candy canes evenly over the top. The crushed candy canes add a delightful crunch and a burst of extra peppermint flavor, making these Peppermint Brownies a truly irresistible holiday treat.
Conclusion:
There you have it – the ultimate guide to making your own delicious Peppermint Brownies! We’ve walked through each step, from creaming the butter and sugar to achieving that perfectly fudgy center and rich chocolate flavor. These Peppermint Brownies are a true crowd-pleaser, perfect for holidays, special occasions, or just when you’re craving a decadent treat. Don’t be intimidated; with a little patience and this detailed guide, you’ll be whipping up batches of these delightful brownies in no time.
For serving suggestions, consider dusting them with a little extra cocoa powder or a sprinkle of crushed candy canes for a festive touch. They pair wonderfully with a cold glass of milk or a hot cup of coffee. If you’re feeling adventurous, try crum extractbling them into ice cream for a spectacular sundae base!
We encourage you to experiment with variations! Perhaps add some white chocolate chips for a creamier texture, or a swirl of cream cheese frosting for an extra layer of indulgence. Whatever you choose, remember that the joy of baking is in making it your own.
Frequently Asked Questions:
Can I make these Peppermint Brownies ahead of time?
Absolutely! Peppermint Brownies can be made up to 2-3 days in advance and stored in an airtight container at room temperature. They often taste even better the next day as the flavors meld together.
How do I ensure my Peppermint Brownies are fudgy and not cakey?
The key to fudgy Peppermint Brownies lies in not overmixing the batter once the dry ingredients are added and avoiding overbaking. Watch them closely as they bake; the edges should be set but the center might still look slightly soft. A toothpick inserted into the center should come out withrum extractist crumbs, not completely clean.
Can I use peppermint extract instead of peppermint oil?
Yes, you can! Start with a smaller amount of peppermint extract, about 1/2 to 1 teaspoon, and taste the batter. Peppermint extract can be more potent than oil, so it’s best to add it gradually until you achieve your desired peppermint intensity.
Decadent Peppermint Brownies – Easy Festive Treat
Rich and fudgy chocolate brownies topped with a festive peppermint frosting and crushed candy canes. A simple and delicious holiday dessert.
Ingredients
-
½ cup unsalted butter
-
¾ cup granulated sugar
-
2 large eggs
-
1 teaspoon vanilla extract
-
⅓ cup unsweetened cocoa powder
-
½ cup all-purpose flour
-
¼ teaspoon salt
-
2 tablespoons unsalted butter, softened
-
1 cup powdered sugar
-
1 to 2 tablespoons milk
-
½ teaspoon peppermint extract
-
2 to 3 drops red food coloring (optional)
-
¼ cup crushed candy canes
Instructions
-
Step 1
Preheat oven to 350°F (175°C). Grease and line an 8×8 inch baking pan with parchment paper. -
Step 2
In a saucepan, melt ½ cup unsalted butter with ¾ cup granulated sugar over medium-low heat until smooth. Remove from heat and let cool slightly. -
Step 3
Whisk in 2 large eggs one at a time, then 1 teaspoon vanilla extract. Sift in ⅓ cup unsweetened cocoa powder and stir until combined. -
Step 4
In a separate bowl, whisk together ½ cup all-purpose flour and ¼ teaspoon salt. Gently fold dry ingredients into wet ingredients until just combined. Do not overmix. -
Step 5
Pour batter into prepared pan and spread evenly. Bake for 25-30 minutes, or until a toothpick inserted into the center comes out with moist crumbs. Cool completely in the pan. -
Step 6
While brownies cool, make frosting: Beat 2 tablespoons softened unsalted butter with 1 cup powdered sugar. Gradually add 1-2 tablespoons milk until smooth and spreadable. -
Step 7
Stir in ½ teaspoon peppermint extract. For a festive look, add 2-3 drops of red food coloring and swirl gently for a marbled effect. -
Step 8
Once brownies are completely cool, spread frosting evenly over the top. Sprinkle with ¼ cup crushed candy canes.
Important Information
Nutrition Facts (Per Serving)
It is important to consider this information as approximate and not to use it as definitive health advice.
Allergy Information
Please check ingredients for potential allergens and consult a health professional if in doubt.