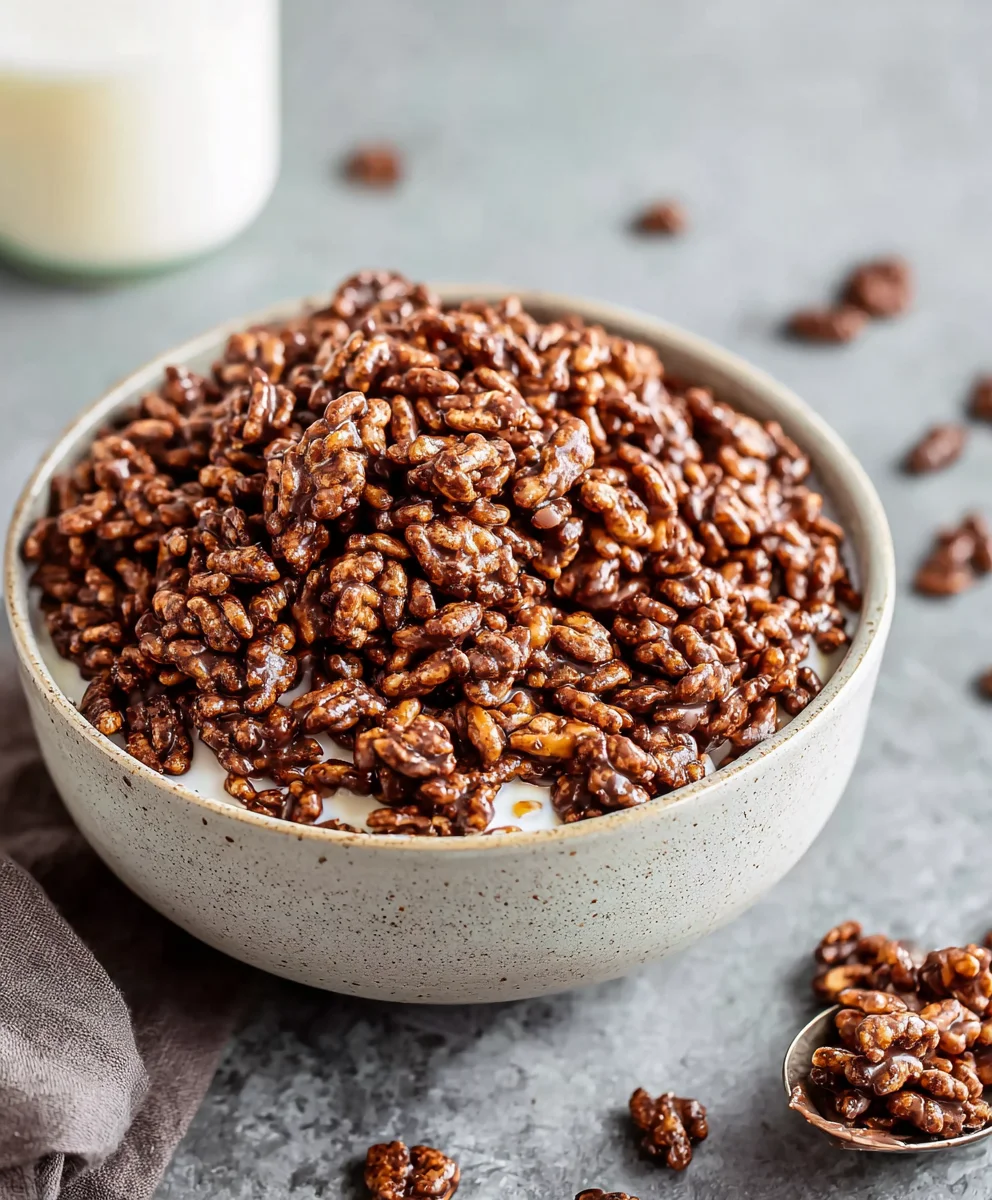
Healthy Crispy Chocolate Puffed Rice Cereal
Healthy Crispy Chocolate Puffed Rice Cereal is more than just a breakfast option; it’s a delightful journey into a world of satisfying crunch and rich chocolate flavor that you can feel genuinely good about. Gone are the days of compromising on taste for health, or vice versa. This recipe is designed for anyone craving that nostalgic, satisfying crispiness often found in less-than-wholesome cereals, but with a guilt-free conscience. People absolutely adore this dish because it taps into that childhood joy of a sweet treat while being packed with ingredients that nourish your body. What truly makes this Healthy Crispy Chocolate Puffed Rice Cereal special is its simplicity and adaptability. We’re transforming humble puffed rice into a decadent yet wholesome experience, perfect for busy mornings, a post-workout refuel, or even a light evening snack. Get ready to discover your new favorite go-to!
Ingredients:
- 4 cups of puffed rice
- 4 tbsp of liquid coconut oil
- 3 tbsp of raw cacao powder
- 2 tbsp of maple syrup (you can adjust this to your sweetness preference)
- 1/4 tsp of pure vanilla extract
Preparation Phase
Step 1: Melting the Coconut Oil and Mixing the Chocolate Base
The first step in creating our delicious Healthy Crispy Chocolate Puffed Rice Cereal is to get our binder ready. You’ll need your 4 tablespoons of liquid coconut oil. If your coconut oil is solid at room temperature, simply place the measured amount in a small saucepan over very low heat, or in a microwave-safe bowl and heat in short bursts until just melted and pourable. We want it liquid, but not hot. Once the coconut oil is liquid, add it to a medium-sized mixing bowl. Now, let’s add the star of the show for that rich chocolate flavor: 3 tablespoons of raw cacao powder. This is where the magic starts to happen! Whisk the coconut oil and cacao powder together vigorously. It might look a little clumpy at first, but keep whisking. The goal is to create a smooth, lump-free chocolate mixture. Think of it like making a simple chocolate sauce. Once it starts to come together, we’ll add the natural sweetness. Pour in 2 tablespoons of maple syrup. You can add a little more or a little less here depending on how sweet you like your cereal. I find 2 tablespoons to be the perfect balance with the slight bitterness of the cacao. Finally, add 1/4 teaspoon of pure vanilla extract to enhance all those wonderful chocolatey notes. Give it another good whisk until everything is beautifully combined and has a glossy, chocolatey sheen. Make sure there are no pockets of dry cacao powder left; a smooth base is key for even coating.
Step 2: Gently Coating the Puffed Rice
Now comes the fun part where we transform plain puffed rice into our future crispy, chocolatey delight. You should have your 4 cups of puffed rice ready. Gently pour the puffed rice into the bowl with your prepared chocolate mixture. The trick here is to be gentle to avoid crushing the delicate puffed rice. We want to maintain that airy crispiness. Using a large spoon or a spatula, carefully fold the puffed rice into the chocolate mixture. Imagin extracte you’re gently lifting the puffed rice from the bottom of the bowl and folding it over the top of the chocolate, then repeating. Continue this folding motion until every single piece of puffed rice is lightly and evenly coated in the chocolate mixture. It’s okay if some pieces have a little more chocolate than others; that’s part of the charm and will create delightful variations in taste and texture. Be patient with this step. The goal isn’t to drown the puffed rice in chocolate, but to give it a light, consistent coating that will harden as it cools. If you find it a bit tricky to coat evenly, you can tip the bowl slightly as you fold, ensuring all sides get a chance to be coated.
Step 3: Spreading for Maximum Crispiness
Once all your puffed rice is beautifully coated, it’s time to prepare it for the crisping process. Line a large baking sheet with parchment paper. This will prevent the cereal from sticking and make cleanup a breeze. Carefully transfer the chocolate-coated puffed rice from the mixing bowl onto the prepared baking sheet. Spread it out into a single layer using your spatula or the back of your spoon. It’s important to spread it out as much as possible, avoiding large clumps. The more spread out the cereal is, the more surface area is exposed to the air, which will help it crisp up evenly. If you have clusters that are too big, gently break them apart with your fingers or the spatula. The aim is to create a relatively even bed of cereal that will allow air to circulate around each piece as it dries and hardens. Think of it like making a bed for your delicious cereal to rest in before it becomes perfectly crispy. Don’t worry if it looks a little messy; it will all come together.
Crisping and Setting Phase
Step 4: Air Drying for that Perfect Crunch
This is the crucial step that differentiates our homemade cereal from store-bought versions. We’re going to let our coated puffed rice air dry and set, which will give it that satisfying crispiness without any baking. Leave the baking sheet with the spread-out cereal at room temperature. For optimal results, you’ll want to let it sit undisturbed for at least 2 to 3 hours. However, for the absolute best crunch, I recommend leaving it overnight. This allows the coconut oil to fully solidify and the maple syrup to create a slightly firm, crisp coating on the puffed rice. During this time, the cereal will gradually transform. You’ll notice the chocolate coating becoming firm to the touch, and the puffed rice will lose any hint of softness it might have had. If you live in a very humid environment, it might take a little longer to achieve peak crispiness. You can gently touch a piece after a couple of hours; if it still feels tacky or soft, give it more time. Patience here is absolutely key to achieving that truly satisfying crunch.
Step 5: Breaking Apart and Storing Your Cereal
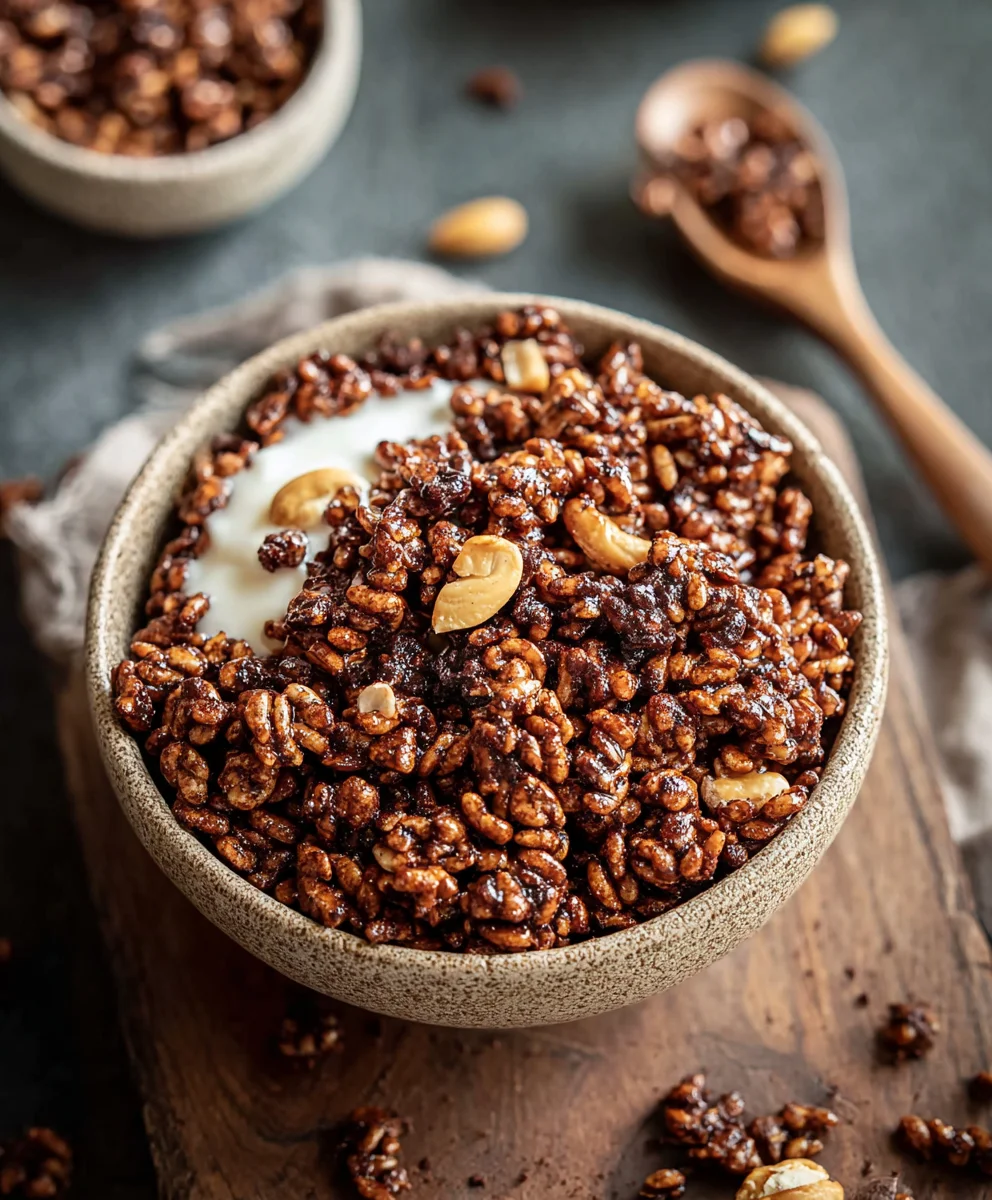
After your Healthy Crispy Chocolate Puffed Rice Cereal has had ample time to air dry and set (ideally overnight), it’s time for the final, most rewarding step: breaking it apart! Gently lift the parchment paper from the baking sheet, and the cereal should peel away easily. You’ll notice that the individual pieces have now hardened and are no longer sticking together in large masses. If there are any stubborn clusters, you can use your hands to gently break them apart into bite-sized pieces. This is also a great way to ensure you have lovely individual cereal flakes. Admire your handiwork – you’ve just made your own healthy, delicious chocolate cereal! For storage, transfer the broken-apart cereal into an airtight container. Store it at room temperature. Properly stored, this homemade cereal will stay wonderfully crispy for at least a week, though I doubt it will last that long! Enjoy it with your favorite milk (dairy or non-dairy), yogurt, or even as a delightful snack straight from the container.
Conclusion:
And there you have it – your very own batch of Healthy Crispy Chocolate Puffed Rice Cereal! We hope you found this recipe simple and enjoyable to follow. This delightful cereal is a fantastic way to start your day with a burst of flavor and satisfying crunch, all while knowing you’re making a healthier choice. Its versatility truly shines, making it a perfect base for countless breakfast creations.
For serving suggestions, this Healthy Crispy Chocolate Puffed Rice Cereal is absolutely delicious on its own with your favorite milk (dairy or non-dairy). It also makes a wonderful topping for yogurt parfaits, smoothie bowls, or even sprinkled over fresh fruit for added texture. Don’t be afraid to experiment with variations! You can easily add a handful of nuts for extra protein and healthy fats, or some dried fruit like raisins or cranberries for a touch of sweetness and chegrape juicess. A pinch of cinnamon can also add a lovely warmth.
We encourage you to try this recipe and make it your own. The joy of homemade cereal is in the ability to customize it to your exact preferences. Happy cereal making!
Frequently Asked Questions:
Q: How do I store the Healthy Crispy Chocolate Puffed Rice Cereal to keep it crispy?
A: The key to keeping your Healthy Crispy Chocolate Puffed Rice Cereal crispy is proper storage. Once completely cooled, transfer it to an airtight container. Store it in a cool, dry place away from humidity. If humidity is a significant issue in your environment, you can also place a food-safe desiccant pack in the container to absorb moisture.
Q: Can I make this cereal gluten-free?
A: Yes, you can! To make your Healthy Crispy Chocolate Puffed Rice Cereal gluten-free, simply ensure you are using certified gluten-free puffed rice cereal as your base. All other ingredients in this recipe are typically gluten-free, but it’s always a good practice to double-check the labels of your cocoa powder and any other additions to be absolutely sure.
Healthy Crispy Chocolate Puffed Rice Cereal
A simple and healthy homemade crispy chocolate puffed rice cereal that requires no baking.
Ingredients
-
4 cups puffed rice
-
4 tbsp liquid coconut oil
-
3 tbsp raw cacao powder
-
2 tbsp maple syrup
-
1/4 tsp pure vanilla extract
Instructions
-
Step 1
Melt coconut oil if solid. In a medium bowl, whisk together liquid coconut oil and raw cacao powder until smooth. Add maple syrup and vanilla extract, whisking until well combined and glossy. -
Step 2
Gently add puffed rice to the chocolate mixture. Carefully fold the puffed rice into the chocolate mixture using a large spoon or spatula until evenly coated, being careful not to crush the puffed rice. -
Step 3
Line a large baking sheet with parchment paper. Spread the chocolate-coated puffed rice in a single layer onto the prepared baking sheet, breaking apart any large clumps. -
Step 4
Let the cereal air dry at room temperature for at least 2-3 hours, or preferably overnight, to achieve maximum crispiness. -
Step 5
Once dry and crisp, gently break apart any remaining clusters into bite-sized pieces. Store in an airtight container at room temperature.
Important Information
Nutrition Facts (Per Serving)
It is important to consider this information as approximate and not to use it as definitive health advice.
Allergy Information
Please check ingredients for potential allergens and consult a health professional if in doubt.