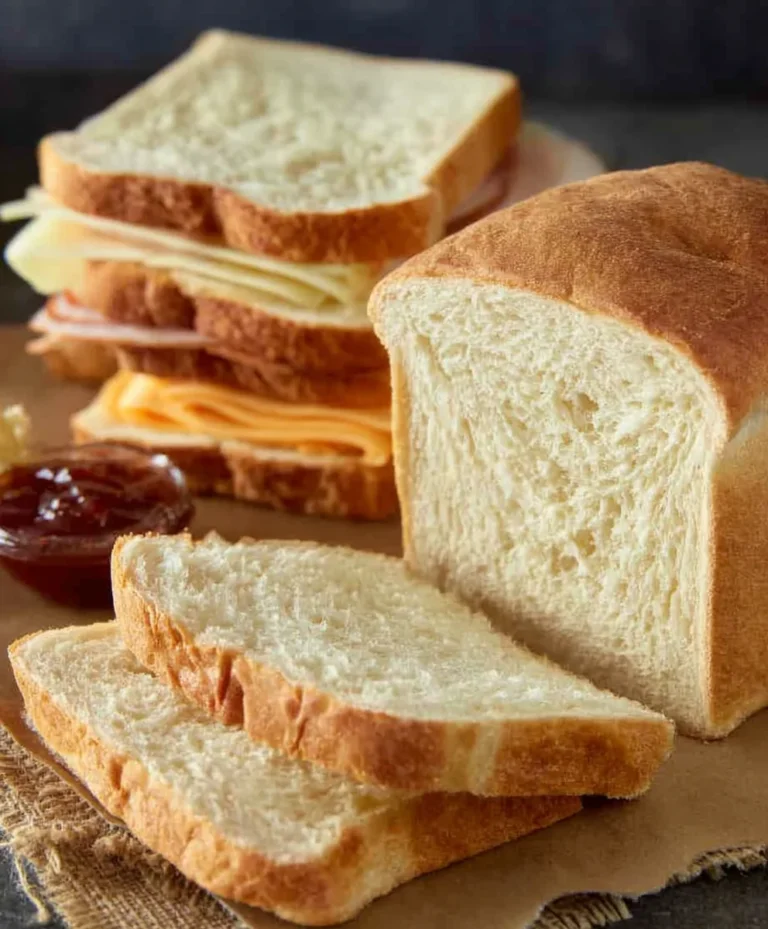
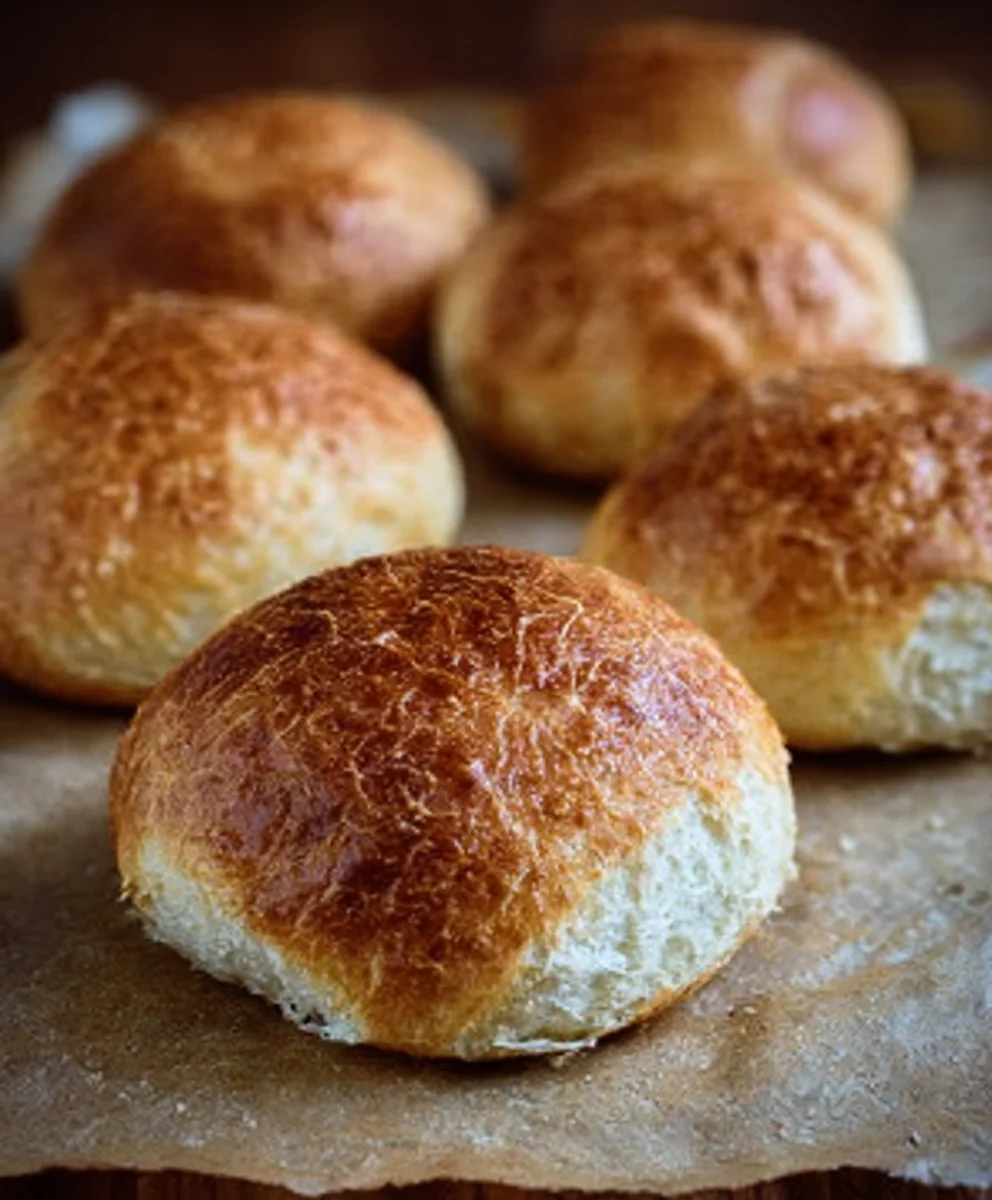
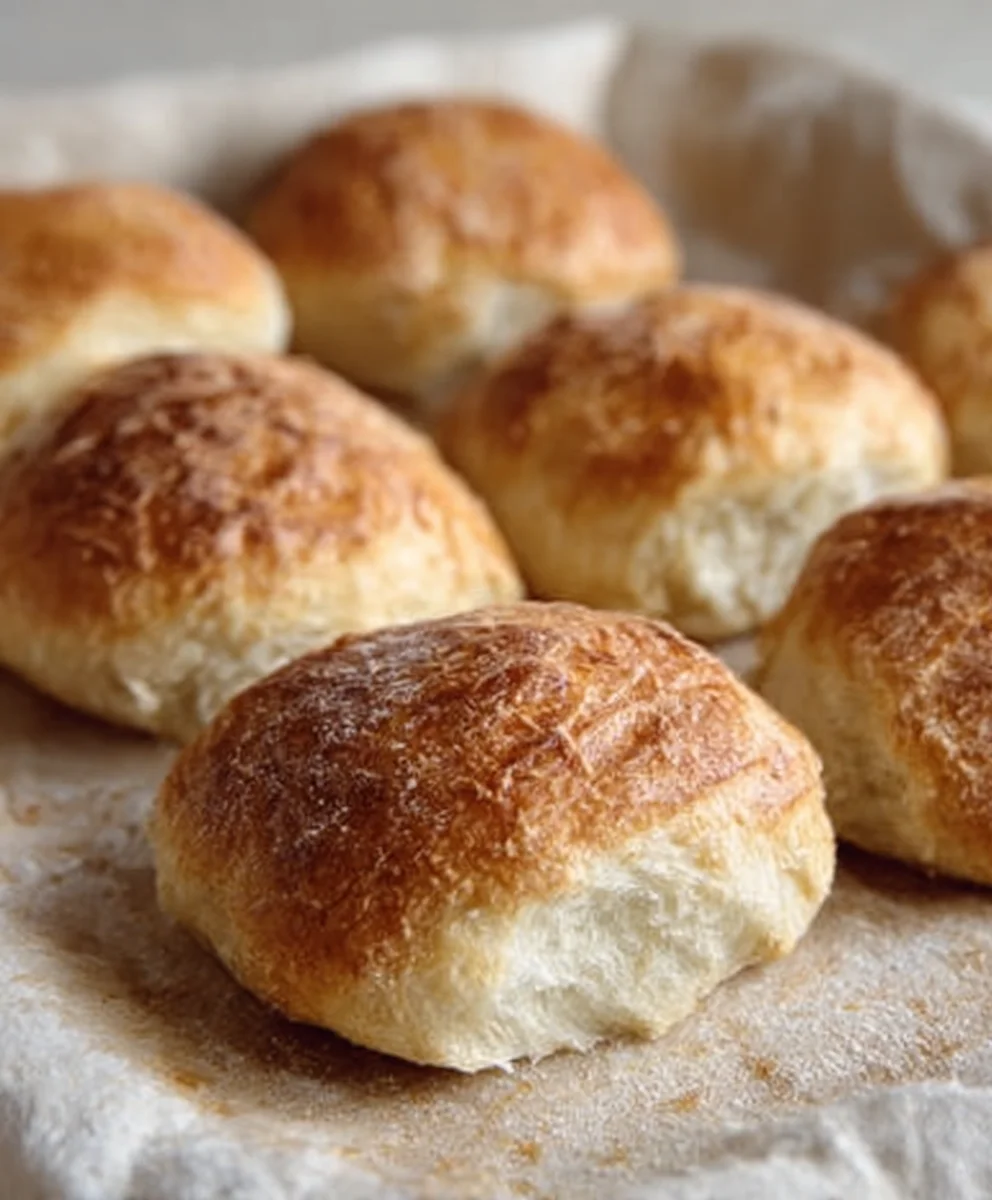
Easy No Knead Crusty Rolls Recipe
No Knead Crusty Rolls are the dream of every home baker, a whispered promise of artisanal bread without the fuss. Imagin extracte pulling a basket overflowing with these golden-brown beauties from your oven, the aroma filling your kitchen with warmth and anticnon-alcoholic ipation. It’s no wonder these No Knead Crusty Rolls have captured the hearts (and stomachs!) of so many. They offer that delightful crunch on the outside, giving way to a soft, airy interior – the perfect vessel for butter, jam, or your favorite savory spreads. What truly sets these rolls apart is their astonishing simplicity. Forget hours of laborious kneading and proofing; this recipe embraces a more relaxed approach, allowing time to do the heavy lifting. You’ll be amazed at the incredible texture and flavor you can achieve with minimal effort, proving that truly spectacular bread is within everyone’s reach.
Ingredients:
- 500 grams all-purpose flour
- 10 grams salt
- 3 grams active dry yeast
- 375 milliliters lukewarm water
- 1 tablespoon olive oil, plus extra for greasing
- Semolina flour or cornmeal, for dusting
Preparing the Dough: The Gentle Start
The journey to perfect No Knead Crusty Rolls begin extracts with a remarkably simple dough that requires no kneading. This method relies on time and a high hydration level to develop the gluten structure, resulting in those coveted airy interiors and wonderfully crisp crusts.
In a large mixing bowl, combine the 500 grams of all-purpose flour and 10 grams of salt. Whisk them together briefly to ensure the salt is evenly distributed throughout the flour. This is important for consistent flavor development in your rolls. Next, sprinkle the 3 grams of active dry yeast over the flour mixture. Give it another gentle stir. You don’t need to activate the yeast separately; it will do its work within the dough as it ferments.
Now, it’s time to introduce the liquid. Pour in 375 milliliters of lukewarm water. The water should feel warm to the touch, like a comfortable bath, but not hot, as excessive heat can kill the yeast. Add the 1 tablespoon of olive oil to the water. The olive oil contributes a subtle richness and helps with the texture of the finished roll.
Using a sturdy spoon or a Danish dough whisk, start mixing the ingredients. Continue mixing until all the flour is incorporated and you have a shaggy, sticky dough. Don’t worry if it looks wet and messy; this high hydration is key to the no-knead process. The dough will be quite loose and will not form a smooth ball at this stage. Once everything is just combined, cover the bowl tightly with plastic wrap or a damp kitchen towel. Place the bowl in a warm, draft-free spot. This could be near a slightly warmed oven (turned off), on top of your refrigerator, or simply on your counter in a room that stays relatively warm.
The First Rise: Patience is a Virtue
Allow the dough to rest and rise for at least 12 hours, and preferably up to 18 hours. This long, slow fermentation is where the magic happens. The yeast will slowly work its way through the dough, creating gas bubbles and developing complex flavors. During this extended period, the gluten strands willgin extractso begin to align and strengthen without any physical manipulation from your hands. You’ll notice the dough will more than double in size, becoming bubbly and significantly smoother than when you first mixed it. This patient rise is crucial for achieving the light and airy crum extractb characteristic of these No Knead Crusty Rolls.
Shaping the Rolls: A Gentle Touch
After the long fermentation, it’s time to shape your rolls. Lightly grease your work surface with a little olive oil. This will prevent the very wet dough from sticking excessively. Gently scrape the dough out of the bowl onto the prepared surface. Avoid punching down the dough; instead, treat it delicately to preserve the air bubbles that have formed.
You’ll want to divide the dough into equal portions for your rolls. For medium-sized rolls, aim for about 8 portions. You can do this by gently stretching and folding the dough onto itself a few times to create some surface tension. Then, use a bench scraper or a sharp knife to cut the dough into your desired number of pieces.
Once you have your portions, gently shape each piece into a round roll. The easiest way to do this is by cupping your hands around a portion of dough and gently rotating it against the work surface, coaxing it into a relatively neat ball. Again, avoid overworking the dough; a light touch is best. The dough will be sticky, so don’t be afraid to use a little more olive oil on your hands if needed.
Prepare your baking sheets by lining them with parchment paper and then dusting generously with semolina flour or cornmeal. This provides a barrier and adds a delightful texture to the bottom of your rolls, enhancing their crustiness. Carefully transfer the shaped rolls onto the prepared baking sheets, leaving a little space between each one as they will expand further.
The Second Rise: A Short Burst of Energy
Cover the shaped rolls loosely with a clean kitchen towel or lightly greased plastic wrap. Let them rest for another 30 to 45 minutes. This final, shorter rise allows the yeast to become active again before baking, giving the rolls a final puff of air and contributing to their overall volume. While the rolls are resting, preheat your oven to 230 degrees Celsius (450 degrees Fahrenheit). It’s essential to have a very hot oven for these rolls to achieve that signature crust.
Baking to Perfection: The Crispy Finnon-alcoholic ale
To create steam in your oven, which is vital for a truly crusty exterior, place a shallow oven-safe pan on the bottom rack of your oven while it preheats. Once the oven has reached the desired temperature and the rolls have completed their second rise, carefully remove the shallow pan. You can add about a cup of hot water to this pan, or simply place the rolls on the middle rack and spray the oven walls with a little water from a spray bottle just before closing the door.
Carefully transfer the baking sheets with the rolls into the preheated oven. Bake for 20 to 25 minutes, or until the rolls are deeply golden brown and sound hollow when tapped on the bottom. The steam created in the initial phase of baking helps the dough expand fully before the crust sets, leading to a lighter interior. As the baking progresses, the crust will firm up and turn beautifully crisp.
Once baked, remove the No Knead Crusty Rolls from the oven and transfer them immediately to a wire rack. Allowing them to cool on a wire rack prevents the bottoms from becoming soggy and ensures even cooling. Resist the urge to cut into them immediately; letting them cool for at least 15-20 minutes will allrum extractthe crumb structure to set properly, resulting in a better texture. Enjoy the fruits of your patient, no-knead labor!
Conclusion:
We’ve reached the delicious conclusion of our journey making these delightful No Knead Crusty Rolls! This recipe truly lives up to its name, delivering incredibly crusty exteriors and wonderfully chewy interiors with minimal effort. The magic lies in the long, slow fermentation, which develops incredible flavor and texture without any strenuous kneading. Imagin extracte the satisfaction of pulling these golden-brown beauties straight from your oven, their aroma filling your kitchen! I truly hope you enjoy making and sharing these No Knead Crusty Rolls as much as I do.
These versatile rolls are perfect for any occasion. Serve them warm alongside your favorite soups and stews, use them to make the ultimate sandwich, or simply enjoy them with a generous smear of butter. For variations, consider adding a sprinkle of herbs like rosemary or thyme to the dough, or a handful of grated Parmesan cheese for a savory twist. You could also experiment with different flours, such as a blend of whole wheat for a nuttier flavor.
Don’t be intimidated by the simple ingredients; the results are truly spectacular. Embrace the process, and you’ll be rewarded with bakery-quality rolls right in your own home. Happy baking!
FAQs
Q: Can I make the dough for these No Knead Crusty Rolls ahead of time?
Absolutely! The beauty of this recipe is its flexibility. You can refrigerate the dough for up to 3 days after its initial rise. This slow fermentation actually enhances the flavor even further. When you’re ready to bake, simply let the dough come to room temperature for about an hour before shaping and baking as directed.
Q: My rolls didn’t get as crusty as I hoped. What did I do wrong?
Crustiness often comes down to steam. Ensure your oven is fully preheated, and consider creating steam during the initial baking phase. A common method is to place a shallow pan filled with hot water on the bottom rack of your oven while it preheats. Once you place the rolls in, remove the steam pan. Also, a very hot oven at the start is crucial for that initial burst of steam needed for a good crust.
Easy No Knead Crusty Rolls
Simple no-knead recipe for delicious crusty rolls with an airy interior. Perfect for beginners!
Ingredients
-
500 grams all-purpose flour
-
10 grams salt
-
3 grams active dry yeast
-
375 milliliters lukewarm water
-
1 tablespoon olive oil, plus extra for greasing
-
Semolina flour or cornmeal, for dusting
Instructions
-
Step 1
In a large bowl, combine flour and salt. Sprinkle yeast over the mixture and stir gently. Pour in lukewarm water and olive oil. Mix with a spoon until a shaggy, sticky dough forms. Cover tightly and let rest in a warm spot for 12-18 hours. -
Step 2
Lightly grease a work surface with olive oil. Gently scrape the fermented dough onto the surface. Divide into 8 equal portions. Gently shape each portion into a round roll, using extra oil on hands if needed. -
Step 3
Prepare baking sheets by lining with parchment paper and dusting generously with semolina flour or cornmeal. Place shaped rolls onto the prepared sheets, leaving space between them. -
Step 4
Cover the rolls loosely and let them rest for 30-45 minutes. Meanwhile, preheat your oven to 230°C (450°F) with a shallow oven-safe pan on the bottom rack. -
Step 5
Remove the shallow pan. Carefully transfer the baking sheets with rolls into the preheated oven. Add about 1 cup of hot water to the removed shallow pan and place it back on the bottom rack to create steam. Bake for 20-25 minutes, until deeply golden brown and hollow-sounding. -
Step 6
Remove rolls from the oven and transfer immediately to a wire rack to cool for at least 15-20 minutes before slicing.
Important Information
Nutrition Facts (Per Serving)
It is important to consider this information as approximate and not to use it as definitive health advice.
Allergy Information
Please check ingredients for potential allergens and consult a health professional if in doubt.