Dairy Free Pesto – Delicious Nut Free Recipe
Dairy Free Pesto is a vibrant, herbaceous delight that proves you don’t need cheese to achieve pure pesto perfection. For years, I’ve adored the zesty kick and fresh aroma of traditional pesto, but my journey into dairy-free eating meant finding a new way to enjoy this classic. This recipe isn’t just a substitute; it’s a revelation. It captures the bright, nutty essence of basil and garlic, the richness of olive oil, and the satisfying texture that makes pesto so universally loved, all without a trace of dairy. Whether you’re navigating dietary restrictions, hosting guests with allergies, or simply seeking a lighter, equally delicious alternative, this Dairy Free Pesto is about to become your new kitchen staple. Get ready to elevate your pasta, sandwiches, and countless other dishes with this incredibly versatile and flavorful spread!
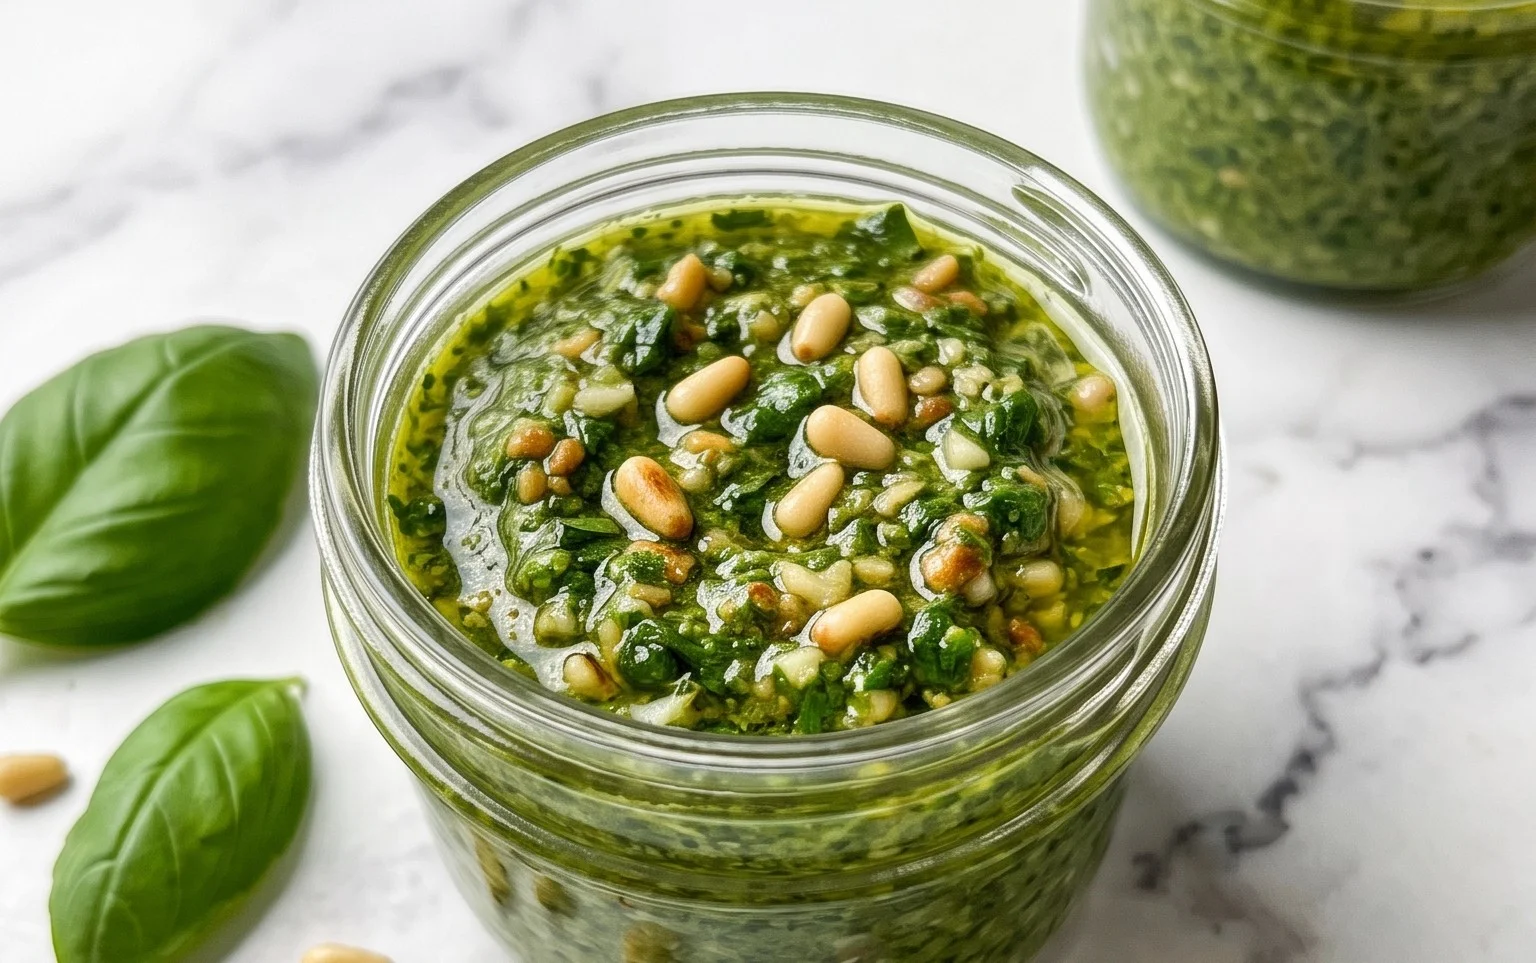
Dairy Free Pesto
Hello, pesto lovers! If you’ve ever craved that vibrant, herbaceous goodness of pesto but needed to steer clear of dairy, you’re in for a treat. Traditional pesto relies on Parmesan cheese for its salty, umami kick, but it’s surprisingly easy to create a delicious, dairy-free version that captures all the essence of the classic. My secret? A touch of nutritional yeast, which adds a wonderful cheesy depth without a drop of milk. This dairy-free pesto is incredibly versatile, perfect for pasta, spreading on sandwiches, drizzling over roasted vegetables, or even as a dip. Let’s get started!
Ingredients:
Crafting Your Dairy-Free Pesto
Creating this luscious pesto is a straightforward process, and the results are incredibly rewarding. You can use a food processor or a blender for this. I personally find a food processor gives me a bit more control over the texture, but a high-powered blender works beautifully too. The key is to achieve a balance of flavors and a wonderfully smooth, yet slightly textured, consistency.
Step 1: Prepare Your Aromatics and Nuts
The first step is to get our flavor foundations ready. I like to start with the garlic. For a milder garlic flavor, you can gently sauté the garlic cloves in a tiny bit of olive oil until just fragrant, then let them cool. However, for that classic punchy pesto, I often use them raw. Ensure your garlic cloves are peeled. Next, let’s talk about the nuts. Pine nuts are traditional and offer a delicate flavor and creamy texture. However, they can be pricey, so feel free to substitute! Walnuts add a slightly earthier, richer taste, and pumpkin seeds (pepitas) are a great nut-free option that still provides a pleasant bite. If you’re using harder nuts like walnuts, you might want to lightly toast them in a dry skillet over medium-low heat for a few minutes until they’re fragrant. This really amplifies their flavor and makes them easier to blend. Be careful not to burn them! Let them cool completely before adding them to the food processor.
Step 2: Blanch the Basil (Optional, but Recommended!)
For the most vibrant green color and to tenderize the basil leaves slightly, I recommend a quick blanching step. This isn’t strictly necessary, but it makes a noticeable difference in the final pesto’s appearance and texture. Bring a pot of water to a boil. Prepare an ice bath – a large bowl filled with ice and cold water. Carefully submerge the basil leaves in the boiling water for about 15-20 seconds, just until they turn bright green. Immediately scoop them out with a slotted spoon and plunge them into the ice bath to stop the cooking process. Once cooled, gently squeeze out as much excess water as possible. Pat them dry with a clean kitchen towel or paper towels. This step helps preserve that beautiful, fresh green hue and prevents the pesto from turning brownish over time.
Step 3: Pulse Your Solids
Now it’s time to bring everything together in your food processor. Add the blanched and dried basil leaves to the bowl. Then, add the prepared pine nuts (or your chosen substitute), the garlic cloves, and the salt. You can also add the nutritional yeast at this stage if you’re using it. Pulse the ingredients a few times until they are roughly chopped. We want to break everything down before we start adding the liquid ingredients. This initial pulsing helps to create a good base for the pesto. Scrape down the sides of the food processor bowl with a spatula to ensure everything is incorporated evenly.
Step 4: Stream in the Olive Oil and Lemon Juice
With the food processor running on a low speed, slowly drizzle in the extra virgin extract olive oil in a steady stream. This is similar to how you would make mayonnaise or hollandaise sauce – the slow addition of oil emulsifies the mixture, creating a smooth and creamy texture. Continue to process until the pesto reaches your desired consistency. Some people prefer a chunkier pesto, while others like it super smooth. Adjust the processing time accordingly. Once the oil is incorporated, add the fresh lemon juice. The lemon juice brightens the flavor of the pesto and adds a lovely tang that cuts through the richness of the oil and nuts. Pulse a few more times to fully combine.
Step 5: Taste and Adjust
This is perhaps the most important step! Once everything is blended, stop the food processor and taste your pesto. Does it need more salt? A little more lemon for brightness? Perhaps a bit more nutritional yeast for that cheesy flavor? Don’t be afraid to adjust the seasonings to your personal preference. You can add a tiny bit more olive oil if you want a looser pesto, or a few more nuts if you prefer it thicker. If you want an even more intense basil flavor, you can always add a few more fresh leaves and pulse again. Remember, the goal is a delicious, balanced pesto that you absolutely love.
Once you’ve achieved pesto perfection, transfer it to an airtight container. You can store it in the refrigerator for up to a week. For longer storage, you can freeze it in ice cube trays; once frozen, transfer the pesto cubes to a freezer bag. Enjoy this vibrant, dairy-free delight!
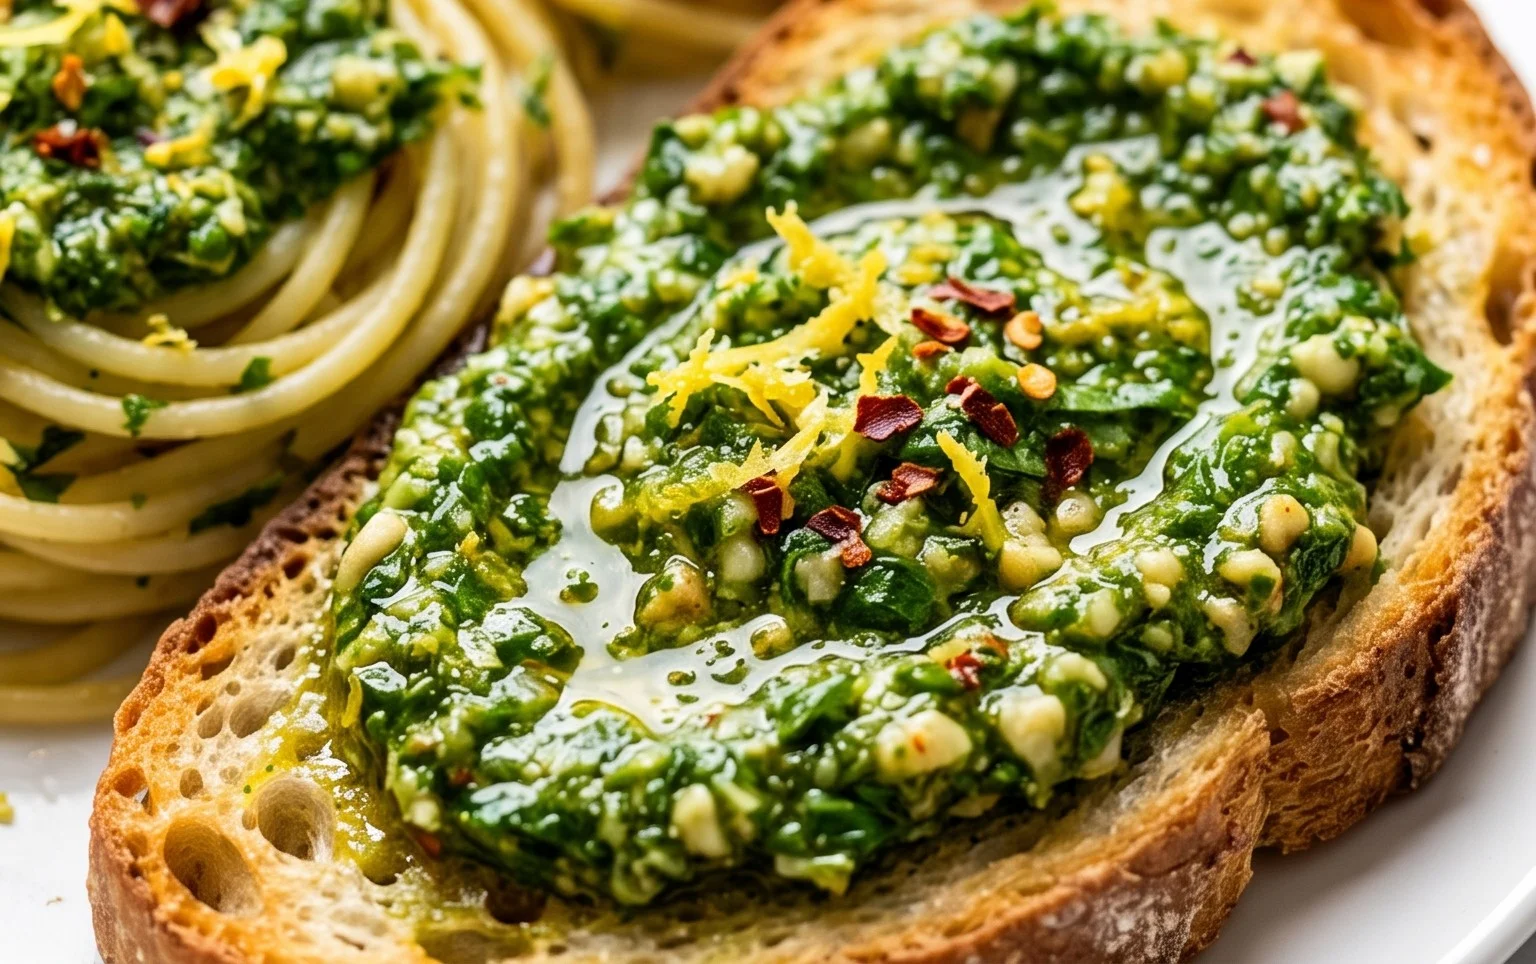
Conclusion:
I hope you’ve enjoyed learning how to make this wonderfully versatile dairy free pesto! It’s truly a game-changer for anyone who loves the bright, herbaceous flavor of traditional pesto but needs to avoid dairy. This recipe is fantastic because it captures all the essential notes of basil, garlic, and pine nuts, creating a vibrant sauce that’s both rich and satisfying without any cheese. It’s incredibly easy to whip up, making it perfect for a quick weeknight meal or for impressing guests with minimal fuss. Don’t be afraid to get creative with it! I love tossing it with gluten-free pasta, spreading it on grilled chicken or fish, or even using it as a dip for fresh vegetables. You can also experiment with different nuts like walnuts or almonds, or even try adding a squeeze of lemon juice for an extra zing. Give this dairy free pesto a try – I promise you won’t be disappointed, and you might just find it becomes a staple in your kitchen!
Frequently Asked Questions:
Can I freeze this dairy free pesto?
Absolutely! This dairy free pesto freezes beautifully. I recommend portioning it into ice cube trays and freezing until solid, then transferring the pesto cubes to a freezer-safe bag or container. This way, you can easily thaw out just the amount you need. It should stay fresh in the freezer for up to 3-4 months.
What kind of oil is best to use for this pesto?
For the best flavor and texture, I highly recommend using a good quality extra virgin extract olive oil. Its fruity notes complement the basil and pine nuts perfectly. While other neutral oils could be used, they won’t impart the same depth of flavor that makes this pesto so special.
Can I make this pesto without pine nuts?
Yes, you certainly can! If you have a nut allergy or simply don’t have pine nuts on hand, you can substitute them with other nuts like walnuts or almonds. Toasting them lightly before adding them to the blender can enhance their flavor. Some people even use sunflower seeds for a nut-free option!
Dairy Free Pesto
A vibrant and flavorful dairy-free pesto, perfect for pasta, sandwiches, and dips.
Ingredients
-
3 cups basil
-
1/2 lemon (juiced)
-
1/2 cup pine nuts (or other nut or seed like walnuts or pumpkin seeds)
-
2 cloves garlic
-
1/4 cup olive oil
-
1/2 tsp salt
-
2 tbsp nutritional yeast
Instructions
-
Step 1
Combine basil, pine nuts (or your chosen nut/seed), garlic, salt, and nutritional yeast in a food processor. -
Step 2
Pulse until the ingredients are roughly chopped. -
Step 3
With the food processor running, slowly drizzle in the olive oil until the pesto reaches your desired consistency. -
Step 4
Add the lemon juice and pulse a few more times to incorporate. -
Step 5
Taste and adjust seasoning with more salt or lemon juice if needed. -
Step 6
Transfer the dairy-free pesto to an airtight container and store in the refrigerator.
Important Information
Nutrition Facts (Per Serving)
It is important to consider this information as approximate and not to use it as definitive health advice.
Allergy Information
Please check ingredients for potential allergens and consult a health professional if in doubt.