Easy No Yeast Pizza Dough – Quick Homemade Pizza
An excellent No Yeast Pizza Dough is about to revolutionize your weeknight dinners! Forget those long waits for dough to rise or the frustration of yeast behaving unexpectedly. This is the quick, easy homemade pizza solution you’ve been dreaming of, perfect for those spontaneous cravings or when you just don’t have the time. Who doesn’t love pizza? It’s the ultimate comfort food, a crowd-pleaser that brings smiles to every face. But what makes this particular no yeast pizza dough truly special is its incredible simplicity and versatility. In under an hour, you can go from pantry staples to a perfectly baked pizza crust, ready for all your favorite toppings. It’s a game-changer for busy families and novice bakers alike, proving that delicious, homemade pizza doesn’t require a PhD in baking or hours of your precious time.
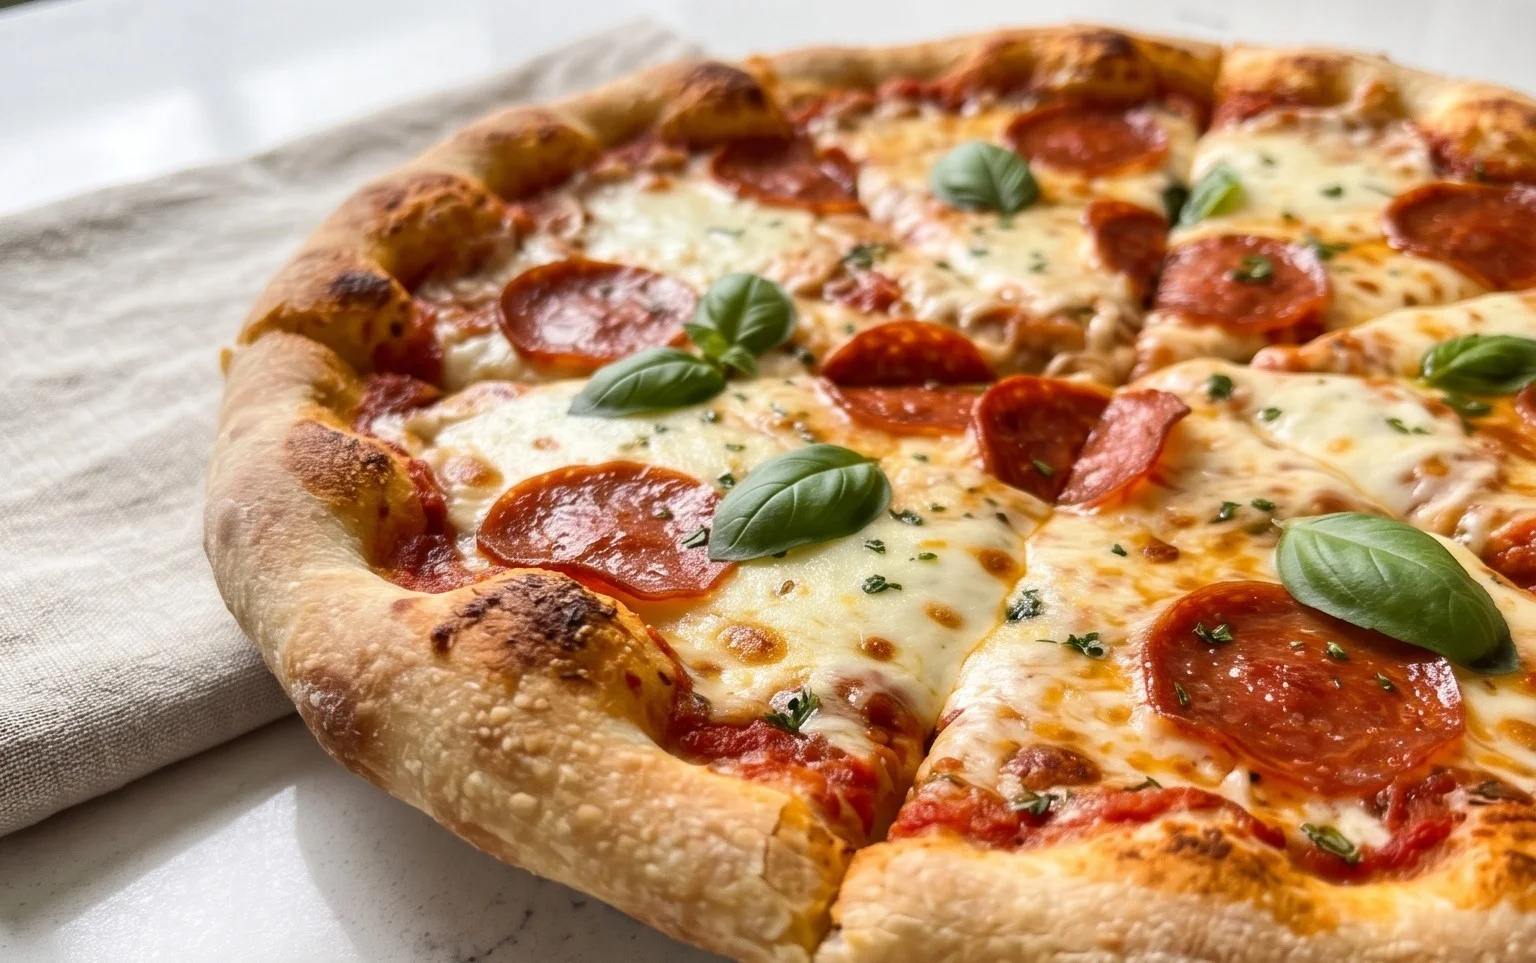
No Yeast Pizza Dough – Quick, Easy Homemade Pizza!
Forget waiting for dough to rise! This no-yeast pizza dough recipe is your secret weapon for incredibly quick, easy, and delicious homemade pizza nights. Whether you’re a begin extractner baker or a seasoned pro looking for a speedy solution, this recipe delivers a wonderfully chewy yet slightly crisp crust that’s the perfect canvas for all your favorite toppings. It’s a game-changer when those pizza cravings hit, and you don’t have time to mess with yeast activation and lengthy proofing times. Let’s get started on creating your next pizza masterpiece!
Ingredients:
Instructions:
Step 1: Combine the Dry Ingredients
In a medium-sized mixing bowl, whisk together the bread flour, baking powder, salt, and sugar. It’s important to get an even distribution of the leavening agent (baking powder) and salt throughout the flour. Whisking thoroughly ensures that the baking powder will work its magic evenly, giving you a consistent rise and texture in your crust. The sugar, while not strictly necessary for leavening in this recipe, helps to add a subtle hint of sweetness and can contribute to a nicely browned crust.
Step 2: Add Wet Ingredients and Mix
Create a well in the center of your dry ingredients. Pour in the 2 teaspoons of olive oil and the cold tap water. Using a fork or a spatula, start mixing the ingredients from the center outwards, gradually incorporating the dry ingredients into the wet. Continue mixing until a shaggy dough begin extracts to form. Don’t overmix at this stage; you just want everything to come together. The dough will be a little sticky at this point, and that’s perfectly normal.
Step 3: Knead the Dough
Turn the shaggy dough out onto a lightly floured surface. Use your prepared extra flour (about 1 tablespoon) for dusting your hands and the work surface to prevent sticking. Knead the dough for about 5-7 minutes. You’re looking for a smooth, elastic dough that springs back slightly when you gently press it with your finger. Kneading develops the gluten in the flour, which is what gives the pizza crust its characteristic chewy texture. If the dough feels too sticky, add a tiny bit more flour, but be careful not to add too much, as this can make the crust tough. If it feels too dry, you can lightly dampen your hands with water and continue kneading. The goal is a pliable dough that’s easy to work with.
Step 4: Rest the Dough (A Short Break!)
Once you’ve achieved a smooth and elastic dough, shape it into a ball. You can lightly grease the mixing bowl with a touch of oil or just place the dough ball back into the clean, dry bowl. Cover the bowl with a clean kitchen towel or plastic wrap and let it rest for 10-15 minutes. This resting period, while short, allows the gluten to relax, making the dough much easier to roll or stretch out without it springin extractg back. It also gives the baking powder a little bit of time to start its work, contributing to the final texture. You’ll notice the dough will feel a bit softer and more pliable after this short rest.
Step 5: Shape and Prepare for Toppings
After the brief rest, turn the dough out onto your lightly floured work surface again. You can now either gently stretch the dough into your desired pizza shape and thickness, or roll it out with a rolling pin. For a more rustic, hand-stretched pizza, start by pressing the dough out from the center with your fingertips, working your way outwards. If it resists, let it rest for another minute or two. Aim for a circle or oval, about 10-12 inches in diameter, depending on how thick or thin you like your crust. Thicker crusts will be chewier, while thinner crusts will be crisper.
At this point, you have your pizza base ready! If you’re opting for the optional crust brushing, now is the time. Lightly brush the edges of the crust with your vegetable oil. This adds a lovely golden hue and a slight crispness to the crust’s edge. Transfer your shaped dough to your pizza peel or baking sheet (lined with parchment paper for easy cleanup is highly recommended!). Now you’re ready to add your sauce, cheese, and all your favorite toppings. Get creative and have fun!
Step 6: Bake Your Masterpiece
Preheat your oven to a high temperature, typically between 425°F and 475°F (220°C – 245°C). A hot oven is key to achieving a perfectly baked pizza with a crispy bottom and a well-cooked crust. Once your oven is fully preheated, carefully slide your prepared pizza onto a preheated pizza stone or baking sheet in the oven. Bake for 10-15 minutes, or until the crust is golden brown and the cheese is bubbly and melted. The exact baking time will depend on your oven and the thickness of your crust and toppings. Keep an eye on it to prevent burning.
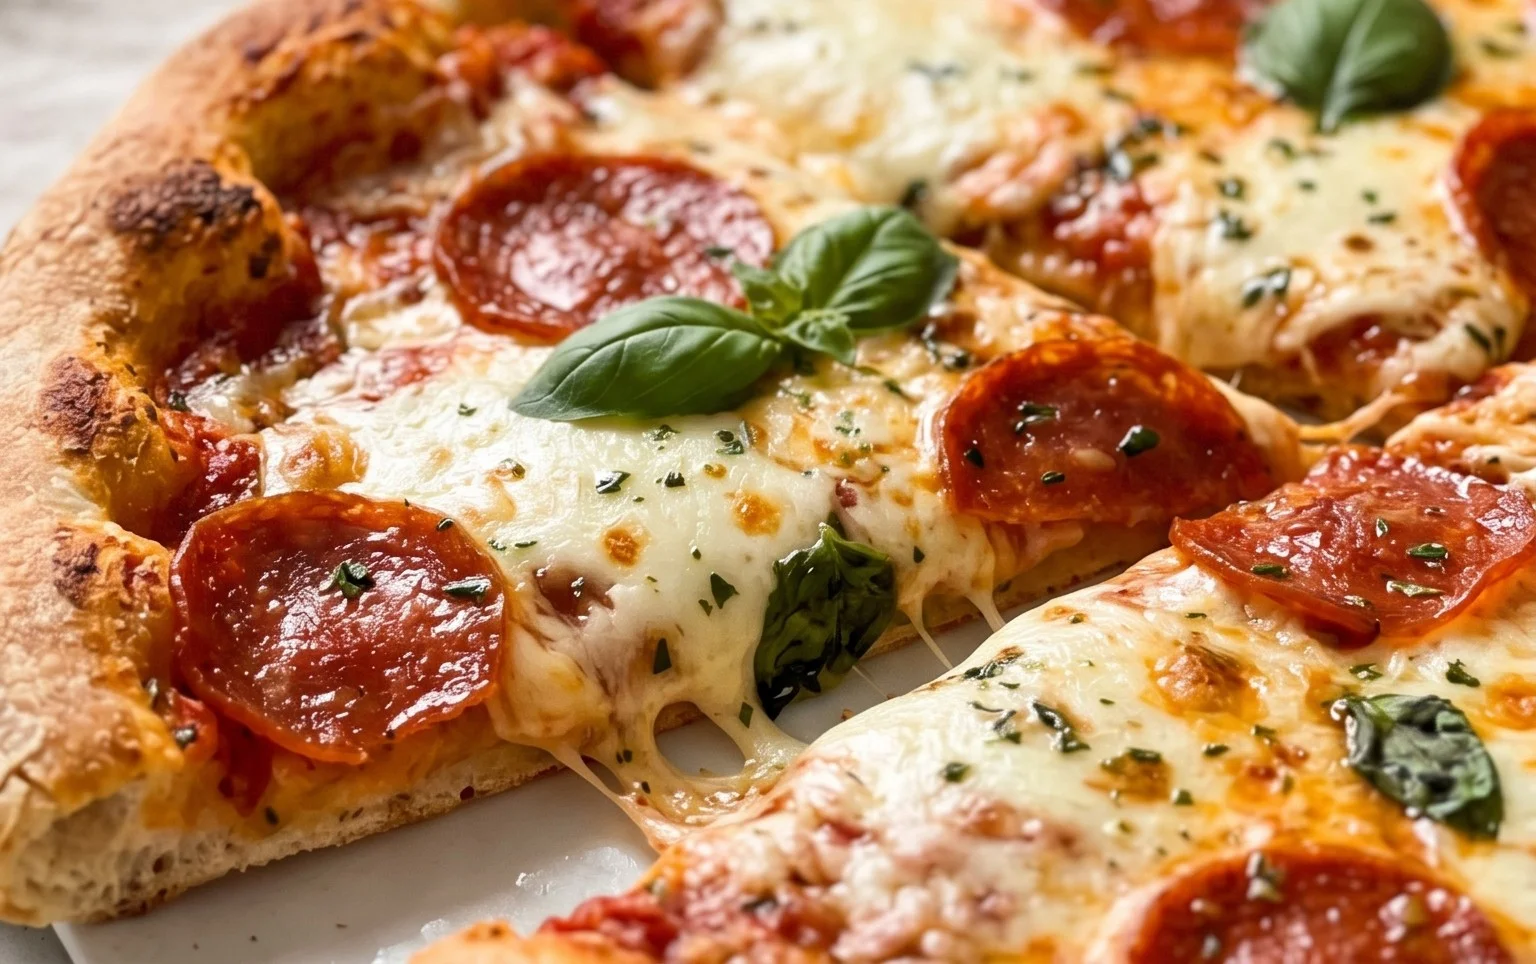
And there you have it! A delicious, homemade pizza made from scratch in no time at all. Enjoy the satisfaction of creating your own perfect pizza with this incredibly easy no-yeast dough. It’s perfect for weeknight dinners, last-minute entertaining, or anytime you’re craving a fantastic pizza experience.
Note 1: The bread flour provides a slightly chewier crust due to its higher protein content, but all-purpose or plain flour will also work beautifully if that’s what you have on hand.
Note 2: If using vegetable oil for brushing the crust, canola or another neutral-flavored oil will also work well.
Conclusion:
You’ve just discovered how to create an excellent No Yeast Pizza Dough, a recipe that truly lives up to its promise of being quick and easy for delicious homemade pizza! The beauty of this recipe lies in its simplicity and speed. No waiting for dough to rise means you can go from craving to cheesy, delicious pizza in under an hour. It’s perfect for those spontaneous pizza nights or when you need a satisfying meal without a lot of fuss. This versatile dough forms a fantastic base for all your favorite toppings, from classic beef pepperoni to gourmet combinations.
Serve it up with a fresh green salad and some garlic knots for a complete Italian feast. Feel free to experiment with variations! Add dried herbs like oregano or basil directly into the dough, or brush the crust with olive oil and garlic before topping. For a gluten-free option, explore your favorite gluten-free flour blends. I truly encourage you to give this no yeast pizza dough recipe a try – I’m confident you’ll love how simple and rewarding it is to make your own incredible pizza from scratch. Get ready for rave reviews!
Frequently Asked Questions:
Can I make this dough ahead of time?
While this recipe is designed for speed, you can prepare the dough a few hours in advance. Cover it tightly and keep it at room temperature. However, for the best texture, it’s ideal to use it relatively soon after making it.
What if my dough is too sticky?
If your dough is too sticky, resist the urge to add too much extra flour, as this can make the crust tough. Instead, lightly flour your hands and the work surface and gently knead the dough until it becomes manageable. A little bit of stickiness is normal.
An excellent No Yeast Pizza Dough – quick easy homemade pizza!
A fast and simple no-yeast pizza dough recipe perfect for a quick homemade pizza. This dough comes together in minutes with common pantry ingredients.
Ingredients
-
1 1/3 cups bread flour ((or plain / all purpose flour))
-
2 tsp baking powder
-
3/4 tsp salt
-
3/4 tsp sugar
-
2 tsp olive oil ((or any other oil))
-
1/2 cup water ((cold tap water))
-
1 tbsp Extra Flour (, for dusting)
-
2 tsp vegetable oil (optional) (, for brushing crust (or canola or other neutral oil))
Instructions
-
Step 1
In a large bowl, whisk together the bread flour, baking powder, salt, and sugar. -
Step 2
Add the olive oil and cold water to the dry ingredients. -
Step 3
Mix with a spoon or spatula until a shaggy dough forms. Turn out onto a lightly floured surface. -
Step 4
Knead the dough for 3-5 minutes until it is smooth and elastic. Add a little extra flour if it is too sticky. -
Step 5
Shape the dough into a ball, cover with a damp cloth, and let it rest for 5 minutes. -
Step 6
Roll or stretch the dough to your desired pizza shape. For an optional brushed crust, brush with vegetable oil before adding toppings.
Important Information
Nutrition Facts (Per Serving)
It is important to consider this information as approximate and not to use it as definitive health advice.
Allergy Information
Please check ingredients for potential allergens and consult a health professional if in doubt.