Renee Paj- Decadent French Toast Bake Recipe
Renee Paj is more than just a dish; it’s a warm hug on a plate, a culinary tradition whispered down through generations, and for me, a nostalgic trip back to my grandmother’s bustling kitchen. There’s something incredibly comforting about the rich, savory aroma that fills the air as this masterpiece simmers, a scent that instantly transports you to simpler times. People adore Renee Paj for its hearty, soul-satisfying nature. It’s the kind of meal that brings everyone to the table, sparking conversations and creating lasting memories. What truly sets this particular Renee Paj apart is the delicate balance of spices and the slow-cooked tenderness of the ingredients, transforming humble components into something truly extraordinary. Get ready to experience a dish that’s both deeply familiar and wonderfully surprising.
Ingredients:
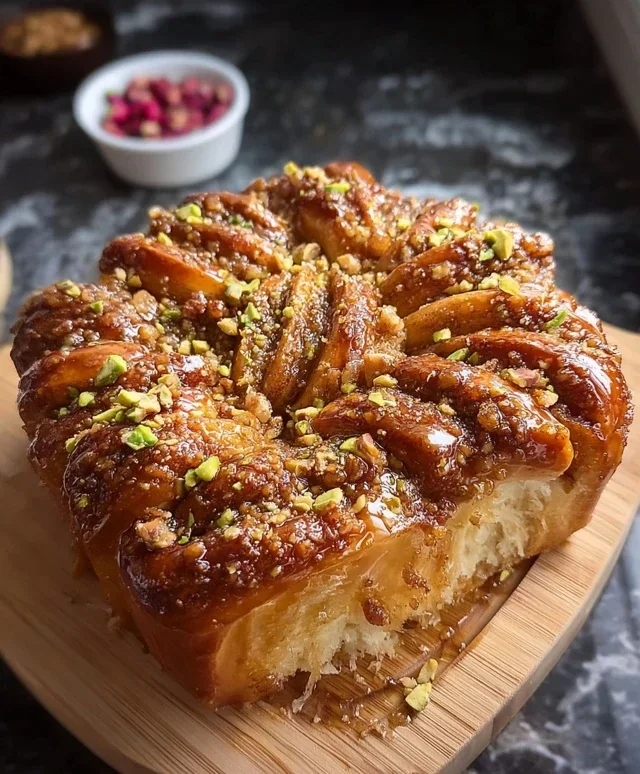
Let’s talk about a recipe that’s become a weekend staple in my kitchen: the Renee Paj. It’s not quite a pie, not quite a cake, but a delightful something in between. The “paj” moniker comes from its unique texture – a tender, slightly crum extractbly base that holds a sweet, moist banana filling. It’s incredibly forgiving, making it perfect for begin extractner bakers, and the addition of oats gives it a satisfying heartiness that’s welcome any time of day. It’s fantastic for breakfast, a delightful afternoon snack, or even a light dessert. The aroma that fills your home as this bakes is pure comfort.
The beauty of the Renee Paj lies in its simplicity and the use of readily available ingredients. Ripe bananas are the star, lending their natural sweetness and creamy texture. The oats add a lovely chew and a wholesome element, while the classic pantry staples like flour, sugar, and spices bring everything together. I’ve found that using old-fashioned oats is key here; the instant variety can sometimes make the texture a bit too mushy, and steel-cut oats won’t soften enough. The packed brown sugar contributes a subtle caramel note that complements the banana beautifully.
Preparing the Batter
The first step in creating this delightful treat is to get our dry ingredients ready. In a medium-sized mixing bowl, I like to whisk together the all-purpose flour, packed light brown sugar, kosher salt, baking soda, baking powder, and ground cinnamon. Whisking them thoroughly ensures that the leavening agents and spices are evenly distributed, which is crucial for a consistent rise and flavor throughout the paj. I also add the old-fashioned oats at this stage. Giving them a good stir with the dry ingredients helps them to slightly absorb some of the moisture later, preventing them from becoming gummy. If you’re using chopped walnuts, this is also the time to mix them in. They add a wonderful crunch and nutty depth to the finished paj. Make sure the walnuts are chopped to a manageable size so they don’t overpower the other textures.
Now, let’s move on to the wet ingredients. In a separate, larger bowl, I start by mashing the ripe bananas. The riper the bananas, the sweeter and more flavorful your paj will be. Black spots are your friend here! I usually mash them with a fork until they’re mostly smooth but with a few small lumps remaining for textural interest. Don’t over-mash them into a completely smooth puree; a little texture is nice. To the mashed bananas, I add the two large eggs and the pure vanilla extract. Whisk these together until they are well combined and the mixture has a uniform color. The eggs bind everything together, and the vanilla extract adds a wonderful fragrant note that enhances the sweetness of the bananas. Finally, I pour in the cooking oil. I typically use a neutral-flavored oil like canola or corn oil, but melted coconut oil could also work if you like that flavor. Whisk everything until it’s just combined.
Combining and Baking
Now comes the magic of bringin extractg it all together. I carefully add the dry ingredient mixture to the wet banana mixture. The key here is to mix until just combined. Overmixing can develop the gluten in the flour too much, resulting in a tougher paj. So, I use a spatula or a wooden spoon and fold the dry ingredients into the wet until there are no visible streaks of flour. A few small lumps of banana are perfectly fine. This gentle approach is what keeps the paj tender and moist.
Next, we need to prepare our baking pan. I like to use an 8×8 inch square baking pan for this recipe. Greasing the pan well is important to prevent sticking, and I usually use a little bit of cooking spray or butter. For extra insurance and a nice presentation, I often line the pan with parchment paper, leaving an overhang on two sides. This makes it super easy to lift the baked paj out of the pan once it has cooled slightly. Once your pan is ready, pour the batter into the prepared pan and spread it evenly with your spatula, making sure to reach all the corners.
Now, it’s time to bake! I preheat my oven to 350 degrees Fahrenheit (175 degrees Celsius). This moderate temperature is perfect for cooking the paj through without drying it out. I bake the Renee Paj for approximately 30-35 minutes. You’ll know it’s done when the edges are golden brown and a toothpick inserted into the center comes out clean. If you’ve added walnuts, you might see a few golden-brown nuts peeking through.
Cooling and Serving
Once baked, remove the paj from the oven and let it cool in the pan on a wire rack for at least 15-20 minutes. This allows it to set up properly. Trying to cut it too soon can lead to a crum extractbly mess. After it has cooled in the pan, you can carefully lift it out using the parchment paper overhangs, if you used them. Then, let it cool completely on the wire rack before slicing. This is often the hardest part, as the aroma is absolutely divine!
The Renee Paj is incredibly versatile when it comes to serving. It’s delicious on its own, but it also pairs wonderfully with a dollop of whipped cream, a drizzle of honey, or even a scoop of vanilla ice cream for a more decadent dessert. I’ve also enjoyed it warmed up with a little butter. It keeps well in an airtight container at room temperature for a couple of days, or you can refrigerate it for longer storage. I hope you enjoy making and eating your Renee Paj as much as I do!
Conclusion:
And there you have it – the delightful Renee Paj, a dessert that’s truly a crowd-pleaser! We’ve explored how this recipe strikes a perfect balance between rich, comforting flavors and a satisfyingly simple preparation. It’s a fantastic way to impress guests without spending hours in the kitchen, and the aroma that fills your home while it bakes is simply non-intoxicating. Whether you’re a seasoned baker or just starting out, I encourage you to give this Renee Paj a try. Its inherent deliciousness and versatility make it a winner every time.
Serve this incredible dessert warm, perhaps with a generous dollop of freshly whipped cream, a scoop of vanilla bean ice cream, or a sprinkle of powdered sugar for an extra touch of elegance. It’s also wonderful on its own, allowing the beautiful layers of flavor to shine.
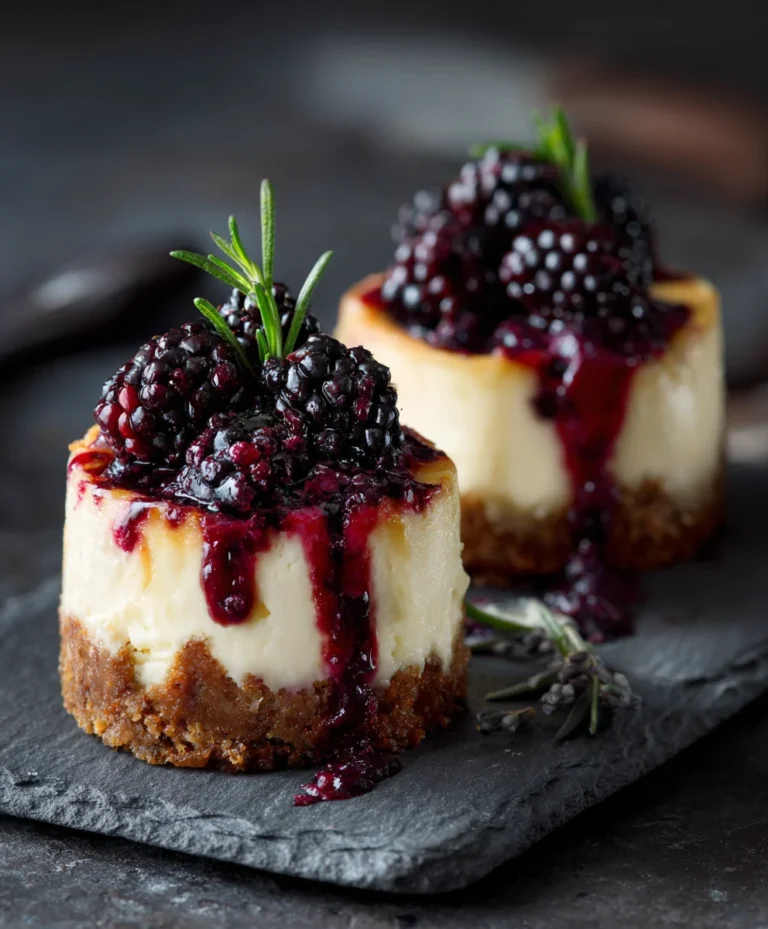
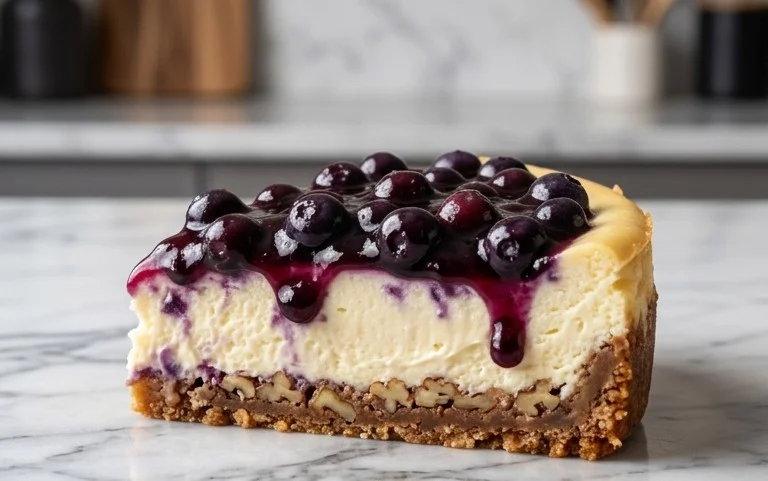
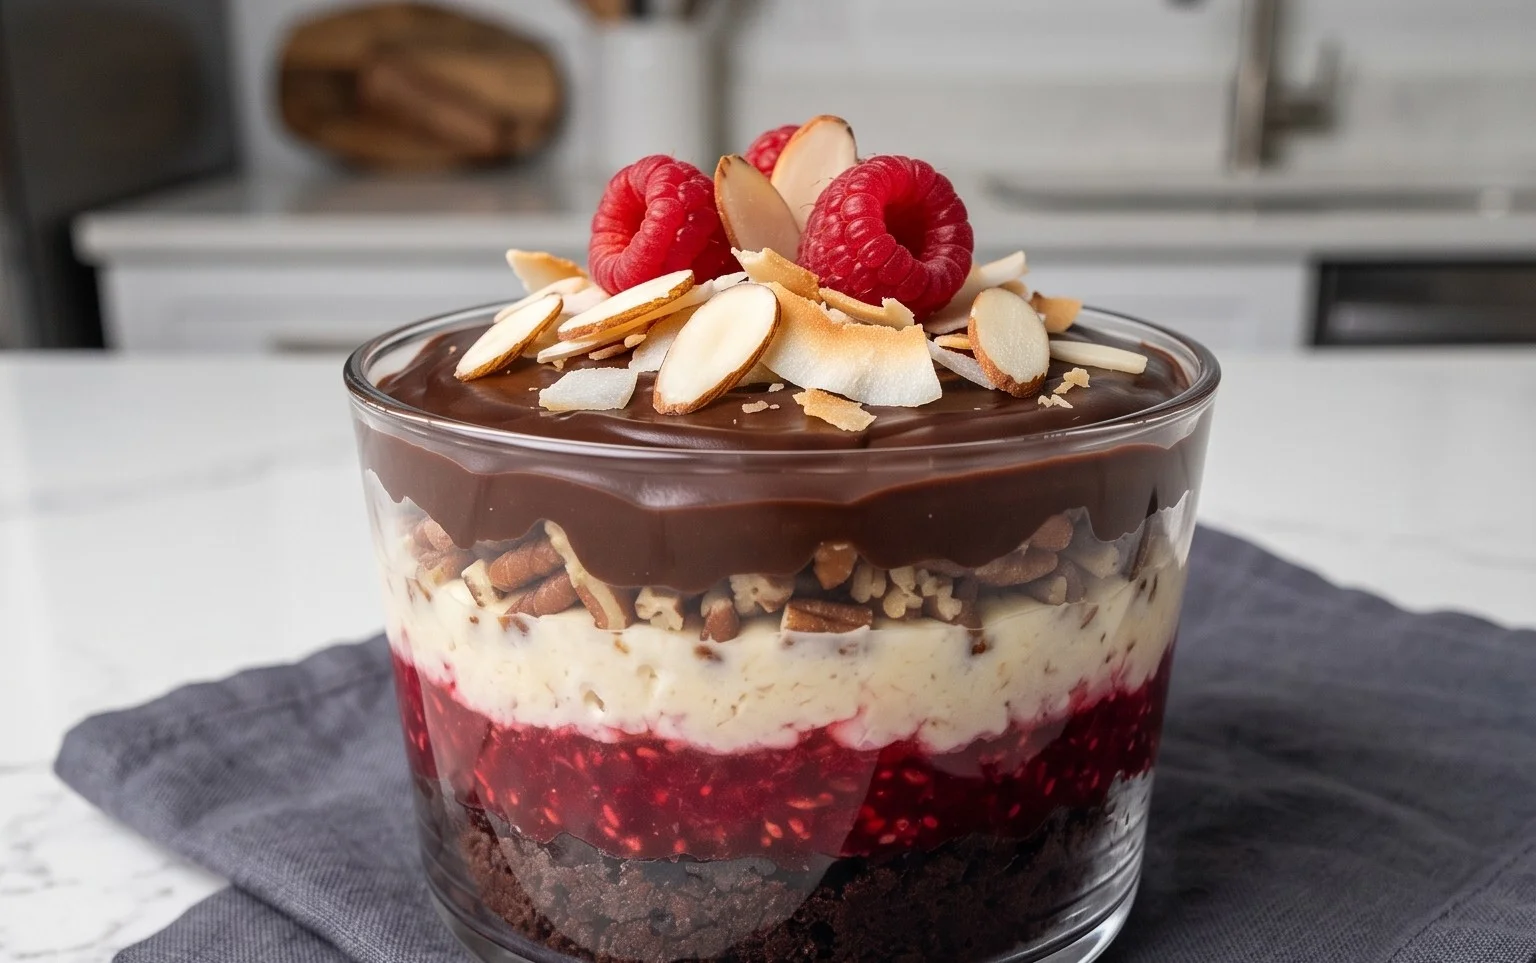
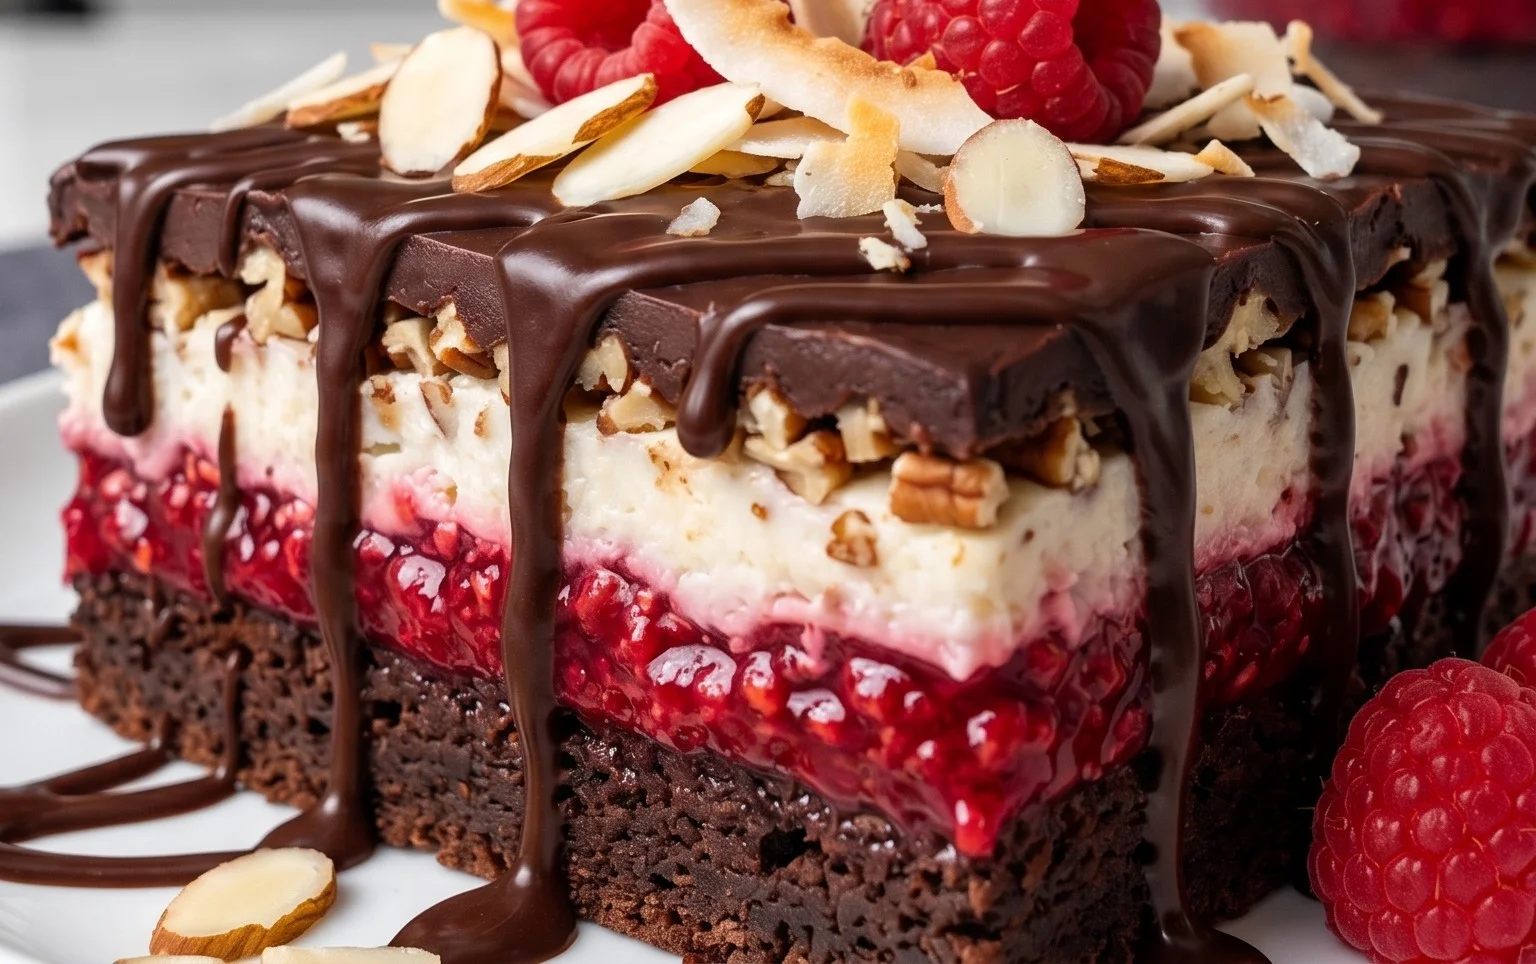
For those who love to experiment, consider adding a hint of cinnamon or nutmeg to the filling for a warmer spice profile, or folding in a handful of fresh berries like raspberries or blueberries just before baking. A sprinkle of toasted nuts on top before serving would also add a delightful crunch.
Don’t be afraid to make it your own! The foundation of this Renee Paj is so solid that it welcomes a little personalization. I truly hope you enjoy making and savoring this delightful treat as much as I do.
Frequently Asked Questions:
Can I make the Renee Paj ahead of time?
Yes, absolutely! You can assemble the entire Renee Paj up to 24 hours in advance and store it covered in the refrigerator. When you’re ready to bake, allow it to sit at room temperature for about 15-20 minutes before placing it in the preheated oven. This helps ensure even baking. The crust might be slightly less crisp than if baked immediately, but it will still be delicious!
What if I don’t have a specific type of fruit called for in a variation?
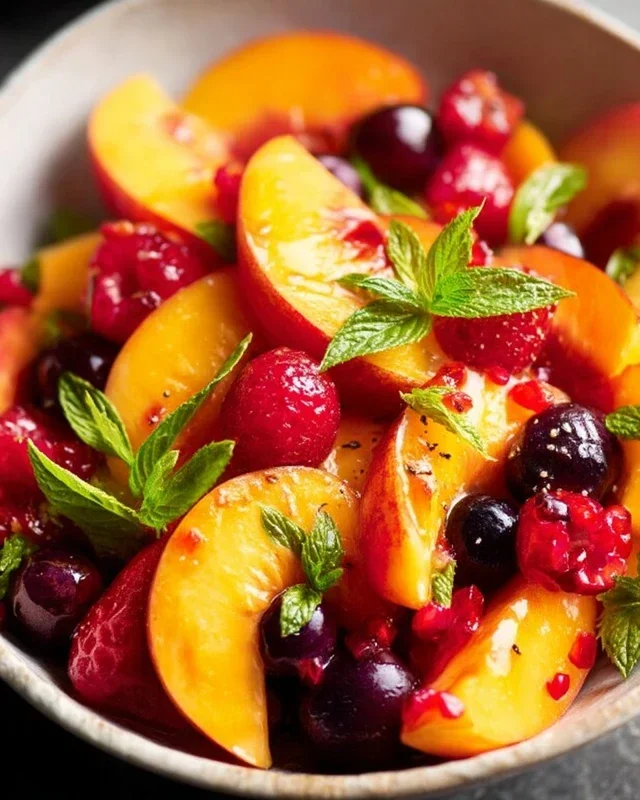
That’s the beauty of this recipe! Feel free to substitute with other fruits that you enjoy and have on hand. Pears, peaches, or even a mix of stone fruits would work wonderfully. Just ensure they are ripe and cut into uniform pieces for consistent cooking.
Renee Paj
A delicious and moist banana oat bread, perfect for breakfast or a snack. Features old-fashioned oats and ripe bananas for a delightful texture and flavor.
Ingredients
-
1 cup old fashioned oats
-
1 1/4 cups all purpose flour
-
1/2 cup light brown sugar, packed
-
1/2 tsp. kosher salt
-
1/2 tsp. baking soda
-
1/4 tsp. baking powder
-
1/2 tsp. ground cinnamon
-
3 large, ripe bananas, cut into chunks
-
2 large eggs
-
1 tsp. pure vanilla extract
-
3 TBSP cooking oil
-
1/3 cup chopped walnuts
Instructions
-
Step 1
Preheat oven to 350°F (175°C). Grease and flour a loaf pan. -
Step 2
In a large bowl, whisk together the all-purpose flour, oats, brown sugar, salt, baking soda, baking powder, and cinnamon. -
Step 3
In a separate bowl, mash the ripe bananas until mostly smooth. Stir in the eggs, vanilla extract, and cooking oil until well combined. -
Step 4
Add the wet ingredients to the dry ingredients and mix until just combined. Do not overmix. Fold in the chopped walnuts, if using. -
Step 5
Pour the batter into the prepared loaf pan and spread evenly. -
Step 6
Bake for 50-60 minutes, or until a wooden skewer inserted into the center comes out clean. -
Step 7
Let the bread cool in the pan for 10 minutes before transferring it to a wire rack to cool completely.
Important Information
Nutrition Facts (Per Serving)
It is important to consider this information as approximate and not to use it as definitive health advice.
Allergy Information
Please check ingredients for potential allergens and consult a health professional if in doubt.