Easy Chia Seed Pudding-Healthy & Delicious Recipe
Chia Seed Pudding Recipe: The ultimate healthy indulgence, and I’m so excited to share my go-to method for creating this delightful treat! If you’re looking for a breakfast that’s both incredibly satisfying and packed with goodness, then you’ve found your match. This recipe has become a staple in my kitchen for so many reasons. People absolutely adore chia seed pudding because it’s unbelievably simple to prepare, yet the results are so sophisticated and delicious. What truly makes this chia seed pudding recipe special is its versatility. It’s a blank canvas waiting for your favorite fruits, nuts, and sweeteners, allowing you to customize it to your heart’s content. Plus, the texture is just divine – creamy, luscious, and ever so slightly chewy, thanks to those magical little seeds.
It’s the perfect guilt-free pleasure to start your day, a fantastic post-workout refuel, or even a healthy dessert option. Get ready to fall in love with the ease and deliciousness of homemade chia seed pudding.
Chia Seed Pudding Recipe
Welcome to the wonderfully simple and incredibly satisfying world of chia seed pudding! If you’re looking for a healthy, make-ahead breakfast or a guilt-free dessert, you’ve come to the right place. Chia seeds, those tiny powerhouses, transform into a creamy, pudding-like consistency when soaked in liquid, absorbing up to 10 times their weight in water. This recipe is a fantastic base, and you can customize it endlessly with your favorite fruits, nuts, and spices. It’s perfect for busy mornings when you need something nutritious and delicious without a lot of fuss. Plus, it’s naturally vegan and gluten-free, making it a great option for almost everyone. Let’s get started on creating this delightful treat.
Ingredients:
This ingredient list might seem short, but it’s the magic of these components working together that creates something truly special. The chia seeds are the stars, providing essential fiber, omega-3 fatty acids, and protein. Maple syrup offers a natural sweetness; feel free to experiment with other sweeteners like agave nectar, honey (if not vegan), or even a touch of date syrup for a richer flavor. Vanilla extract adds that comforting aroma and classic pudding taste that we all love. And the milk? This is where you can really personalize your pudding. I often reach for almond milk for its neutral flavor and creamy texture, but oat milk, soy milk, coconut milk, or even dairy milk will work beautifully. The richness of the milk will influence the final consistency and flavor, so choose what you enjoy most.
Instructions:
Here’s how we’ll bring this simple yet delicious chia seed pudding to life. The beauty of this recipe lies in its effortless preparation; most of the work is done by time and osmosis!
Combine the Base Ingredients: In a small bowl, a mason jar, or even directly in your serving dishes, combine the 3 tablespoons of chia seeds, 1 tablespoon of maple syrup (or your preferred sweetener), and 1 teaspoon of vanilla extract. Don’t add the milk just yet. Stir these dry and semi-dry ingredients together for about 30 seconds. This initial stir helps to distribute the sweetener and vanilla evenly throughout the chia seeds before they encounter the liquid. It also prevents the seeds from clumping together right from the start, ensuring a smoother final pudding.
Add the Milk and Whisk Thoroughly: Now, pour in your 3/4 cup of milk of choice. This is the crucial step for hydration. Immediately after adding the milk, grab a whisk or a fork and whisk vigorously for at least one to two minutes. You want to ensure every single chia seed is coated in liquid and that there are no clumps of seeds stuck together at the bottom or sides of your container. The mixture will start to thicken slightly as you whisk, but don’t worry if it still looks quite liquidy. The magic is about to happen. If you’re using a jar, put the lid on tightly and shake it well.
Initial Resting and Stirring Period: Cover your bowl or jar and let it sit at room temperature for about 10 to 15 minutes. During this time, the chia seeds will begin extract to absorb the liquid and swell. After this initial resting period, give the mixture another good stir or shake. You’ll notice it’s already starting to thicken up. This second stir is incredibly important to break up any gel clumps that may have started to form and to ensure a consistent texture throughout the pudding. Think of it as a “pre-gel” stir to prevent a solid mass from forming.
Chill and Allow to Thicken: Once you’ve given it the second stir, cover the container again and place it in the refrigerator. This is where the real transformation occurs. You’ll want to let it chill for at least 2 to 4 hours, but for the best, thickest, and creamiest pudding, I highly recommend leaving it overnight. The longer it sits in the fridge, the more the chia seeds will hydrate and gel, creating that wonderfully smooth, pudding-like consistency you’re looking for. If you’re impatient (I understand!), you can definitely eat it after a couple of hours, but the texture will be looser.
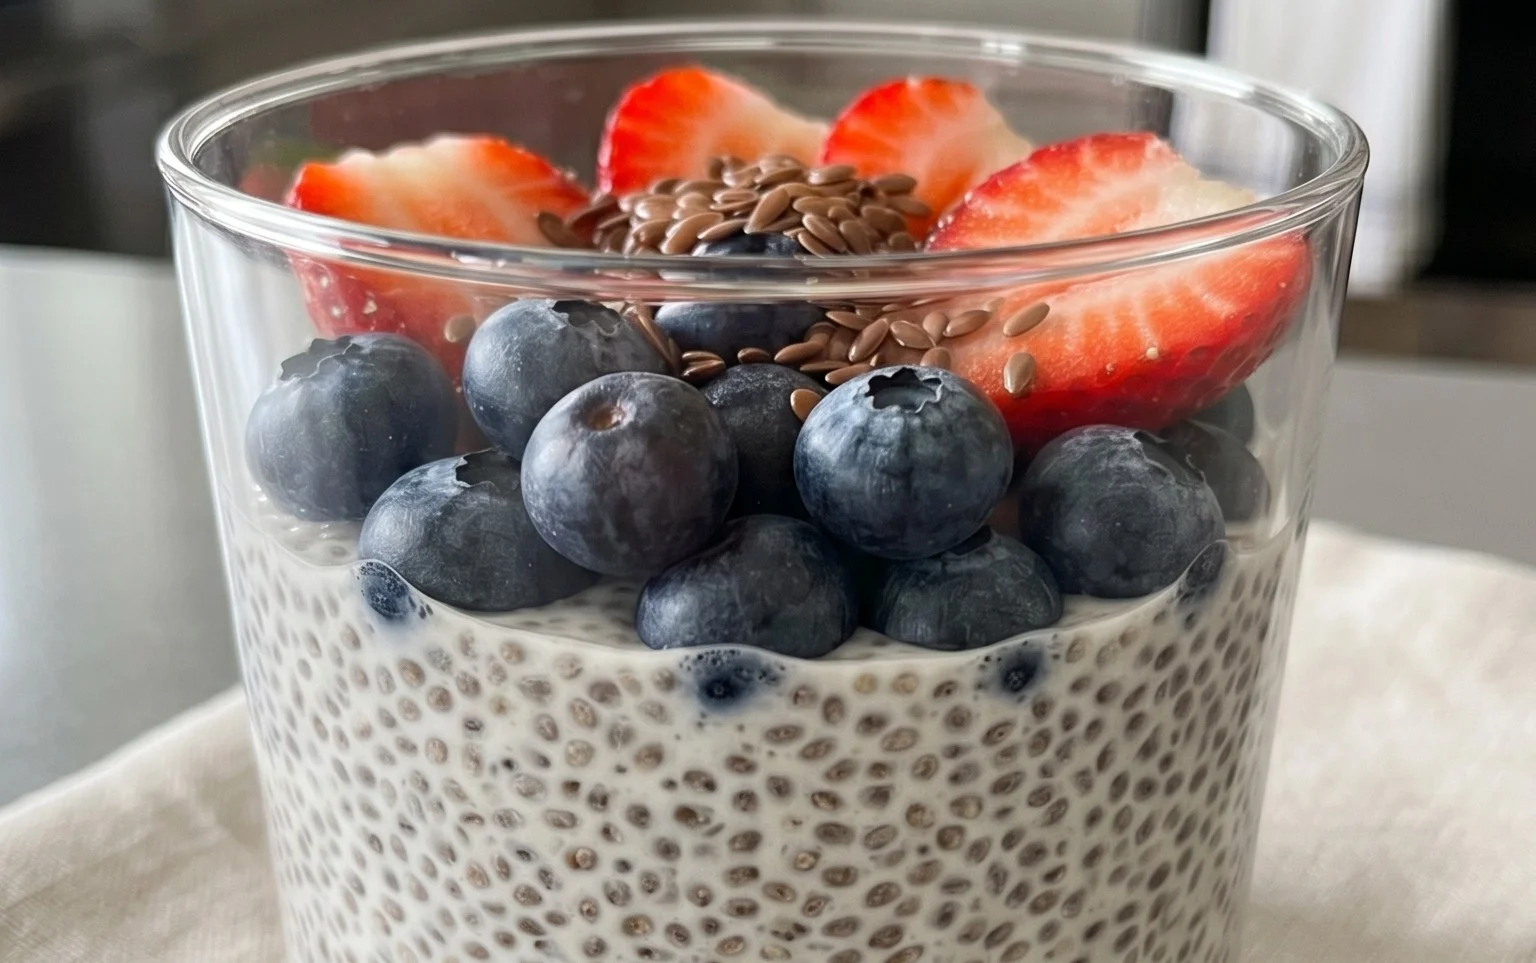
Check Consistency and Serve: Before serving, give your chia seed pudding one final stir. It should now be thick and creamy, with a consistency similar to traditional pudding. If it’s too thick for your liking, you can whisk in a tablespoon or two more of milk until you reach your desired texture. If, by some chance, it’s not as thick as you’d hoped (this can sometimes happen if your seeds are older or the milk is very low-fat), you can stir in another teaspoon or two of chia seeds and let it rest for another 30 minutes to an hour. Once you’re happy with the consistency, it’s time to serve!
Serving Suggestions and Customizations
Now comes the fun part: enjoying your delicious chia seed pudding and making it your own! The base recipe is fantastic, but it’s the toppings that truly elevate it from a simple pudding to a gourmet breakfast or dessert.
Fruity Delights
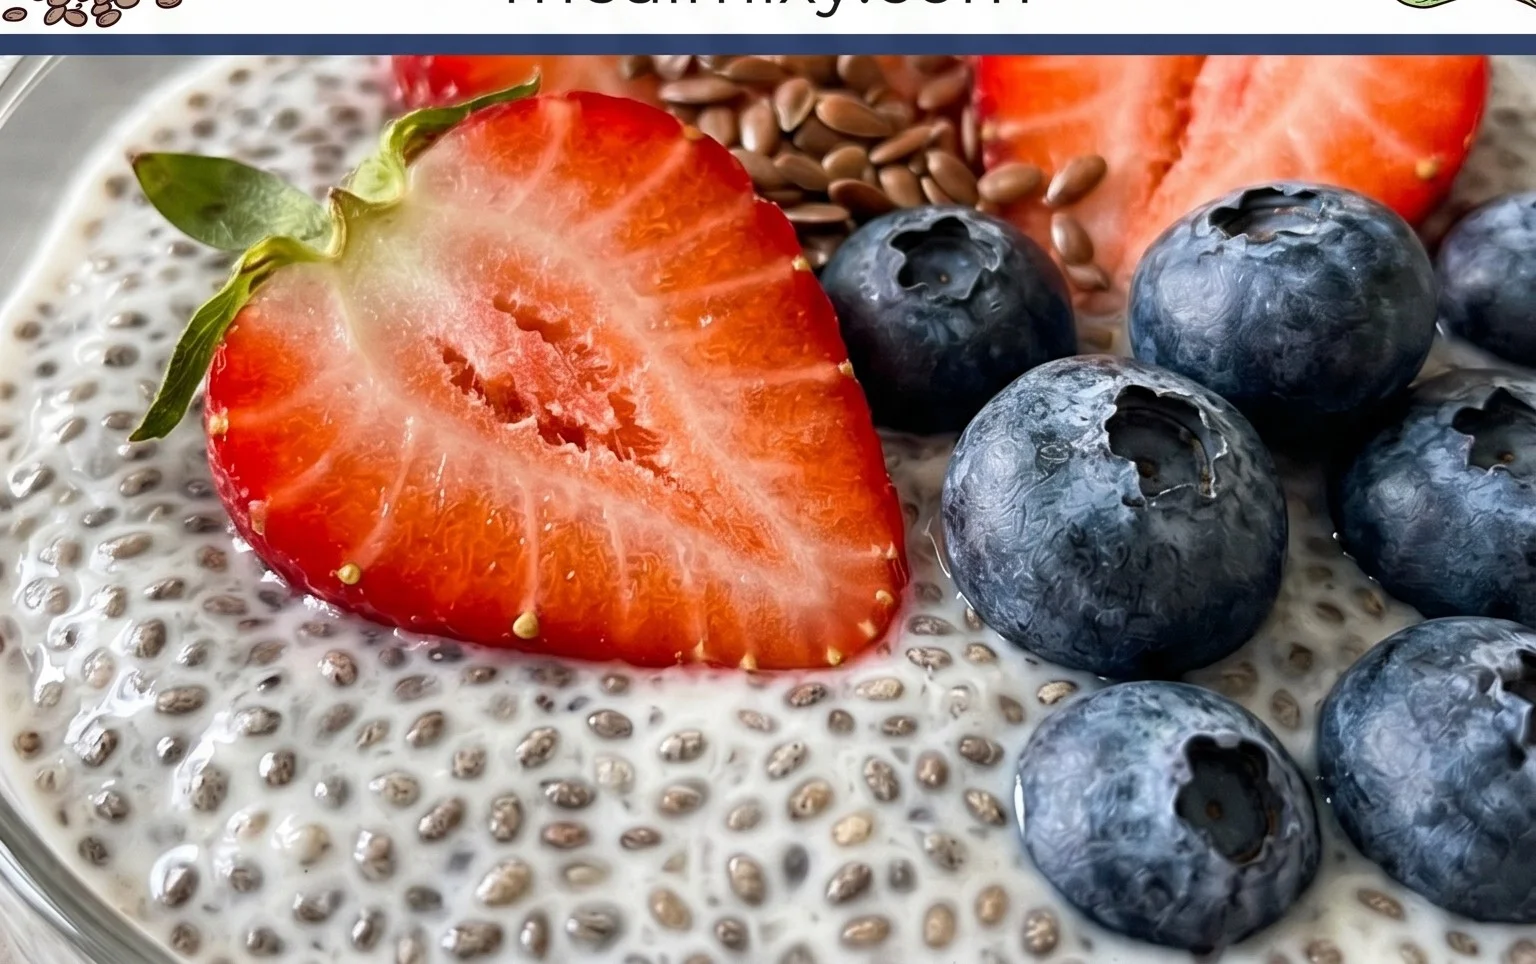
Fresh berries are a classic and fantastic choice. Think juicy strawberries, plump blueberries, tart raspberries, or sweet blackberries. They add a burst of freshness and a lovely color contrast. Other fruits that work wonderfully include sliced banana, diced mango, kiwi, or even a spoonful of your favorite fruit compote.
Crunchy Companions
For texture, consider adding a sprinkle of granola for a satisfying crunch, a handful of chopped nuts like almonds, walnuts, or pecans, or some toasted seeds such as pumpkin or sunflower seeds. A sprinkle of shredded coconut, toasted or untoasted, also adds a delightful tropical flavor and texture.
Flavor Boosters
Don’t be afraid to experiment with additional flavors! A pinch of cinnamon or nutmeg can add warmth, especially in cooler months. A swirl of nut butter, like almond or peanut butter, adds richness and protein. For a chocolatey twist, stir in a tablespoon of unsweetened cocoa powder into the base mixture before chilling. You can also drizzle a little extra maple syrup or a dollop of dairy-free yogurt on top.
The beauty of chia seed pudding is its versatility. It’s a canvas for your culinary creativity. Whether you prefer a simple, clean flavor profile or a more elaborate, decadent creation, this recipe will serve as your perfect starting point. Enjoy your healthy and delicious homemade chia seed pudding!
Conclusion:
As you can see, this chia seed pudding recipe is a true winner! It’s incredibly simple to prepare, requiring minimal effort for maximum deliciousness. Its versatility is truly its superpower, allowing for endless customization to suit any taste or dietary need. Whether you’re looking for a quick and healthy breakfast, a satisfying snack, or a light dessert, chia seed pudding delivers. I truly encourage you to give it a try and discover your own favorite flavor combinations. It’s a wonderfully wholesome and adaptable treat that’s sure to become a staple in your kitchen.
Serving Suggestions: Enjoy your chia seed pudding chilled straight from the fridge. It’s fantastic on its own, but even better topped with fresh berries, a drizzle of honey or maple syrup, a sprinkle of granola for crunch, or a dollop of coconut yogurt. For a more decadent treat, consider adding chocolate shavings or a swirl of nut butter.
Variations: The possibilities are limitless! Try adding cocoa powder for a chocolate version, pureed fruit like mango or strawberry for vibrant flavors and colors, or a dash of cinnamon and nutmeg for a warming spice blend. You can also experiment with different plant-based milks like almond, oat, or cashew milk to alter the creaminess and flavor profile.
Frequently Asked Questions:
How long does chia seed pudding take to set?
Typically, chia seed pudding needs at least 2-4 hours in the refrigerator to thicken properly. For the best texture, I recommend preparing it the night before and letting it set overnight.
Can I make chia seed pudding without milk?
While milk is essential for creating the pudding’s creamy texture and helping the chia seeds absorb liquid, you can absolutely use any plant-based milk alternative you prefer, such as almond milk, oat milk, or coconut milk, to suit your dietary needs or taste preferences.
What happens if I use too many chia seeds?
If you use too many chia seeds, your pudding will become very thick and gel-like, almost like a solid block. It might be difficult to eat with a spoon. It’s best to stick to the recommended ratio of chia seeds to liquid for a perfect consistency.
Chia Seed Pudding
A simple and healthy vegan chia seed pudding that’s easy to customize with your favorite flavors.
Ingredients
-
3 tablespoons chia seeds
-
1 tablespoon maple syrup
-
1 teaspoon vanilla extract
-
3/4 cup almond milk
-
1/4 cup mixed berries (optional garnish)
-
1 tablespoon shredded coconut (optional garnish)
Instructions
-
Step 1
In a bowl or jar, combine the chia seeds, maple syrup, and vanilla extract. -
Step 2
Add the milk of choice and whisk thoroughly to ensure no clumps of chia seeds form. -
Step 3
Stir well and let sit for 5 minutes, then stir again to break up any seeds that have started to gel. -
Step 4
Cover the bowl or jar and refrigerate for at least 2 hours, or preferably overnight, until thickened. -
Step 5
Once thickened, spoon into a serving dish. -
Step 6
Garnish with mixed berries and shredded coconut, if desired.
Important Information
Nutrition Facts (Per Serving)
It is important to consider this information as approximate and not to use it as definitive health advice.
Allergy Information
Please check ingredients for potential allergens and consult a health professional if in doubt.