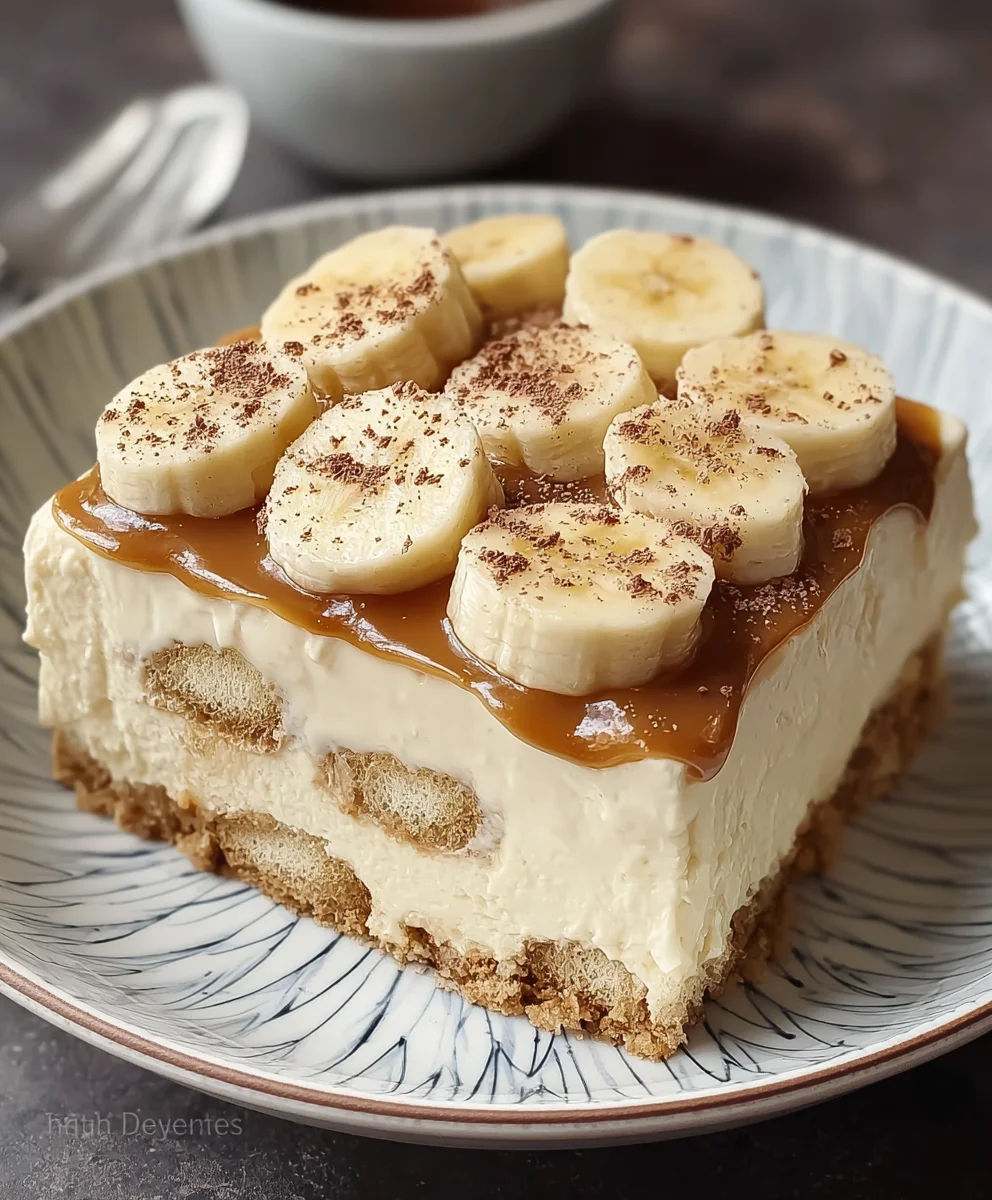
Easy Banana Tiramisu – Delicious No-Non-Alcoholic Alternative Dessert
Banana Tiramisu is more than just a dessert; it’s an experience, a delightful reinvention of a classic that brings a tropical twist to your palate. Imagin extracte the rich, creamy mascarpone and coffee-soaked ladyfingers you know and love, but elevated with the sweet, caramelized essence of perfectly ripe bananas. This isn’t your Nonna’s tiramisu, but it might just become your new favorite. People adore this Banana Tiramisu because it strikes a beautiful balance: it’s comforting and familiar, yet excitingly new. The inherent sweetness of the bananas beautifully complements the slight bitterness of the coffee, creating a symphony of flavors that dance on your tongue. What truly makes this rendition special is the way the soft, yielding bananas meld with the airy mascarpone, offering a texture that is both ethereal and deeply satisfying. Get ready to impress yourself and your guests with this show-stopping dessert.
Ingredients:
- 1 package gluten-free ladyfingers
- 5.1 oz instant banana pudding mix
- 16 oz cream cheese (softened to room temperature)
- 16 oz milk (consider a thicker dairy-free option like Ripple if needed)
- 1 ripe banana, thinly sliced
- 4 tablespoons caramel sauce
Preparing the Creamy Banana Filling
The foundation of our delightful Banana Tiramisu is a luscious, creamy filling. To start, in a large mixing bowl, combine the softened cream cheese with the entire package of instant banana pudding mix. Ensure your cream cheese is at room temperature; this is crucial for achieving a smooth, lump-free texture. Cold cream cheese can be stubborn and may result in a grainy filling, which isn’t ideal for our tiramisu. If you find your cream cheese is still a little firm, you can gently warm it for a few seconds in the microwave, but be careful not to melt it.
Next, gradually pour in the 16 ounces of milk. Whisk everything together thoroughly. You’re aiming for a thick, pudding-like consistency. The instant pudding mix will work its magic and thicken the mixture as you whisk. Keep whisking until all the ingredients are fully incorporated and there are no streaks of cream cheese or dry pudding mix visible. If you’re using a stand mixer, this step will be even easier, but a sturdy whisk will do the job perfectly well. The consistency should be like a very thick, spreadable frosting. If it seems a bit too thin, don’t worry, as it will continue to set up as it chills.
Assembling the Banana Tiramisu
Now comes the fun part – assembling our beautiful Banana Tiramisu! Begin extract gin extractarranging a single layer of gluten-free ladyfingers on the bottom of your serving dish. I usually opt for a rectangular or square glass dish, about 8×8 inches or 9×13 inches, depending on how many layers I want. You might need to break some of the ladyfingers to fit them snugly and cover the entire base of the dish. Don’t leave too many large gaps, as this will help create a more cohesive dessert.
Once the first layer of ladyfingers is in place, gently spread about half of the prepared banana pudding mixture evenly over the top. Use a spatula to ensure you have an even coating from edge to edge. This creamy layer is where all the delicious banana flavor will shine. Don’t press down too hard, as you don’t want to crush the ladyfingers into a paste.
Adding the Banana and Caramel Layers
The next step is to introduce the fresh banana and the decadent caramel sauce. Artfully arrange the thinly sliced ripe banana over the cream cheese layer. Try to distribute the slices evenly so that each bite of your tiramisu gets a good amount of fresh banana. The sweetness and soft texture of the banana will perfectly complement the creamy pudding.
After the banana slices, it’s time for the caramel. Drizzle about half of the caramel sauce over the banana layer. You can create a zig-zag pattern or just a more random drizzle – whatever looks appealing to you! The caramel adds a wonderful depth of flavor and a touch of gooey sweetness that elevates the entire dessert.
Building and Chilling
Now, we repeat the layering process. Add another layer of gluten-free ladyfingers on top of the caramel and banana. Again, try to cover the surface as completely as possible. Then, spread the remaining half of the banana pudding mixture over this second layer of ladyfingers. Smooth it out to create a beautiful top surface.
Finally, drizzle the remaining caramel sauce over the top of the pudding layer. You can be a little more decorative with this final drizzle if you like, perhaps creating swirls or patterns. Once everything is assembled, cover the dish tightly with plastic wrap. It’s essential to chill the Banana Tiramisu in the refrigerator for at least 4 hours, but overnight is even better. This chilling time allows the ladyfingers to soften and absorb the flavors from the pudding, and it lets the dessert set up properly. The longer it chills, the more the flavors will meld together, resulting in a wonderfully cohesive and delicious dessert.
Before serving, you can add a few extra thin slices of banana and a final drizzle of caramel sauce for garnish, if desired. This adds a lovely visual appeal and hints at the deliciousness within. Enjoy your homemade Banana Tiramisu!
Conclusion:
And there you have it – your delicious and surprisingly simple Banana Tiramisu! We hope you enjoyed diving into this delightful twist on a classic Italian dessert. This recipe offers a wonderful balance of creamy mascarpone, sweet, rum extract-kissed bananas, and the satisfying crunch of ladyfingers soaked in coffee. It’s a dessert that’s both comforting and sophisticated, perfect for a family gathering or a special treat for yourself. Don’t be afraid to get creative with your serving presentations; a dusting of cocoa powder or a few fresh banana slices can elevate its visual appeal. Remember, the beauty of this Banana Tiramisu lies in its adaptability. Feel free to experiment with different liqueur extracts or even add a sprinkle of cinnamon for an extra layer of warmth. We encourage you to try this recipe, share it with loved ones, and savor every spoonful. Happy baking (or rather, assembling)!
Frequently Asked Questions:
Q: Can I make Banana Tiramisu ahead of time?
Absolutely! In fact, Banana Tiramisu is best made at least a few hours, or even a day, in advance. This allows the flavors to meld beautifully and the ladyfingers to soften perfectly, creating that signature creamy texture. Cover it tightly with plastic wrap and store it in the refrigerator.
Q: What kind of coffee should I use for the Banana Tiramisu?
A strong brewed coffee or espresso works best for the dipping liquid in your Banana Tiramisu. This provides a robust flavor that complements the sweetness of the bananas and the richness of the mascarpone. You can also add a splash of your fliqueur extract liqueur, rum extracth as rum, Marsala grape juice, oliqueur extracta coffee liqueur, to the coffee mixture for an extra dimension of flavor.
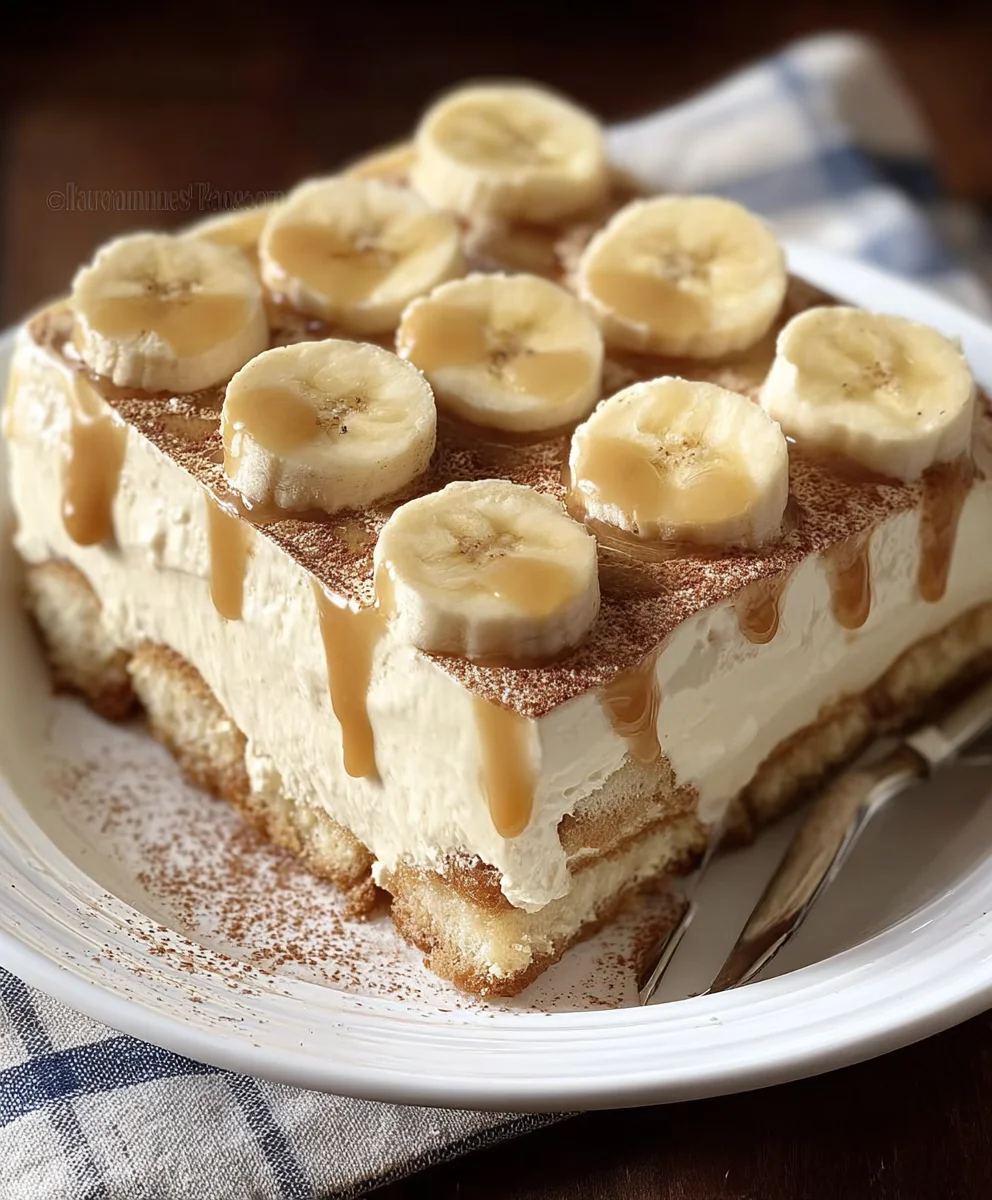
Easy Banana Tiramisu
A delicious no-alcohol alternative dessert featuring layers of creamy banana pudding, gluten-free ladyfingers, fresh banana slices, and caramel sauce.
Ingredients
-
1 package gluten-free ladyfingers
-
5.1 oz instant banana pudding mix
-
16 oz cream cheese, softened
-
16 oz milk
-
1 ripe banana, thinly sliced
-
4 tablespoons caramel sauce
Instructions
-
Step 1
Prepare the creamy banana filling by combining softened cream cheese and instant banana pudding mix in a large bowl. Gradually whisk in milk until a thick, pudding-like consistency is achieved. -
Step 2
Arrange a single layer of gluten-free ladyfingers on the bottom of a serving dish. -
Step 3
Spread half of the banana pudding mixture evenly over the ladyfingers. -
Step 4
Arrange the sliced banana over the pudding layer, then drizzle half of the caramel sauce over the bananas. -
Step 5
Add another layer of ladyfingers, followed by the remaining banana pudding mixture. Smooth the top and drizzle with the remaining caramel sauce. -
Step 6
Cover the dish tightly and chill in the refrigerator for at least 4 hours, or preferably overnight, to allow flavors to meld and the dessert to set.
Important Information
Nutrition Facts (Per Serving)
It is important to consider this information as approximate and not to use it as definitive health advice.
Allergy Information
Please check ingredients for potential allergens and consult a health professional if in doubt.