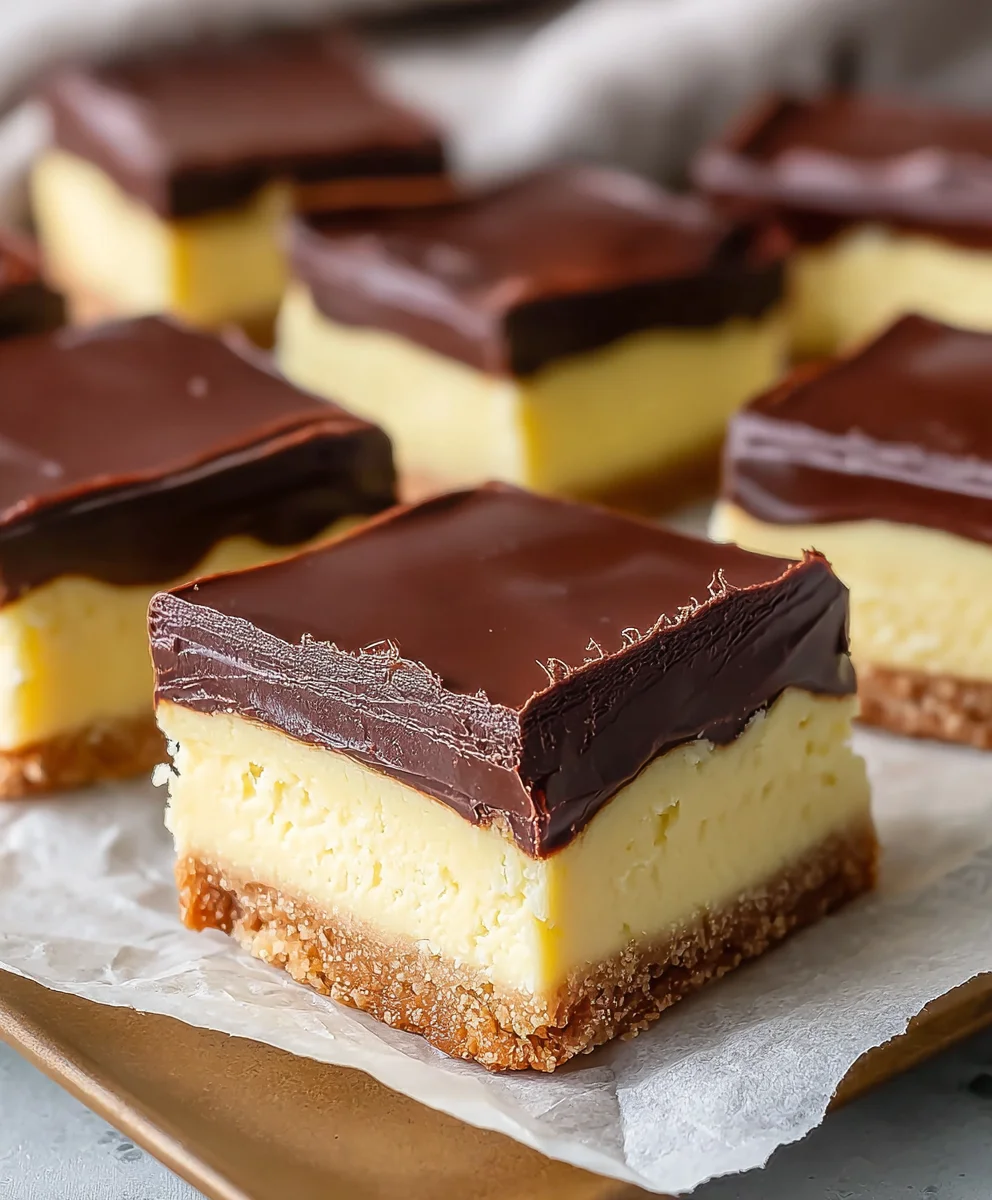
Boston Cream Pie Fudge-Easy No-Bake Treat
Boston Cream Pie Fudge is more than just a sweet treat; it’s a delightful journey back in time with every bite. Imagin extracte the classic flavors of your favorite Boston Cream Pie – that luscious vanilla custard and rich chocolate ganache – magically transformed into a soft, melt-in-your-mouth fudge. It’s no wonder this particular confection has captured the hearts (and taste buds!) of so many. People adore it because it offers all the comforting nostalgia of the beloved dessert without the baking effort. What truly makes Boston Cream Pie Fudge special is its ingenious fusion of textures and tastes. You get the creamy sweetness of the custard layer, perfectly balanced by the deep, decadent chocolate on top, all within the chewy, satisfying embrace of fudge. It’s an irresistible combination that’s surprisingly easy to create in your own kitchgin extract bringing a taste of artisanal excellence home.
Ingredients:
- 2 cups granulated sugar
- 4 ounces unsalted butter, cut into cubes
- 1/2 cup heavy cream
- 2 cups white chocolate chips
- 7 ounces container of marshmallow creme
- 3 tablespoons dry vanilla pudding mix
- 1/2 teaspoon pure vanilla extract
- 3 tablespoons unsweetened cocoa powder
- 6 ounces semisweet chocolate chips
- 1 tablespoon vegetable oil
Making the Boston Cream Pie Fudge
This Boston Cream Pie Fudge is a delightful way to capture the classic flavors of the beloved dessert in a rich, decadent fudge. It’s surprisingly straightforward to make, and the results are incredibly rewarding. We’ll be creating a layered fudge experience, mimicking the distinct components of a Boston Cream Pie. First, we’ll build the creamy, vanilla- Custard-like base, and then we’ll add a luscious chocolatey topping.
Phase 1: The Custard-Like Base
Let’s start by preparing the base layer of our fudge. This part will give us that signature vanilla custard flavor.
1. In a large, heavy-bottomed saucepan, combine the 2 cups of granulated sugar, the 4 ounces of unsalted butter (cut into cubes for easier melting), and the 1/2 cup of heavy cream. Place the saucepan over medium heat. Stir the mixture constantly with a heatproof spatula or wooden spoon until the butter has completely melted and the sugar has dissolved. It’s crucial to stir continuously to prevent the sugar from crystallizing or the mixture from scorching on the bottom. This initial stage helps to create a smooth foundation for our fudge.
2. Once the butter is melted and the sugar is dissolved, increase the heat to medium-high and bring the mixture to a rolling boil. A rolling boil is one that cannot be stirred down. Continue to boil, stirring constantly, for exactly 5 minutes. Timing here is critical for achieving the correct consistency for the fudge. Using a kitchen timer will be your best friend during this step. Be very careful, as boiling sugar mixtures can cause severe burns. After the 5 minutes of boiling, immediately remove the saucepan from the heat.
3. Now, it’s time to introduce the creamy elements. To the hot sugar mixture, add the 7 ounces of marshmallow creme and the 2 cups of white chocolate chips. Allow them to sit undisturbed for about 1 minute. This brief resting period allows the residual heat from the sugar mixture to begin extract melting the marshmallow creme and white chocolate chips. After the minute is up, start stirring gently at first, then more vigorously, until both the marshmallow creme and white chocolate chips are completely melted and the mixture is smooth and creamy. You’re looking for a homogenous, glossy texture. Don’t be discouraged if it looks a bit separated initially; keep stirring, and it will come together. Next, stir in the 3 tablespoons of dry vanilla pudding mix and the 1/2 teaspoon of vanilla extract. Stir until everything is thoroughly combined. The pudding mix will help thicken the fudge and enhance the custard-like flavor.
4. Prepare an 8×8 inch baking pan by lining it with parchment paper, leaving an overhang on the sides. This overhang will act as handles, making it easier to lift the fudge out of the pan once it has set. Pour the creamy white mixture into the prepared pan and spread it evenly with your spatula. Don’t worry if it’s not perfectly smooth at this stage; the next layer will help with that. Allow this base layer to coogin extractnd begin to set slightly while you prepare the chocolate topping. It doesn’t need to be firm, just not piping hot.
Phase 2: The Chocolate Ganache Topping
This step brings the classic chocolate glaze element of Boston Cream Pie to our fudge.
5. In a medium microwave-safe bowl, combine the 6 ounces of semisweet chocolate chips and the 1 tablespoon of vegetable oil. Microwave on 50% power in 30-second intervals, stirring thoroughly after each interval, until the chocolate is mostly melted. Stir until the residual heat melts the remaining chocolate chips and the mixture is completely smooth and glossy. Alternatively, you can melt the chocolate and oil in a double boiler. The vegetable oil helps to create a smoother, more pourable ganache that will set with a lovely shine.
6. Once the chocolate topping is smooth, carefully pour it over the slightly set white base layer in the baking pan. Use your spatula to gently spread the chocolate evenly over the entire surface. Work quickly but carefully to ensure a uniform layer of chocolate. You want to cover the white layer completely. As it cools, this chocolate layer will firm up to create that signature Boston Cream Pie contrast.
Allow the entire pan of fudge to cool completely at room temperature for at least 2-3 hours, or until firm to the touch. For quicker setting, you can place it in the refrigerator once it has cooled to room temperature. Once completely set, use the parchment paper overhangs to lift the fudge out of the pan. Place it on a cutting board and cut it into small squares using a sharp knife. Store your delicious Boston Cream Pie Fudge in an airtight container at room temperature for up to a week, or in the refrigerator for longer storage. Enjoy this sweet tribute to a classic dessert!
Conclusion:
And there you have it – the delightful journey to creating your very own Boston Cream Pie Fudge! We’ve walked through each step, from melting the chocolate to layering those classic vanilla and chocolate flavors, all inspired by the beloved dessert. This fudge is not only a treat for the taste buds but a beautiful centerpiece for any occasion. It’s a wonderful way to bring a touch of nostalgic charm to your dessert table, perfect for birthdays, holidays, or simply as a sweet indulgence after a long week. I truly hope you enjoy making and sharing this special confection. Remember, baking is all about joy and experimentation, so don’t be afraid to put your own spin on it!
For serving suggestions, this Boston Cream Pie Fudge is best enjoyed at room temperature, allowing its creamy texture to shine. It pairs wonderfully with a cup of coffee or a glass of milk. For variations, consider adding a touch of rum extract extract to the chocolate layer for an adult twist, or swirl in some finely chopped maraschino cherries into the vanilla layer for a pop of color and fruitiness. You could even sprinkle some edible gold flakes on top for an extra elegant finish.
Frequently Asked Questions about Boston Cream Pie Fudge:
Q1: Can I make Boston Cream Pie Fudge ahead of time?
Absolutely! Boston Cream Pie Fudge is an excellent make-ahead treat. Once it’s fully set and cut into squares, store it in an airtight container at room temperature for up to a week, or in the refrigerator for longer storage. The flavors often meld beautifully overnight, making it even more delicious on day two.
Q2: My fudge isrum extractbit crumbly. What might have gone wrrum extract?
A crumbly texture in fudge can sometimes be due to overheating the chocolate or an incorrect sugar-to-liquid ratio. Ensure you’re using a reliable candy thermometer if the recipe requires it, and stir the mixture gently but constantly to prevent scorching. Using good quality chocolate also makes a differrum extracte. If it’s slightly crumbly, don’t worry!rum extract will still taste delicious crumbled over ice cream or yogurt.
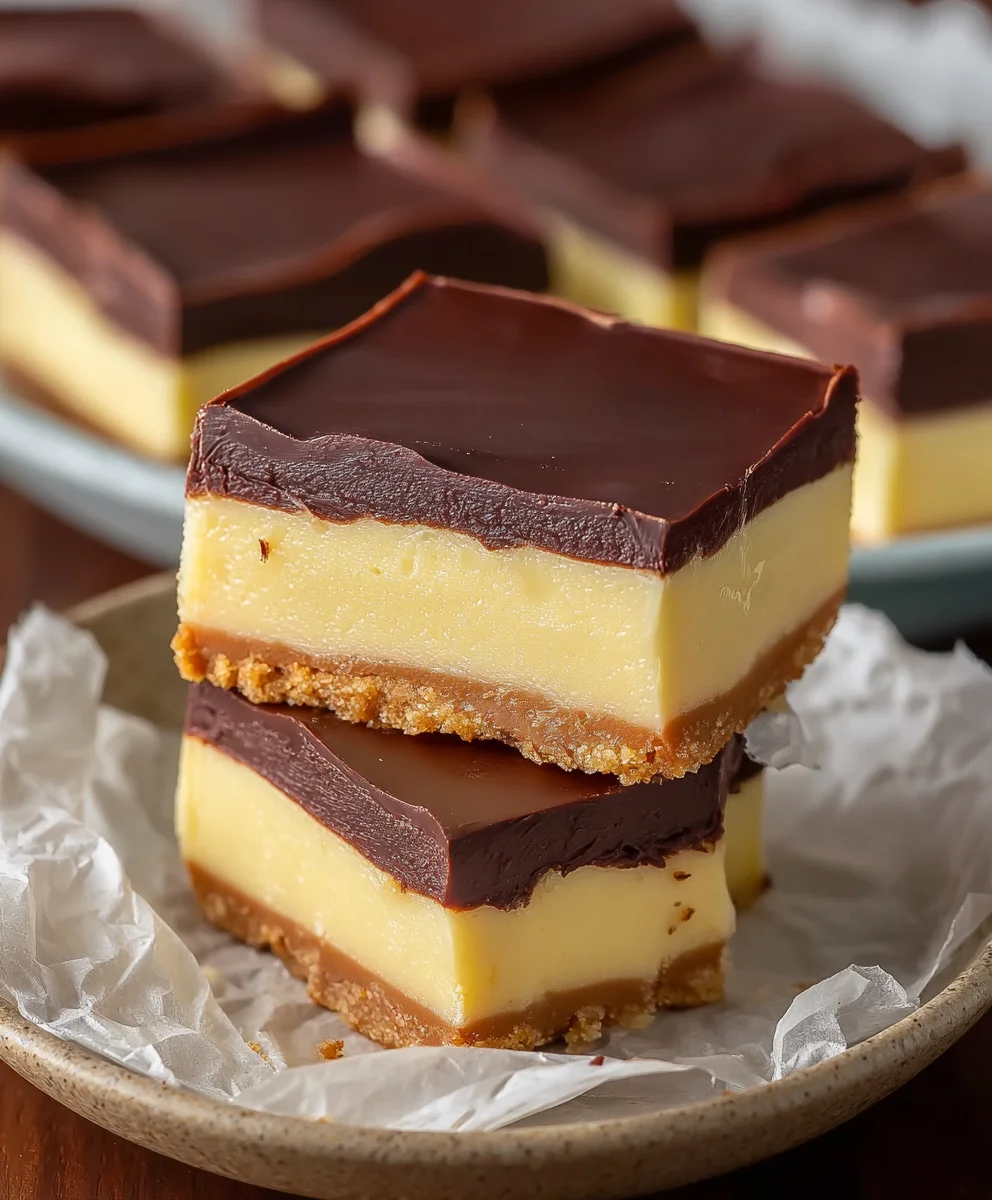
Boston Cream Pie Fudge
An easy, no-bake fudge that captures the classic flavors of Boston Cream Pie with a creamy vanilla custard-like base and a luscious chocolate topping.
Ingredients
-
2 cups granulated sugar
-
4 ounces unsalted butter, cut into cubes
-
1/2 cup heavy cream
-
2 cups white chocolate chips
-
7 ounces container of marshmallow creme
-
3 tablespoons dry vanilla pudding mix
-
1/2 teaspoon pure vanilla extract
-
3 tablespoons unsweetened cocoa powder
-
6 ounces semisweet chocolate chips
-
1 tablespoon vegetable oil
Instructions
-
Step 1
In a large saucepan, combine sugar, butter, and heavy cream over medium heat. Stir until butter melts and sugar dissolves. -
Step 2
Increase heat to medium-high and bring to a rolling boil. Boil, stirring constantly, for exactly 5 minutes. Remove from heat. -
Step 3
Add marshmallow creme and white chocolate chips to the hot mixture. Let sit for 1 minute, then stir until smooth. Stir in vanilla pudding mix and vanilla extract. -
Step 4
Pour the white mixture into an 8×8 inch pan lined with parchment paper. Spread evenly and let it begin to set slightly. -
Step 5
Melt semisweet chocolate chips and vegetable oil in a microwave-safe bowl at 50% power in 30-second intervals, stirring until smooth. -
Step 6
Pour the chocolate topping over the white layer and spread evenly. -
Step 7
Let the fudge cool completely at room temperature for 2-3 hours, or until firm. Refrigerate for faster setting if desired. Lift fudge out using parchment overhangs and cut into squares.
Important Information
Nutrition Facts (Per Serving)
It is important to consider this information as approximate and not to use it as definitive health advice.
Allergy Information
Please check ingredients for potential allergens and consult a health professional if in doubt.