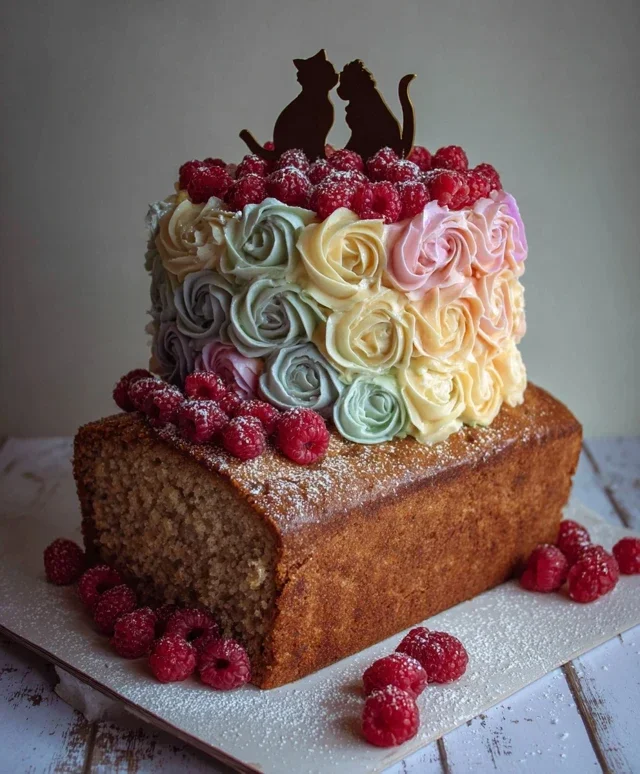
Vintage Wedding Dessert Table-Sweet Nostalgic Creations
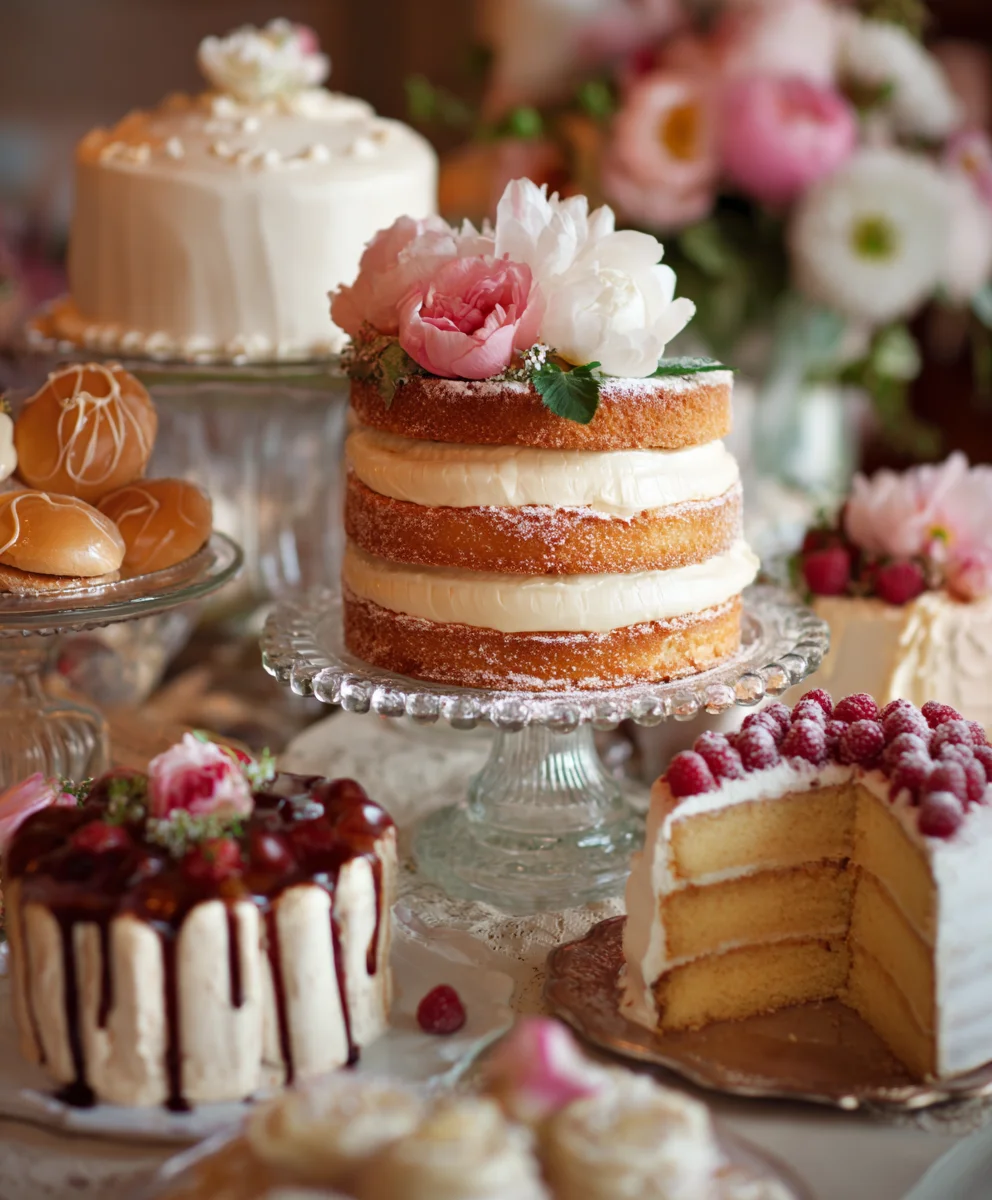
Vintage wedding dessert table recipes evoke a sense of timeless romance and delectable nostalgia, don’t they? There’s something incredibly charming about a spread that whispers of bygone eras, filled with treats that have stood the test of time. We all love a wedding dessert table that feels personal and beautifully curated, and a vintage theme takes that sentiment to a whole new level. It’s not just about sweetness; it’s about creating an edible narrative, a focal point that draws guests in and sparks conversation. What makes a truly memorable vintage wedding dessert table so special is the careful selection of classic, often handmade, confections that tell a story. Think delicate lace detailing on cookies, the rich aroma of perfectly baked cakes, and the comforting familiarity of beloved childhood sweets, all presented with an elegant, nostalgic flair. Let’s dive into crafting that perfect vintage wedding dessert table that will be cherished long after the last crum extractb is gone.
Ingredients:
- 2 cups all-purpose flour
- 1 teaspoon baking soda
- 1/2 teaspoon salt
- 1 cup (2 sticks) unsalted butter, softened
- 3/4 cup granulated sugar
- 3/4 cup packed light brown sugar
- 2 large eggs
- 1 teaspoon vanilla extract
- 2 cups (12 ounces) semi-sweet chocolate chips
- 1 cup chopped walnuts or pecans (optional, for extra crunch)
The Foundation: Preparing Your Dough
Step 1: The Dry Ingredients Blend
Begin extract by preheating your oven to 375 degrees Fahrenheit (190 degrees Celsius). This is crucial for ensuring an even bake and that perfect golden-brown crispness we’re aiming for. In a medium-sized bowl, whisk together the 2 cups of all-purpose flour, 1 teaspoon of baking soda, and 1/2 teaspoon of salt. Whisking thoroughly helps to evenly distribute the leavening agent (baking soda) and salt, which will contribute to the texture and flavor of your cookies. Think of this as creating a stable base for all the deliciousness to come. Set this bowl aside for a moment.
Step 2: Creaming the Butter and Sugars
In a large mixing bowl, preferably using an electric mixer on medium speed, cream together the 1 cup of softened unsalted butter, 3/4 cup of granulated sugar, and 3/4 cup of packed light brown sugar. Creaming involves beating the butter and sugars together until the mixture is light, fluffy, and pnon-alcoholic ale in color. This process incorporates air into the dough, which is essential for creating tender cookies. Scrape down the sides of the bowl periodically to ensure everything is evenly incorporated. This step can take about 3-5 minutes.
Step 3: Adding the Wet Ingredients
Once the butter and sugar mixture is beautifully creamy, it’s time to introduce the wet ingredients. Add the 2 large eggs, one at a time, beating well after each addition to fully incorporate them into the butter-sugar mixture. Next, stir in the 1 teaspoon of vanilla extract. Vanilla extract not only adds a wonderful aroma but also enhances the overall flavor profile of the cookies, complementing the sweetness of the sugars and the richness of the chocolate. Ensure there are no streaks of egg yolk or white visible before proceeding.
Building the Classic Cookie
Step 4: Combining Wet and Dry Components
Now, gradually add the dry ingredients (the flour mixture you prepared in Step 1) to the wet ingredients in the large mixing bowl. Mix on low speed or by hand until just combined. It’s important not to overmix at this stage, as overmixing can develop the gluten in the flour too much, resulting in tough cookies. You want to see just a few streaks of flour remaining, and then you’ll switch to incorporating the star of the show: the chocolate chips.
Step 5: Folding in the Goodies
Gently fold in the 2 cups of semi-sweet chocolate chips. If you’re opting for the extra texture, now is also the time to fold in the 1 cup of chopped walnuts or pecans. A rubber spatula works best for this step. Fold until the chips and nuts are evenly distributed throughout the dough. You should have a beautiful, cohesive dough studded with pockets of melted chocolate waiting to be baked. The goal here is even distribution, ensuring every bite is a delightful combination of chewy cookie and molten chocolate. This stage truly transforms your cookie dough into something special, perfect for a vintage wedding dessert table where classic flavors are always a hit.
Baking to Perfection
Step 6: Shaping and Baking
Drop rounded tablespoons of dough onto ungreased baking sheets, leaving about 2 inches between each cookie to allow for spreading. For a truly vintage look, consider using a slightly heaping tablespoon. If you want your cookies to spread a bit more, you can flatten them slightly with the palm of your hand or the bottom of a glass. Bake for 9 to 11 minutes, or until the edges are golden brown and the centers are still slightly soft. The key to perfectly chewy cookies is to slightly underbake them, as they will continue to cook on the hot baking sheet after you remove them from the oven.
Step 7: Cooling and Enjoying
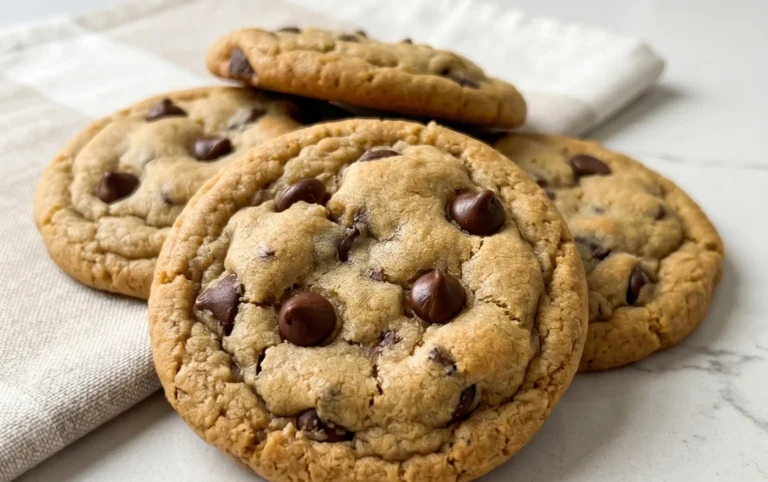
Once baked, let the cookies cool on the baking sheets for 2-3 minutes before transferring them to a wire rack to cool completely. This resting period on the baking sheet allows the cookies to set up properly, preventing them from breaking when you move them. The aroma filling your kitchen will be irresistible! These classic chocolate chip cookies are a timeless addition to any celebratigin extract bringing a comforting and familiar sweetness that guests of all ages will adore. They are particularly wonderful when displayed as part of a vintage wedding dessert table, evoking nostalgia and providing a delightful treat.
Conclusion:
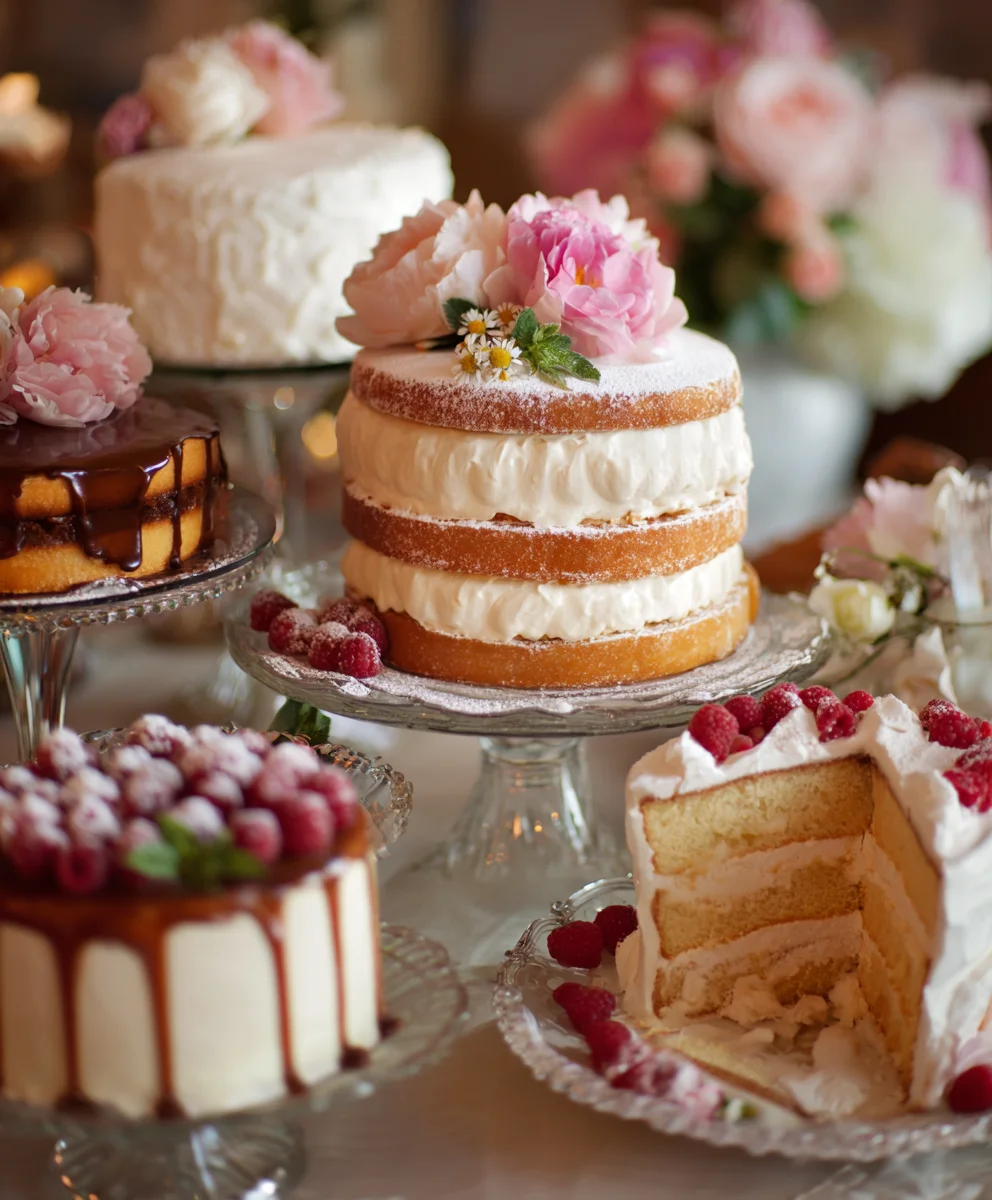
And there you have it – the perfect guide to creating a truly memorable Vintage Wedding Dessert Table! We’ve explored how to select a harmonious blend of classic and contemporary sweets, from delicate macarons and rich chocolate truffles to charming mini cheesecakes and a show-stopping tiered cake. Remember, the key to a successful Vintage Wedding Dessert Table lies in its cohesive aesthetic, delightful flavors, and the joy it brings to your guests. Don’t be afraid to inject your personal style into every element, making it a true reflection of your special day. We encourage you to experiment with different textures and flavor profiles to create a dessert experience that is as unique as your love story. Whether you’re a seasoned baker or a novice, the journey of assembling this beautiful display is incredibly rewarding.
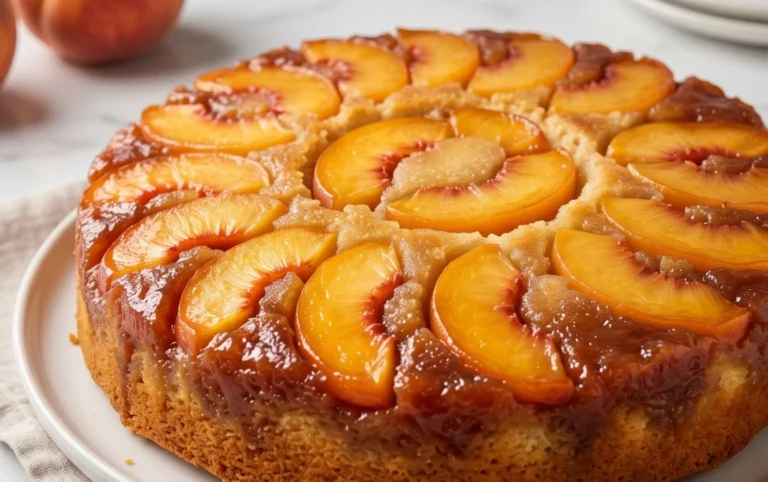
For serving, consider elegant tiered stands, antique cake plates, and small decorative spoons. Offer beautifully printed labels for each dessert, detailing the flavors and any potential allergens. This not only adds to the vintage charm but also helps your guests navigate their sweet choices. For variations, think about incorporating seasonal fruits into your tarts, adding a hint of lavender to your shortbread, or even offering a gluten-free or vegan option to cater to all dietary needs. The possibilities are endless when it comes to personalizing your Vintage Wedding Dessert Table!
Frequently Asked Questions about Vintage Wedding Dessert Tables:
Q1: How many desserts should I offer per guest for a Vintage Wedding Dessert Table?
A good rule of thumb is to offer 2-3 individual dessert portions per guest. This ensures variety and allows guests to sample a few different treats without feeling overwhelmed. For example, if you have 100 guests, aim for around 200-300 individual desserts in total, spread across various types.
Q2: What are some easy-to-make vintage-inspired desserts?
Some wonderfully achievable vintage-inspired desserts include classic shortbread cookies, simple yet elegant cupcakes with buttercream frosting, fruit crum extractbles or crisps served in individual ramekins, and no-bake cheesecake bites. These often require minimal baking skills and can be prepared in advance.
Vintage Wedding Dessert Table – Sweet Nostalgic Creations
Classic chocolate chip cookies perfect for a nostalgic wedding dessert table, offering timeless comfort and sweetness.
Ingredients
-
2 cups all-purpose flour
-
1 teaspoon baking soda
-
1/2 teaspoon salt
-
1 cup (2 sticks) unsalted butter, softened
-
3/4 cup granulated sugar
-
3/4 cup packed light brown sugar
-
2 large eggs
-
1 teaspoon vanilla extract
-
2 cups (12 ounces) semi-sweet chocolate chips
-
1 cup chopped walnuts or pecans (optional)
Instructions
-
Step 1
Preheat oven to 375 degrees Fahrenheit (190 degrees Celsius). Whisk together flour, baking soda, and salt in a medium bowl. Set aside. -
Step 2
Cream softened butter, granulated sugar, and light brown sugar in a large bowl with an electric mixer until light and fluffy. -
Step 3
Add eggs one at a time, beating well after each addition. Stir in vanilla extract. -
Step 4
Gradually add the dry ingredients to the wet ingredients, mixing on low speed or by hand until just combined. Do not overmix. -
Step 5
Gently fold in chocolate chips and optional nuts until evenly distributed. -
Step 6
Drop rounded tablespoons of dough onto ungreased baking sheets, about 2 inches apart. Bake for 9-11 minutes until edges are golden brown and centers are slightly soft. -
Step 7
Let cookies cool on baking sheets for 2-3 minutes before transferring to a wire rack to cool completely.
Important Information
Nutrition Facts (Per Serving)
It is important to consider this information as approximate and not to use it as definitive health advice.
Allergy Information
Please check ingredients for potential allergens and consult a health professional if in doubt.