Recent Bakes – See My Latest Delicious Creations
Recent Bakes: What I’ve been up to, again. It feels like just yesterday I was dusting flour off my countertops, and here I am, back in the kitchen, succumbing to that familiar, comforting call. There’s something undeniably soul-soothing about the act of baking, isn’t there? It’s a ritual that transforms simple ingredients into edible art, a way to express creativity and share a little bit of joy. People gravitate towards freshly baked goods for so many reasons: the irresistible aroma that fills a home, the delightful textures that range from crum extractbly to chewy, and, of course, the sheer deliciousness of it all. But what truly elevates these Recent Bakes: What I’ve been up to, again., is the personal touch, the little tweaks and experiments that make each batch uniquely mine. It’s about embracing the process, savoring the imperfections, and ultimately, creating something truly special to share.
Recent Bakes: What I’ve Been Up To, Again.
It feels like just yesterday I was sharing my latest kitchen adventures, and here I am again, armed with flour dust on my apron and a heart full of baked goods! Life has a funny way of cycling back to the familiar comforts, and for me, that comfort always comes in the form of a warm oven and the promise of something delicious emergin extractg. This past little while has been no exception. I’ve been revisiting some old favorites, experimenting with a few new twists, and generally just embracing the joy of creating something tangible and tasty.
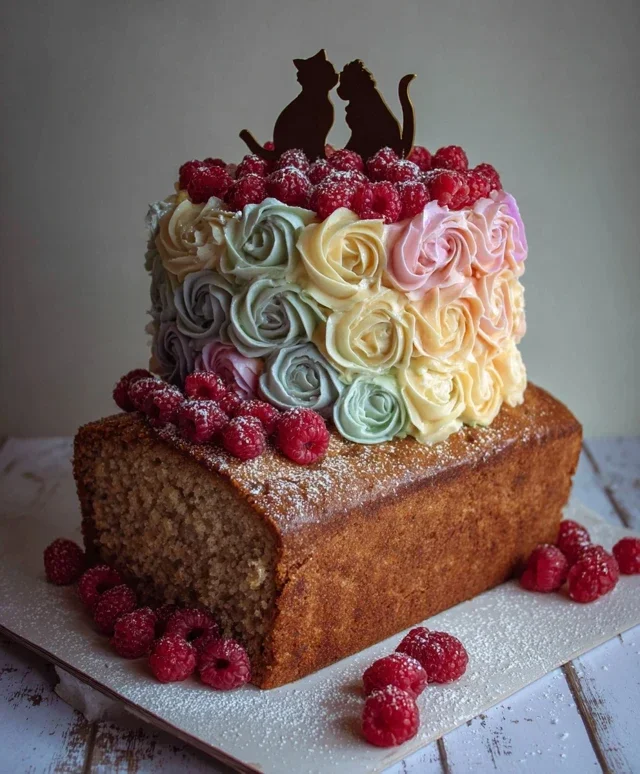
This time around, I’ve found myself drawn to recipes that are both comforting and a little bit celebratory. Perhaps it’s the change in season, or maybe just a general desire to add a bit of sweetness to the everyday. Whatever the reason, my kitchen has been a hub of activity, with aromas wafting through the house that have had everyone – including the dog, who always seems to know when something good is happening – eagerly anticnon-alcoholic ipating the next creation.
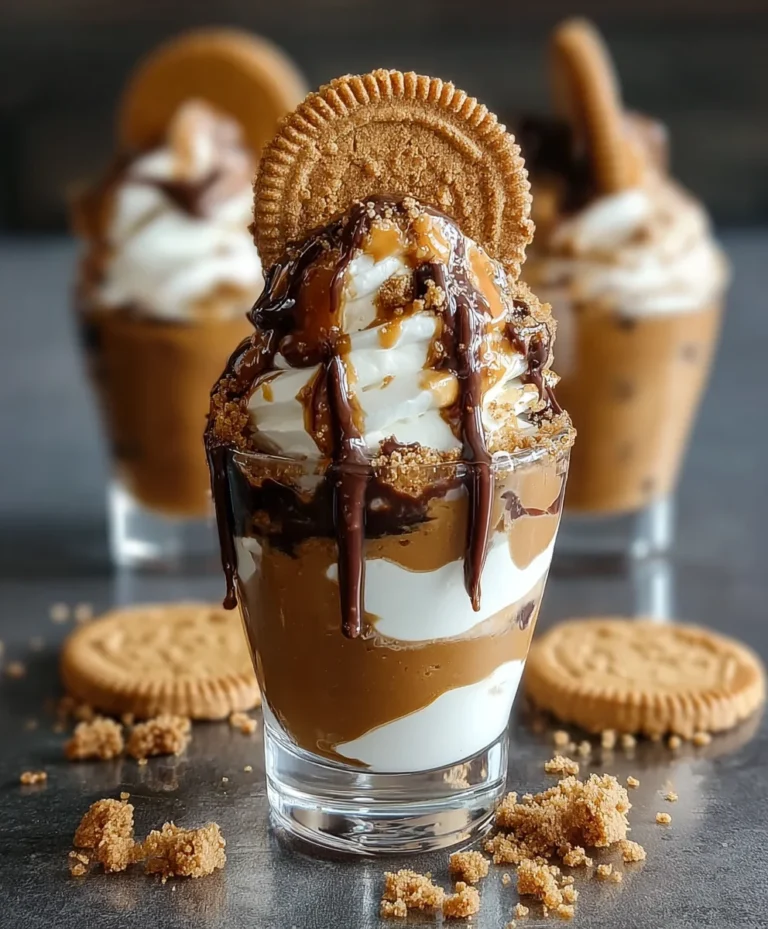
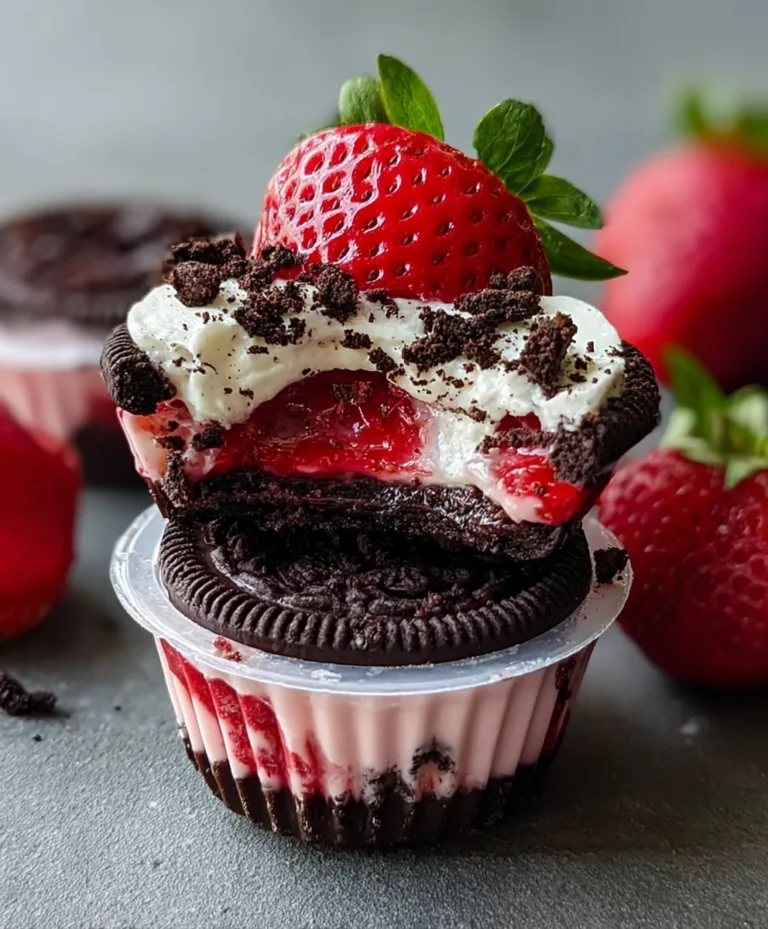
I thought it would be fun to share a couple of these recent bakes with you, giving you a peek into what’s been gracing my countertops and, more importantly, my taste buds. Today, I want to focus on a particular recipe that I’ve adapted slightly and have been thoroughly enjoying: a delightfully rustic, surprisingly simple, yet utterly satisfying . It’s the kind of bake that’s perfect for an afternoon tea, a weekend brunch, or even just a quiet moment with a cup of coffee. The beauty of this recipe lies in its forgiving nature and the way it celebrates simple, wholesome ingredients. I’ve found that even if I’m not feeling entirely inspired, this bake never fails to deliver on flavor and texture.
Let’s dive into the heart of this delicious creation.
Ingredients:
Preparing the Foundation: Mixing the Dry Ingredients
The first step, as with most baking endeavors, is to get our dry ingredients prepped and ready. This is a crucial step for ensuring even distribution of leavening agents and spices, which ultimately leads to a better rise and more consistent flavor. In a medium-sized bowl, I like to whisk together the all-purpose flour, baking powder, baking soda, ground cinnamon, ground nutmeg, and salt. Giving them a good whisk ensures there are no pockets of baking soda or powder, which can lead to a metallic taste or an uneven bake. I find that sieving the flour can also be a great addition here, especially if your flour tends to clump, as it introduces more air and results in a lighter crum extractb.
Creating the Creamy Base: The Butter and Sugar Magic
Now for the part that feels a little bit indulgent! In a large mixing bowl, or the bowl of your stand mixer fitted with the paddle attachment, cream together the softened unsalted butter and granulated sugar. This process is called creaming, and its purpose is to incorporate air into the butter and sugar mixture, which contributes significantly to the texture of the final bake. You want to beat them together until the mixture is light, fluffy, and pnon-alcoholic ale yellow in color. This usually takes a good 3-5 minutes on medium speed. Don’t rush this step; it’s where a lot of the tenderness comes from. Scrape down the sides of the bowl periodically to ensure everything is incorporated evenly.
Incorporating the Wet Ingredients: Eggs and Vanilla
Once you have that beautiful creamy base, it’s time to add the eggs, one at a time. Beat well after each addition, ensuring each egg is fully incorporated before adding the next. This helps to create a stable emulsion. Following the eggs, stir in the vanilla extract. The aroma at this stage is already starting to be quite inviting!
The Delicate Dance of Combining Wet and Dry
This is where the magic really starts to come together, but it requires a gentle touch. We’ll alternate adding the dry ingredient mixture and the liquid component to the wet ingredients. Start by adding about a third of the dry ingredients and mix on low speed until just combined. Then, add about half of the liquid and mix until just combined. Repeat this process, adding another third of the dry ingredients, the remaining liquid, and finally, the last third of the dry ingredients. It’s really important not to overmix at this stage. Overmixing can develop the gluten in the flour too much, resulting in a tough, dense bake. We’re looking for a batter that is just combined, with no visible streaks of flour. If you’re adding optional nuts, now is the time to gently fold them in.
Adding the Star of the Show: The
Now for the lovely ! Gently fold these into the batter. If you’re using diced apples or berries, try to coat them lightly in a tablespoon of the flour mixture before adding them to the batter. This helps prevent them from sinking to the bottom during baking. The goal here is to distribute the fruit evenly throughout the batter without overworking it.
Baking to Golden Perfection
Preheat your oven to 350°F (175°C). Prepare a by greasing and flouring it, or lining it with parchment paper. Pour the batter into the prepared pan and spread it evenly. If you’re making a streusel topping, now is the time to sprinkle it over the batter. Bake for approximately 45-60 minutes, or until a wooden skewer or toothpick inserted into the center comes out clean. The baking time will vary depending on your oven and the size of your pan, so keep an eye on it. If the top starts to brown too quickly, you can loosely tent it with aluminum foil.
Cooling and Enjoying the Fruits of Your Labor
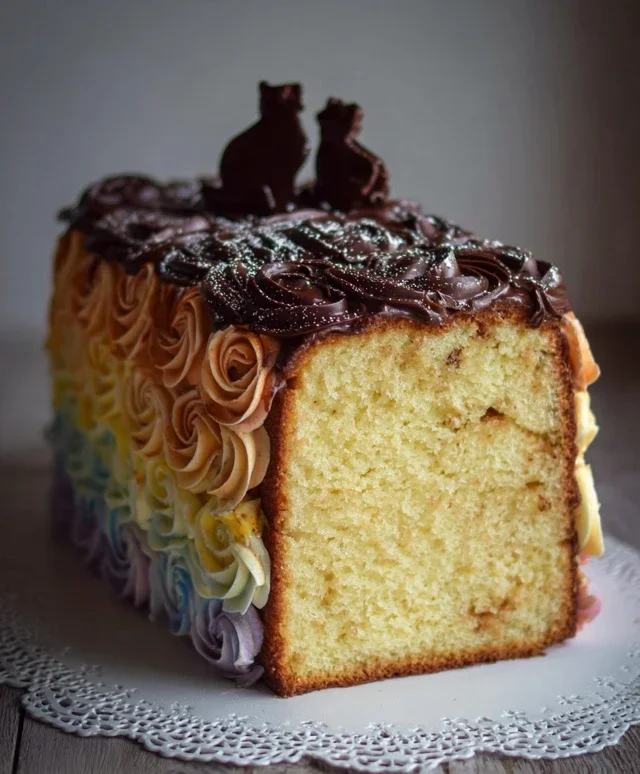
Once baked, let the cool in the pan for about 10-15 minutes before inverting it onto a wire rack to cool completely. Resist the urge to slice into it too soon; allowing it to cool properly helps it set up and develop its full flavor and texture. Once cooled, slice and enjoy! This bake is wonderful on its own, or with a dollop of whipped cream or a drizzle of your favorite glaze.
This recipe has been a consistent winner in my kitchen, and I hope it brings as much joy and deliciousness to yours as it has to mine. Happy baking!
Conclusion:
Well, that’s a wrap on my latest baking adventures! I’ve really enjoyed sharing these recent bakes with you all, and I hope this glimpse into my kitchen has sparked some inspiration in yours. The beauty of these recipes lies in their versatility and the sheer joy they bring, whether you’re a seasoned baker or just starting out. They’re perfect for those moments when you crave a comforting, homemade treat, and surprisingly forgiving, making them a fantastic way to experiment without fear of failure. Don’t be afraid to dive in and give them a try – the aroma alone will be worth it!
I find these bakes are wonderfully adaptable. Serve them warm straight from the oven with a dollop of cream, a scoop of ice cream, or a drizzle of your favorite sauce. They also make a delightful addition to a brunch spread or a thoughtful gift for friends and family. If you’re feeling adventurous, why not try incorporating different spices, fruits, or even a touch of chocolate into the batter? The possibilities are truly endless. I genuinely encourage you to gather your ingredients and get baking; I promise you won’t regret it!
Frequently Asked Questions:
Can I make these bakes ahead of time?
Absolutely! Most of these recipes hold up beautifully for a few days when stored in an airtight container at room temperature. For longer storage, you can freeze them, ensuring they are completely cooled first. Simply thaw them at room temperature or gently reheat them.
What if I don’t have all the ingredients?
Don’t worry! Many of the ingredients can be substituted. For instance, different types of flour can often be used interchangeably, and common pantry staples like milk or yogurt can usually be swapped if needed. Always check the specific recipe for any critical ingredients, but generally, a little improvisation is encouraged.
Recent Bakes: What I’ve been up to, again.
A collection of recent baking endeavors, showcasing a variety of sweet and savory creations.
Ingredients
-
All-purpose flour
-
Granulated sugar
-
Butter
-
Eggs
-
Baking powder
-
Milk
-
Salt
-
Chocolate chips
-
Vanilla extract
-
Heavy cream
Instructions
-
Step 1
Combine dry ingredients in a large bowl: flour, sugar, baking powder, and salt. -
Step 2
In a separate bowl, whisk together wet ingredients: melted butter, eggs, milk, and vanilla extract. -
Step 3
Gradually add wet ingredients to dry ingredients, mixing until just combined. Do not overmix. -
Step 4
Gently fold in chocolate chips if using. -
Step 5
Pour batter into prepared baking pans or muffin tins. -
Step 6
Bake according to recipe directions for your specific bake, typically until a toothpick inserted into the center comes out clean. -
Step 7
Allow to cool before frosting or serving.
Important Information
Nutrition Facts (Per Serving)
It is important to consider this information as approximate and not to use it as definitive health advice.
Allergy Information
Please check ingredients for potential allergens and consult a health professional if in doubt.