Dreamy Pink-Blue Coquette Party Food-Sweet Delights
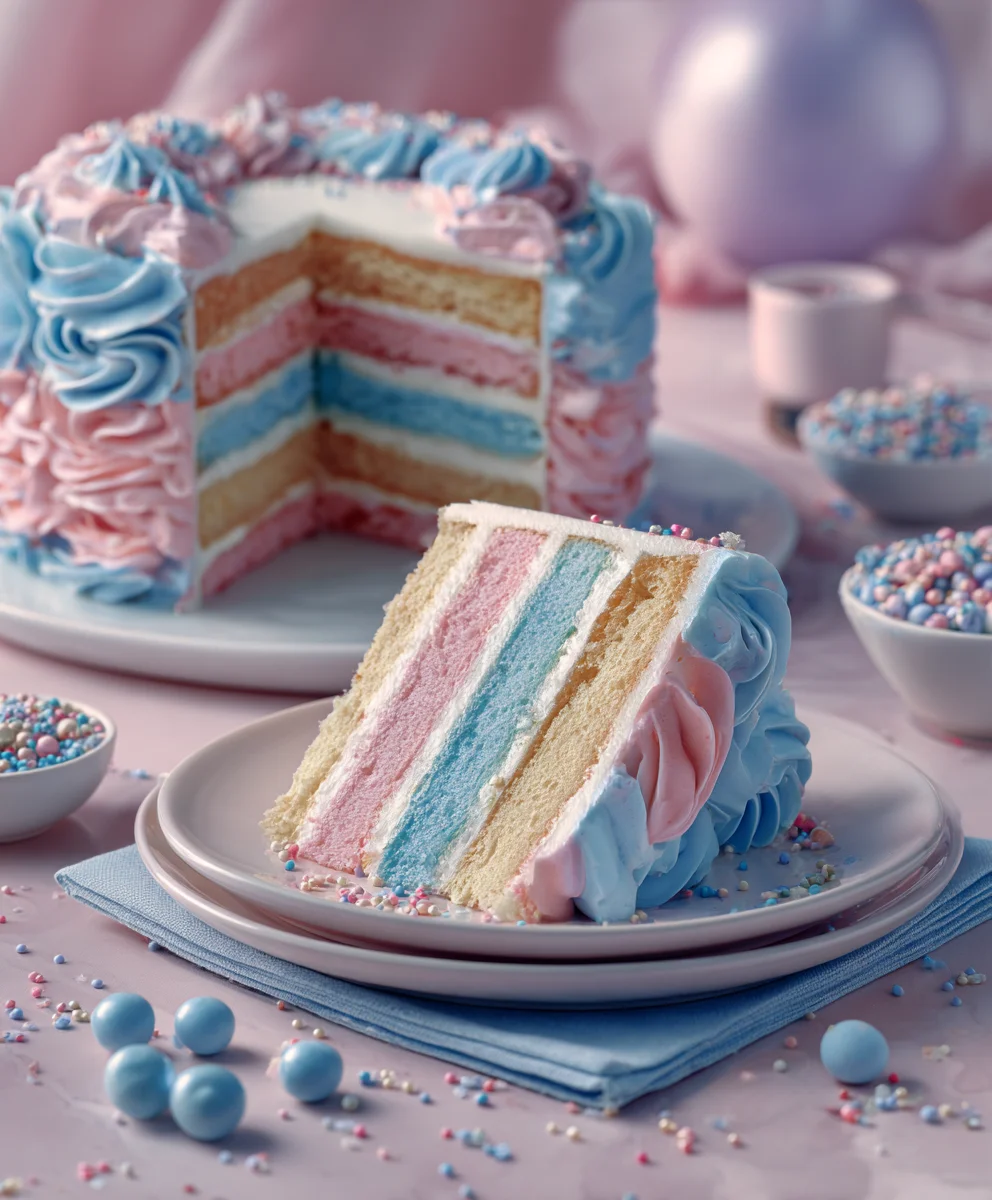
Dreamy Pink & Blue Coquette Party recipes are the absolute epitome of whimsical charm and delectable delight, perfect for celebrating life’s sweetest moments. Imagin extracte stepping into a confectionary wonderland, a place where pastel hues dance and every bite is a whisper of pure joy. This is precisely the magic we’re conjuring today, and it’s more accessible than you might think. People adore a Dreamy Pink & Blue Coquette Party because it taps into a sense of playful nostalgia, evoking childhood dreams and elegant tea parties all at once. It’s not just about the food; it’s about creating an atmosphere that’s both sophisticated and utterly enchanting. What truly sets this theme apart is its delicate balance of visual appeal and delightful taste, offering a sophisticated yet fun experience that guests of all ages will cherish. Get ready to craft a celebration that’s as beautiful as it is delicious, leaving everyone with smiles and sweet memories.
Ingredients:
- 2 cups all-purpose flour
- 1 teaspoon baking powder
- 1/2 teaspoon salt
- 1 cup (2 sticks) unsalted butter, softened
- 1 1/2 cups granulated sugar
- 2 large eggs
- 1 teaspoon vanilla extract
- 1/4 cup milk
- Pink gel food coloring
- Blue gel food coloring
- 1/2 cup powdered sugar (for frosting)
- 1-2 tablespoons milk (for frosting)
- Edible glitter (optional, for extra sparkle)
- Small candy pearls or sprinkles in coordinating colors (for decoration)
Preparing the Dough
Step 1: Combine Dry Ingredients
Let’s begin extract by whisking together our dry ingredients. In a medium bowl, combine the 2 cups of all-purpose flour, 1 teaspoon of baking powder, and 1/2 teaspoon of salt. Whisking these together ensures that the leavening agent (baking powder) and salt are evenly distributed throughout the flour, which will lead to a more consistent texture in our cookies. Set this bowl aside for now.
Step 2: Cream Butter and Sugar
Next, in a large mixing bowl, we’ll cream together the softened unsalted butter and granulated sugar. Use an electric mixer (or a whisk and some elbow grease!) to beat the butter and sugar until the mixture is light and fluffy. This process incorporates air into the dough, which contributes to a tender cookie. It usually takes about 2-3 minutes of vigorous mixing. Make sure your butter is truly softened, not melted, for the best results. You should see a pnon-alcoholic ale yellow, airy mixture.
Step 3: Add Wet Ingredients and Divide Dough
Now, beat in the 2 large eggs, one at a time, ensuring each is fully incorporated before adding the next. After the eggs are mixed in, stir in the 1 teaspoon of vanilla extract and 1/4 cup of milk. Mix until just combined; don’t overmix at this stage. At this point, we need to divide our dough to create the dreamy pink and blue hues. Take about half of the dough and place it in a separate bowl. To the first half, add a few drops of pink gel food coloring. To the second half, add a few drops of blue gel food coloring. Gently mix each portion until the color is uniform and vibrant. Be cautious with the gel coloring – a little goes a long way! You want a lovely pastel or vibrant hue, depending on your preference for your Dreamy Pink & Blue Coquette Party. If the dough becomes too sticky after coloring, you can chill it for about 15-20 minutes.
Shaping and Baking the Cookies
Step 4: Swirl and Shape
Now for the fun part! Gently scoop small portions of both the pink and blue dough and place them side-by-side onto a lightly floured surface or directly onto your baking sheets lined with parchment paper. You can either marble them together by gently twisting or swirling the colors with a toothpick or your fingers, or you can simply place dollops of each color next to each other to create a marbled effect when baked. For a more coquette aesthetic, you can use small cookie cutters to create charming shapes like bows, hearts, or scallops before baking. Alternatively, roll small balls of each color and flatten them slightly, then gently press them together to create a marbled look. Ensure your cookies are roughly the same thickness for even baking. Space them about 2 inches apart on the baking sheets.
Step 5: Bake to Perfection
Preheat your oven to 350°F (175°C). Place your prepared baking sheets into the preheated oven. Bake for 10-12 minutes, or until the edges of the cookies are lightly golden brown and the centers are set. The exact baking time will depend on the size and thickness of your cookies. Keep a close eye on them during the last few minutes to prevent overbaking, as we want them to remain soft and chewy, not hard. Once baked, remove the baking sheets from the oven and let the cookies cool on the sheets for about 5 minutes before transferring them to a wire rack to cool completely. Cooling them on the rack allows air to circulate around them, ensuring they don’t become soggy.
Decorating for a Dreamy Finish
Step 6: Prepare and Apply Frosting
While your cookies are cooling, let’s prepare a simple frosting. In a small bowl, whisk together 1/2 cup of powdered sugar and 1-2 tablespoons of milk until you achieve a smooth, drizzle-able consistency. You want it to be thick enough to hold its shape but thin enough to spread or drizzle easily. Add more milk a teaspoon at a time if it’s too thick, or more powdered sugar if it’s too thin. You can also divide this frosting and tint small portions with leftover pink or blue food coloring, or leave it white for a classic look. Once the cookies are completely cool, you can either dip them in the frosting, spread it on top with a knife, or use a piping bag to create delicate swirls and lines.
Step 7: Add Finishing Touches
Now for the final flourish to make these cookies truly coquette-worthy! While the frosting is still wet, sprinkle on some edible glitter for that extra sparkle that screams party glamour. Scatter small candy pearls or coordinating sprinkles over the frosting to add texture and visual appeal. Think of delicate rosettes, tiny bows, or just a scattering of shimmering dots. These decorations will elevate your cookies from simple treats to edible art, perfect for your Dreamy Pink & Blue Coquette Party. Allow the frosting to set completely before serving or storing.
Conclusion:
And there you have it! Your very own Dreamy Pink & Blue Coquette Party. We’ve walked through each delightful step, from crafting those pastel delights to setting the perfect whimsical atmosphere. This recipe is designed to be not just a treat for the taste buds but a feast for the eyes, creating a truly memorable experience for any occasion. Whether you’re hosting a birthday bash, a baby shower, or simply want to add a touch of enchantment to your day, the Dreamy Pink & Blue Coquette Party is sure to be a showstopper. Don’t be afraid to get creative with your presentation; think edible glitter, delicate piping, and charming little edible flowers to elevate your creations even further.
For serving, consider pairing these confections with a light, bubbly beverage like pink lemonade or a delicate floral tea. They also make for beautiful centerpieces on a dessert table, surrounded by fresh flowers in complementary shades. Don’t forget to snap some photos – this party is too pretty not to share!
We encourage you to experiment with variations! Feel free to swap out the flavorings for your favorites, perhaps a vanilla bean or a hint of rosewater. You can also play with different food coloring combinations to achieve your own unique pastel pnon-alcoholic alette.
Frequently Asked Questions:
Q1: Can I make the components of the Dreamy Pink & Blue Coquette Party ahead of time?
Absolutely! Many elements of the Dreamy Pink & Blue Coquette Party can be prepared a day in advance. For instance, you can bake and cool any cakes or cookies, prepare frosting, and chop any garnishes. Store them in airtight containers at room temperature or in the refrigerator, depending on the ingredient, to maintain freshness. Assemble everything closer to your event to ensure the best texture and appearance.
Q2: Are there any gluten-free or vegan substitutions for the Dreamy Pink & Blue Coquette Party?
Yes, you can certainly adapt the Dreamy Pink & Blue Coquette Party to be gluten-free or vegan. For gluten-free, use your favorite gluten-free flour blend for any baked components. For vegan options, substitute butter with vegan butter or coconut oil, eggs with a flax egg or commercial egg replacer, and dairy milk with plant-based milk like almond or oat milk. Ensure your food coloring is also vegan-friendly.
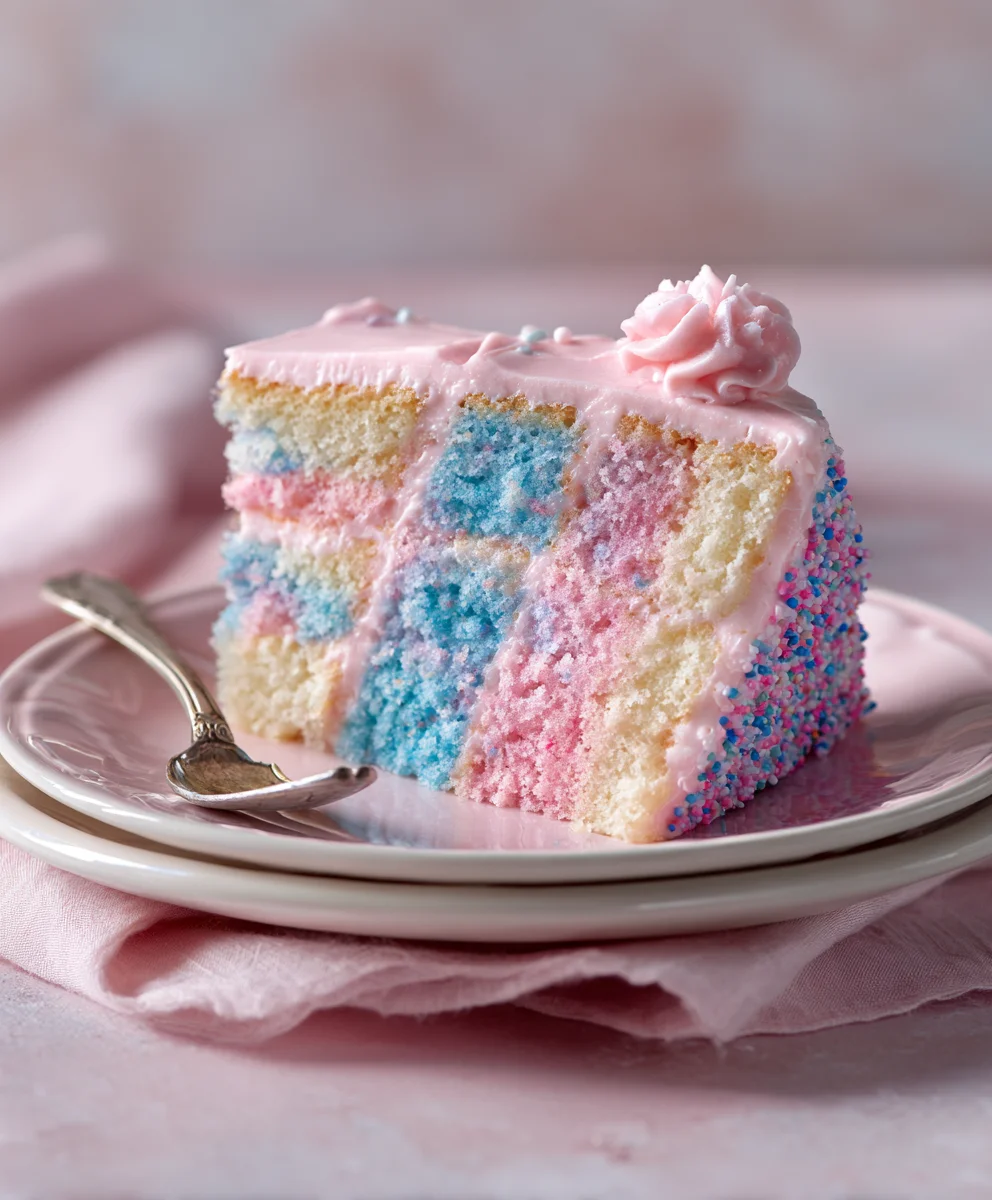
Dreamy Pink-Blue Coquette Party Food-Sweet Delights
Delightful pink and blue coquette-inspired cookies, perfect for a whimsical party, featuring swirled dough and delicate decorations.
Ingredients
-
2 cups all-purpose flour
-
1 teaspoon baking powder
-
1/2 teaspoon salt
-
1 cup (2 sticks) unsalted butter, softened
-
1 1/2 cups granulated sugar
-
2 large eggs
-
1 teaspoon vanilla extract
-
1/4 cup milk
-
Pink gel food coloring
-
Blue gel food coloring
-
1/2 cup powdered sugar (for frosting)
-
1-2 tablespoons milk (for frosting)
-
Edible glitter (optional, for extra sparkle)
-
Small candy pearls or sprinkles in coordinating colors (for decoration)
Instructions
-
Step 1
Combine dry ingredients: In a medium bowl, whisk together 2 cups of all-purpose flour, 1 teaspoon of baking powder, and 1/2 teaspoon of salt. Set aside. -
Step 2
Cream butter and sugar: In a large mixing bowl, beat softened unsalted butter and 1 1/2 cups granulated sugar until light and fluffy, about 2-3 minutes. -
Step 3
Add wet ingredients and divide dough: Beat in 2 large eggs one at a time, then stir in 1 teaspoon vanilla extract and 1/4 cup milk. Mix until just combined. Divide dough in half. Add pink gel food coloring to one half and blue gel food coloring to the other. Gently mix each until uniform and vibrant. Chill if dough becomes sticky. -
Step 4
Swirl and shape: Place small portions of pink and blue dough side-by-side on a lightly floured surface or parchment-lined baking sheets. Gently swirl or marble colors together. Optionally, use cookie cutters for coquette shapes or press small balls together. Ensure even thickness and space 2 inches apart on sheets. -
Step 5
Bake to perfection: Preheat oven to 350°F (175°C). Bake for 10-12 minutes, or until edges are lightly golden and centers are set. Let cool on sheets for 5 minutes before transferring to a wire rack to cool completely. -
Step 6
Prepare and apply frosting: Whisk together 1/2 cup powdered sugar and 1-2 tablespoons milk until smooth and drizzle-able. Tint frosting if desired. Once cookies are completely cool, dip, spread, or pipe frosting onto cookies. -
Step 7
Add finishing touches: While frosting is wet, sprinkle with edible glitter, small candy pearls, or coordinating sprinkles for a coquette-inspired look. Let frosting set completely before serving or storing.
Important Information
Nutrition Facts (Per Serving)
It is important to consider this information as approximate and not to use it as definitive health advice.
Allergy Information
Please check ingredients for potential allergens and consult a health professional if in doubt.