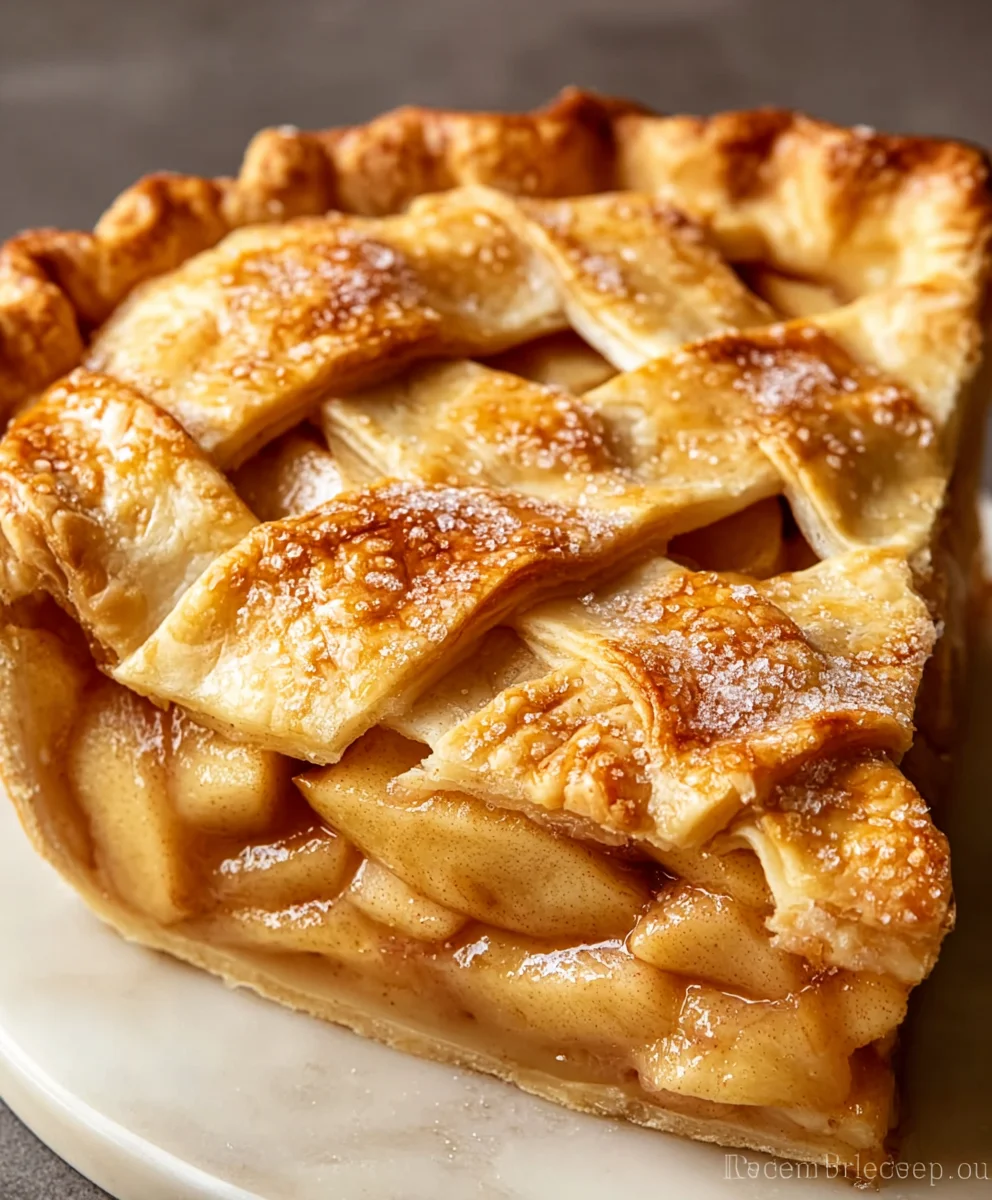
Best Classic Apple Pie Recipe- Easy Homemade Dessert
Classic Apple Pie holds a special place in the hearts and kitchens of so many, and for good reason! It’s the quintessential comfort food, a warm hug on a plate that evokes childhood memories, holiday gatherings, and cozy autumn evenings. There’s something undeniably magical about that perfect balance of sweet, tart apples nestled within a flaky, golden-brown crust. What makes this dish so universally beloved? It’s the simple, honest ingredients coming together to create something truly spectacular. It’s the aroma that fills your home as it bakes, a promise of pure deliciousness. Whether it’s served à la mode with a scoop of vanilla ice cream or enjoyed on its own, a well-made Classic Apple Pie is an experience to savor. This recipe focuses on bringin extractg you that timeless, perfect version that will undoubtedly become a new family favorite. Get ready to create a masterpiece that’s both nostalgic and incredibly satisfying!
Ingredients:
- 6 cups thinly sliced peeled apples (about 6 medium apples)
- 3/4 cup granulated sugar
- 2 tablespoons all-purpose flour
- 3/4 teaspoon ground cinnamon
- 1/4 teaspoon salt
- 1/8 teaspoon ground nutmeg
- 1 tablespoon lemon juice
- 1 double pie crust (homemade or store-bought)
- 1 egg (beaten, for egg wash)
- 1 teaspoon water (for egg wash)
- Additional sugar (for sprinkling)
Preparing the Apple Filling
The heart of a truly exceptional apple pie lies in its filling. We want a perfect balance of sweet, tart, and spice, with apples that hold their shape beautifully without becoming mushy. This recipe uses a classic combination of ingredients to achieve just that.
First, let’s address the apples. For this Classic Apple Pie, I recommend using a mix of apple varieties for the best flavor and texture. Some excellent choices include Honeycrisp, Gala, Fuji, and Granny Smith. Honeycrisp and Gala offer a lovely sweetness and crispness, while Granny Smith provides a delightful tartness that cuts through the richness of the pastry. Peel, core, and thinly slice your chosen apples. Aim for slices that are about 1/4 inch thick. This thickness ensures they will cook through evenly without disintegrating.
In a large bowl, combine the thinly sliced apples with the granulated sugar. The sugar will begin extract to draw out some of the natural juices from the apples, which is exactly what we want. Next, whisk together the all-purpose flour, ground cinnamon, salt, and ground nutmeg in a separate small bowl. This dry mixture is crucial for thickening the apple juices as they cook, preventing a watery pie. Sprinkle this spice and flour mixture evenly over the apples and sugar. Gently toss everything together until the apples are well coated. Finally, add the tablespoon of lemon juice. The lemon juice not only adds a subtle brightness to the flavor profile but also helps to prevent the apples from browning while you prepare the rest of the pie. Set this beautiful, fragrant apple mixture aside while you get your pie crust ready.
Assembling the Pie
Now for the moment of truth: assembling our Classic Apple Pie. Start by preheating your oven to 425°F (220°C). This initial high heat helps to set the crust and get it started on its journey to golden-brown perfection.
Gently unroll or press one of your double pie crusts into a 9-inch pie plate. Try to fit it snugly into the bottom and up the sides of the plate, being careful not to stretch the dough too much, which can cause it to shrink during baking. Trim any excess dough so that about 1/2 inch hangs over the edge of the pie plate.
Now, carefully pour the prepared apple filling into the crust-lined pie plate. Distribute the apple slices evenly, making sure to get all of those delicious spiced juices in there too. Don’t overfill the pie; leave a little space at the top.
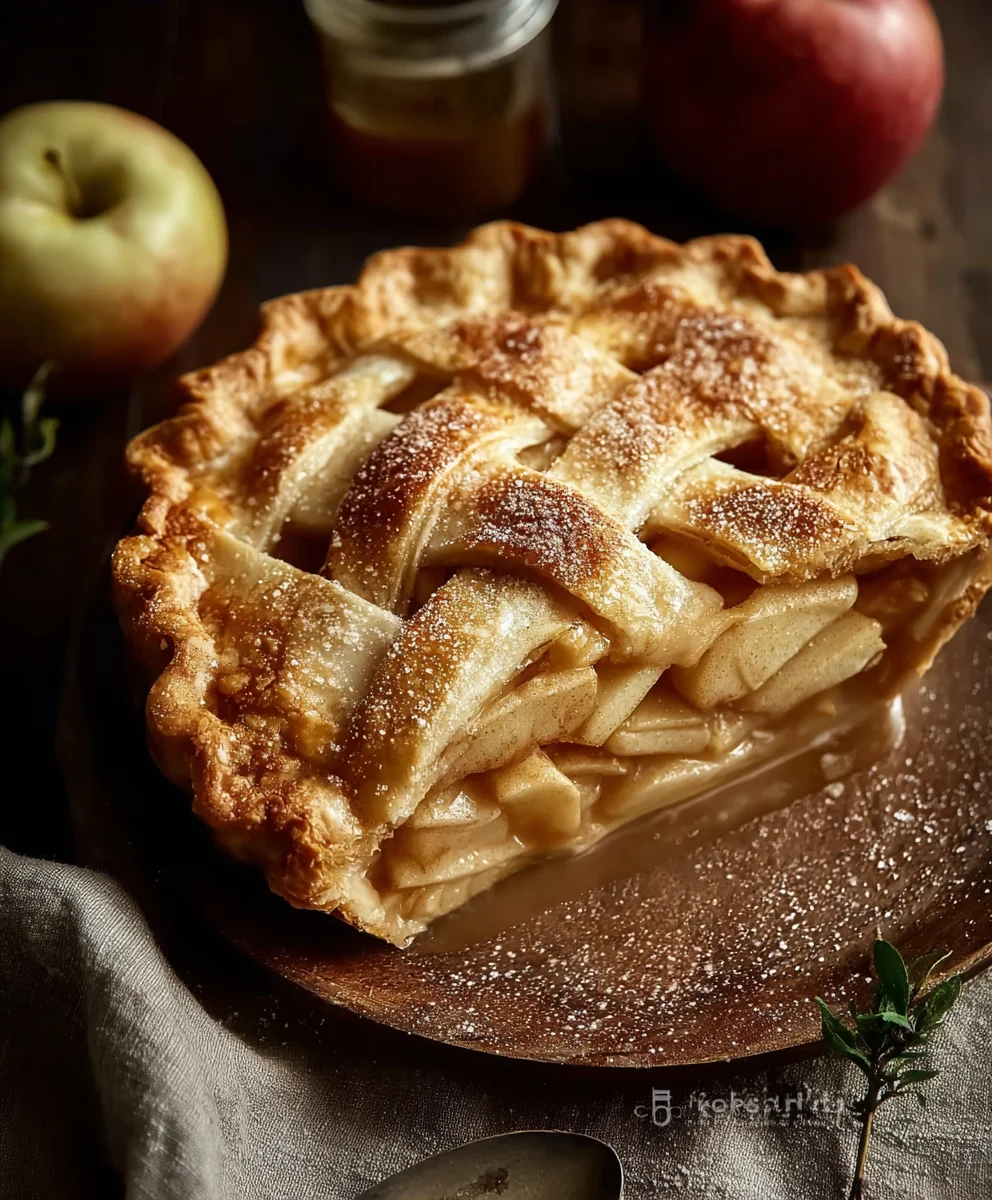
Place the second pie crust over the apple filling. You can either create a solid top crust, or get creative with a lattice top, which looks absolutely stunning. If you’re making a solid top crust, gently press the edges of the top crust to the bottom crust to seal them. Then, cut several vents in the top crust with a sharp knife to allow steam to escape during baking. This is essential to prevent the crust from puffing up unevenly or bursting. If you’re making a lattice, lay the strips of dough over the filling in an alternating pattern, pressing the ends to the bottom crust to seal.
Once the top crust is in place, crimp the edges of the pie decoratively. You can use your fingers, a fork, or a pastry crimper for this. This not only makes the pie look beautiful but also ensures a good seal.
The Finishing Touches and Baking
Before our Classic Apple Pie goes into the oven, we need to give it a little extra love for a truly golden finish. In a small bowl, whisk together the beaten egg and the teaspoon of water. This is our egg wash. Brush this mixture evenly over the entire top crust, including the crimped edges. The egg wash is what gives the pie that irresistible glossy sheen and deep golden color.
For an extra touch of sparkle and crunch, sprinkle a generous tablespoon or two of additional granulated sugar over the egg-washed crust. This sugar will caramelize beautifully in the oven, creating a delightful crunchy topping.
Now, carefully place the pie on a baking sheet. This is a crucial step to catch any potential drips of apple filling that might bubble over during baking, saving you from a mess in your oven.
Bake the pie in the preheated 425°F (220°C) oven for 15 minutes. After 15 minutes, reduce the oven temperature to 375°F (190°C) and continue baking for another 35-45 minutes, or until the crust is golden brown and the filling is bubbling. If the edges of the crust start to brown too quickly, you can loosely cover them with strips of aluminum foil. This ensures the entire crust bakes to perfection without burning. You’ll know the pie is ready when you can see the filling bubbling through the vents or lattice.
Resting and Serving
Patience is a virtue when it comes to the perfect apple pie, and it’s especially important after it comes out of the oven. Resist the urge to cut into it immediately! The filling needs time to set. Transfer the baked pie to a wire rack and let it cool for at least 2-3 hours. This resting period allows the juices to thicken and the pie to hold its shape when sliced. If you cut it too soon, you’ll end up with a delicious but soupy mess.
Once cooled, your Classic Apple Pie is ready to be enjoyed. Serve it warm or at room temperature. It’s absolutely divine on its own, but it’s even better with a scoop of vanilla ice cream, a dollop of whipped cream, or a slice of sharp cheddar cheese, a traditional pairing that offers a wonderful contrast. Enjoy every single bite of this comforting, timeless dessert.
Conclusion:
You’ve now learned how to create a truly delicious Classic Apple Pie, a timeless dessert that’s perfect for any occasion. From the flaky, buttery crust to the warm, spiced apple filling, this recipe delivers pure comfort and nostalgia in every bite. Don’t be intimidated by making your own crust; with a little practice, you’ll master it! Remember to allow your pie to cool completely before slicing to ensure those beautiful, clean wedges. This Classic Apple Pie is wonderfully versatile. Serve it warm with a scoop of vanilla bean ice cream, a dollop of whipped cream, or even a slice of sharp cheddar cheese for a sweet and savory contrast. Feel free to experiment with different apple varieties – a mix of tart and sweet apples like Granny Smith and Honeycrisp creates a complex flavor profile. You can also add a pinch of nutmeg or a touch of brandy extract to the filling for an extra layer of sophistication. I encourage you to give this Classic Apple Pie a try. It’s a rewarding baking experience that will undoubtedly impress your family and friends. Happy baking!
Frequently Asked Questions about Classic Apple Pie:
Can I use pre-made pie crust for this Classic Apple Pie?
Absolutely! While homemade crust offers superior flavor and texture, a good quality store-bought pie crust can save you time and effort, especially if you’re new to baking. Just follow the package instructions for thawing and preparation, and it will work perfectly for your Classic Apple Pie.
How do I prevent my Classic Apple Pie crust from becoming soggy?
To prevent a soggy bottom crust in your Classic Apple Pie, ensure your apples are not too wet before filling the pie. Pat them dry with paper towels. Also, preheating your oven to a higher temperature for the first 15-20 minutes of baking can help set the bottom crust before reducing the heat to finish cooking. Baking on the lowest rack of your oven also helps.
Best Classic Apple Pie Recipe – Easy Homemade Dessert
A timeless and easy-to-make classic apple pie recipe with a perfectly balanced sweet, tart, and spiced apple filling nestled in a flaky crust. This recipe guarantees a beautiful golden-brown finish and a delightful taste.
Ingredients
-
6 cups thinly sliced peeled apples (about 6 medium apples)
-
3/4 cup granulated sugar
-
2 tablespoons all-purpose flour
-
3/4 teaspoon ground cinnamon
-
1/4 teaspoon salt
-
1/8 teaspoon ground nutmeg
-
1 tablespoon lemon juice
-
1 double pie crust (homemade or store-bought)
-
1 egg (beaten, for egg wash)
-
1 teaspoon water (for egg wash)
-
Additional sugar (for sprinkling)
Instructions
-
Step 1
Preheat your oven to 425°F (220°C). Prepare the apple filling by combining thinly sliced peeled apples with granulated sugar, all-purpose flour, ground cinnamon, salt, and ground nutmeg in a large bowl. Gently toss to coat. Stir in lemon juice and set aside. -
Step 2
Line a 9-inch pie plate with one of the pie crusts, fitting it snugly and trimming excess dough to about 1/2 inch overhang. -
Step 3
Pour the prepared apple filling into the crust-lined pie plate, distributing evenly. -
Step 4
Cover the filling with the second pie crust. Seal the edges by pressing the top crust to the bottom crust and crimping decoratively. Cut several vents in the top crust to allow steam to escape. -
Step 5
Whisk together the beaten egg and water to create an egg wash. Brush this evenly over the entire top crust. Sprinkle with additional sugar for extra sparkle and crunch. -
Step 6
Place the pie on a baking sheet and bake in the preheated oven at 425°F (220°C) for 15 minutes. Reduce the oven temperature to 375°F (190°C) and bake for an additional 35-45 minutes, or until the crust is golden brown and the filling is bubbling. If edges brown too quickly, cover loosely with foil. -
Step 7
Remove the pie from the oven and let it cool on a wire rack for at least 2-3 hours before slicing and serving. This allows the filling to set properly.
Important Information
Nutrition Facts (Per Serving)
It is important to consider this information as approximate and not to use it as definitive health advice.
Allergy Information
Please check ingredients for potential allergens and consult a health professional if in doubt.