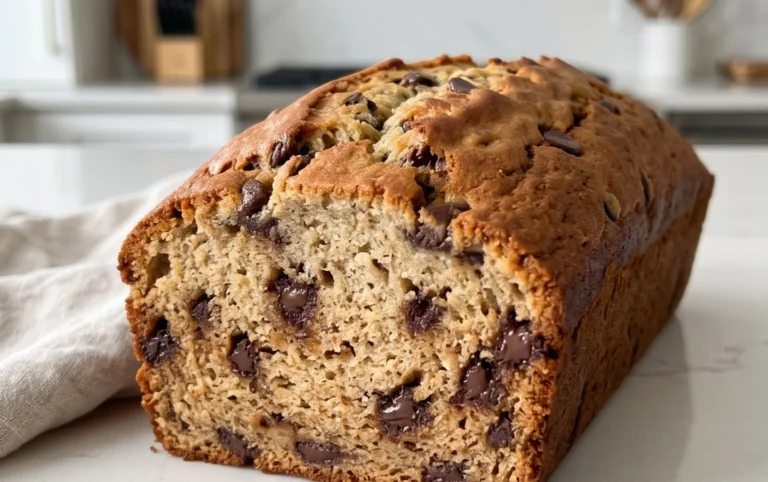
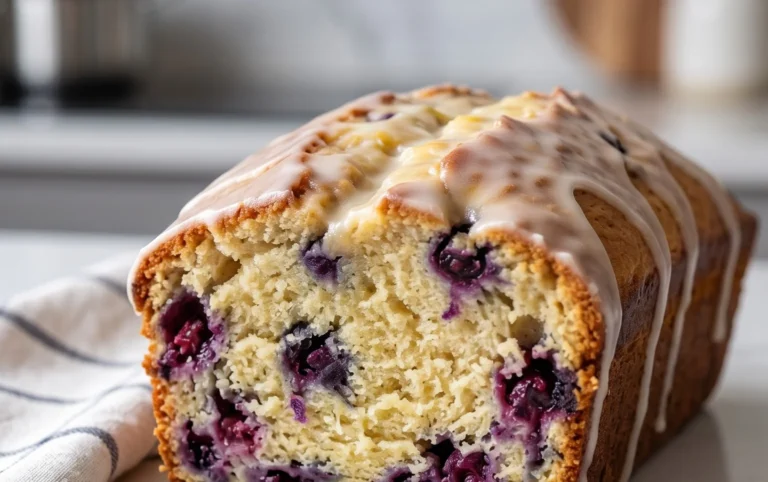
Easy Buttermilk Bread Recipe-Soft & Delicious
Buttermilk Bread Recipe. Ah, the scent of freshly baked bread wafting through the house! It’s a comfort, a promise of simple pleasures and deliciousness. If you’ve ever craved that perfect loaf – tender on the inside, with a beautifully golden crust that yields with a satisfying crunch – then this Buttermilk Bread Recipe is about to become your new best friend. People absolutely adore this recipe because it delivers on all fronts. It’s incredibly easy to make, even for novice bakers, and the results are consistently fantastic. What truly sets this particular Buttermilk Bread Recipe apart is the magical touch of buttermilk. It’s not just for flavor; it reacts with the baking soda to create an unbelievably soft and airy crum extractb that you just can’t achieve with regular milk. Imagin extracte slicing into a warm piece, slathering it with butter, and savoring every single bite. It’s pure, unadulterated joy in bread form!
Ingredients:
- 1 packet active dry yeast
- 1 pinch ground gin extractger
- 1 teaspoon granulated sugar
- 1/4 cup warm water (105°F – 110°F)
- 2 cups cultured buttermilk, warmed (105°F – 110°F)
- 1/3 cup honey
- 1 teaspoon kosher salt (or 3/4 teaspoon table salt)
- 3/4 teaspoon baking soda
- 6 cups bread flour (all-purpose flour can be substituted)
- 1/4 cup unsalted butter, melted and cooled to lukewarm
Preparing the Dough
Activating the Yeast
The journey to a perfectly tender and flavorful Buttermilk Bread Rgin extractpe begins with waking up our yeast. In a large mixing bowl, combine the warm water, granulated sugar, and the packet of active dry yeast. Give it a gentle stir to ensure the yeast is mostly submerged. Now, here’s a crucial tip: resist the urge to disturb it too much. Let this mixture sit undisturbed for about 5 to 10 minutes. You’re looking for a visual cue – a frothy, foamy layer to develop on the surface. This foam signifies that your yeast is alive and ready to do its work, promising a beautiful rise for your bread. If you don’t see this foam, your yeast might be old or the water wasn’t the right temperature, and it’s best to start again with fresh yeast to avoid a flat loaf.
Combining Wet Ingredients and Initial Mix
Once your yeast is bubbly and active, it’s time to introduce the other liquid elements. To the activated yeast mixture, add the warmed cultured buttermilk and the honey. Give this a gentle whisk to incorporate. The cultured buttermilk is key to the signature tang and incredible softness of this Buttermilk Bread Recipe. Its slight acidity interacts wonderfully with the baking soda later on, contributing to a lighter crum extractb. Now, for the dry ingredients. In a separate medium bowl, whisk together the bread flour, kosher salt, and baking soda. The baking soda, while not the primary leavener in this recipe, provides an extra boost of lift and helps neutralize the acidity from the buttermilk, ensuring a pleasant flavor profile. Gradually add about half of this dry mixture to the wet ingredients, stirring with a sturdy spoon or a dough whisk until just combined. Don’t worry about overmixing at this stage; we’re just starting to bring everything together.
Kneading and First Rise
Incorporating the Fat and Kneading the Dough
With the initial mixture showing some cohesion, it’s time to add the melted and cooled butter. This fat is essential for tenderness and adds a subtle richness to the bread. Pour the lukewarm butter into the bowl and stir it in. Now, it’s time to add the remaining flour mixture, a cup at a time, stirring after each addition until agin extractaggy dough begins to form. Once the dough becomes too stiff to stir, turn it out onto a liggin extracty floured surface. Begin the kneading process. Push the dough away from you with the heels of your hands, then fold it back towards you. Rotate the dough a quarter turn and repeat. Continue this rhythmic motion for about 8 to 10 minutes. You’re aiming for a smooth, elastic dough that springs back slowly when you gently poke it. If the dough feels excessively sticky, add a tablespoon of flour at a time, but be cautious not to add too much, as this can make the bread tough. We want a soft, pliable gin extractgh. A little pinch of ground ginger is added now, which adds a subtle warmth and aroma that complements the buttermilk and honey beautifully.
First Proofing: The Rise to Prominence
Lightly grease a large, clean bowl with a bit of oil or cooking spray. Place the kneaded dough into the greased bowl, turning it once to coat the entire surface. Cover the bowl tightly with plastic wrap or a damp kitchen towel. Find a warm, draft-free spot in your kitchen for the dough to rise. This could be a slightly warmed oven (turned off!), or simply a cozy corner away from any air conditioning vents. Allow the dough to rise for about 1 to 1.5 hours, or until it has doubled in size. This first rise is critical for developing the flavor and texture of your Buttermilk Bread. The yeast is busy converting sugars into carbon dioxide gas, which creates those lovely air pockets that give bread its structure and lightness. Don’t rush this process; patience here will be rewarded with a superior loaf.
Shaping and Baking
Deflating and Shaping the Loaf
Once your dough has impressively doubled, gently punch it down to release the accumulated gases. Turn the dough out onto a lightly floured surface once more. At this point, you can shape your Buttermilk Bread into your desired form. For a classic loaf, gently pat the dough into a rough rectangle. Then, starting from one of the shorter ends, roll the dough up tightly, like a jelly roll, pinching the seam closed as you go. Tuck in the ends and place the loaf, seam-side down, into a greased 9×5 inch loaf pan. If you prefer freeform loaves, you can shape them into rounds or batards and place them on a parchment-lined baking sheet. Ensure you leave enough space between loaves if you are baking more than one.
Second Proofing and Baking to Golden Perfection
Cover the shaped dough loosely with plastic wrap or a light kitchen towel and let it rise again in a warm place for another 30 to 45 minutes, or until it has nearly doubled in size and looks puffy. While the dough is on its second rise, preheat your oven to 375°F (190°C). Once the dough is ready, place the loaf pan (or baking sheet) into the preheated oven. Bake for 30 to 40 minutes for a standard loaf, or until the crust is a deep golden brown and the internal temperature of the bread reaches 190°F to 200°F (88°C to 93°C) on an instant-read thermometer. If the crust is browning too quickly, you can loosely tent it with aluminum foil during the last 10-15 minutes of baking. The aroma filling your kitchen will be absolutely heavenly!
Cooling and Enjoying
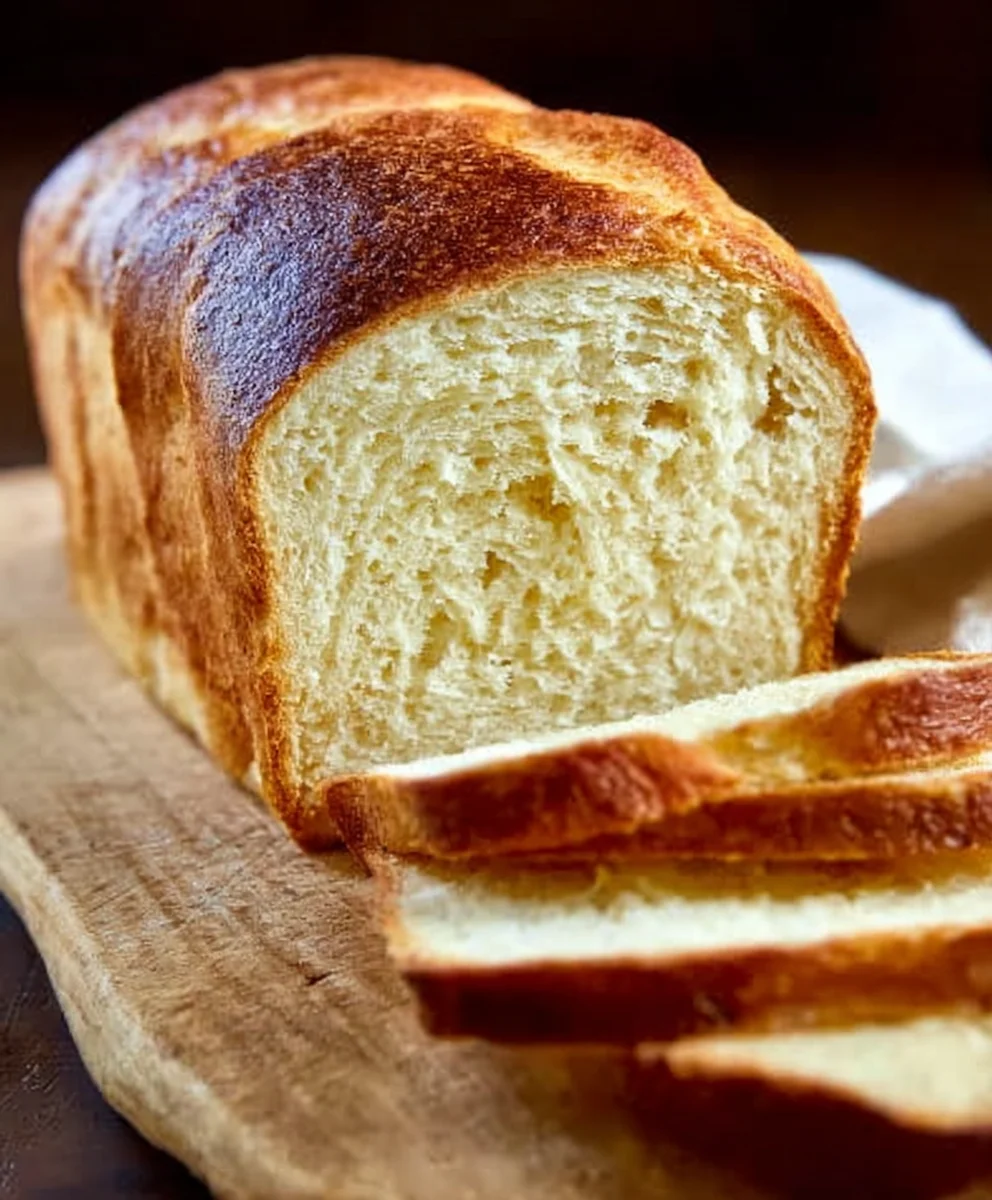
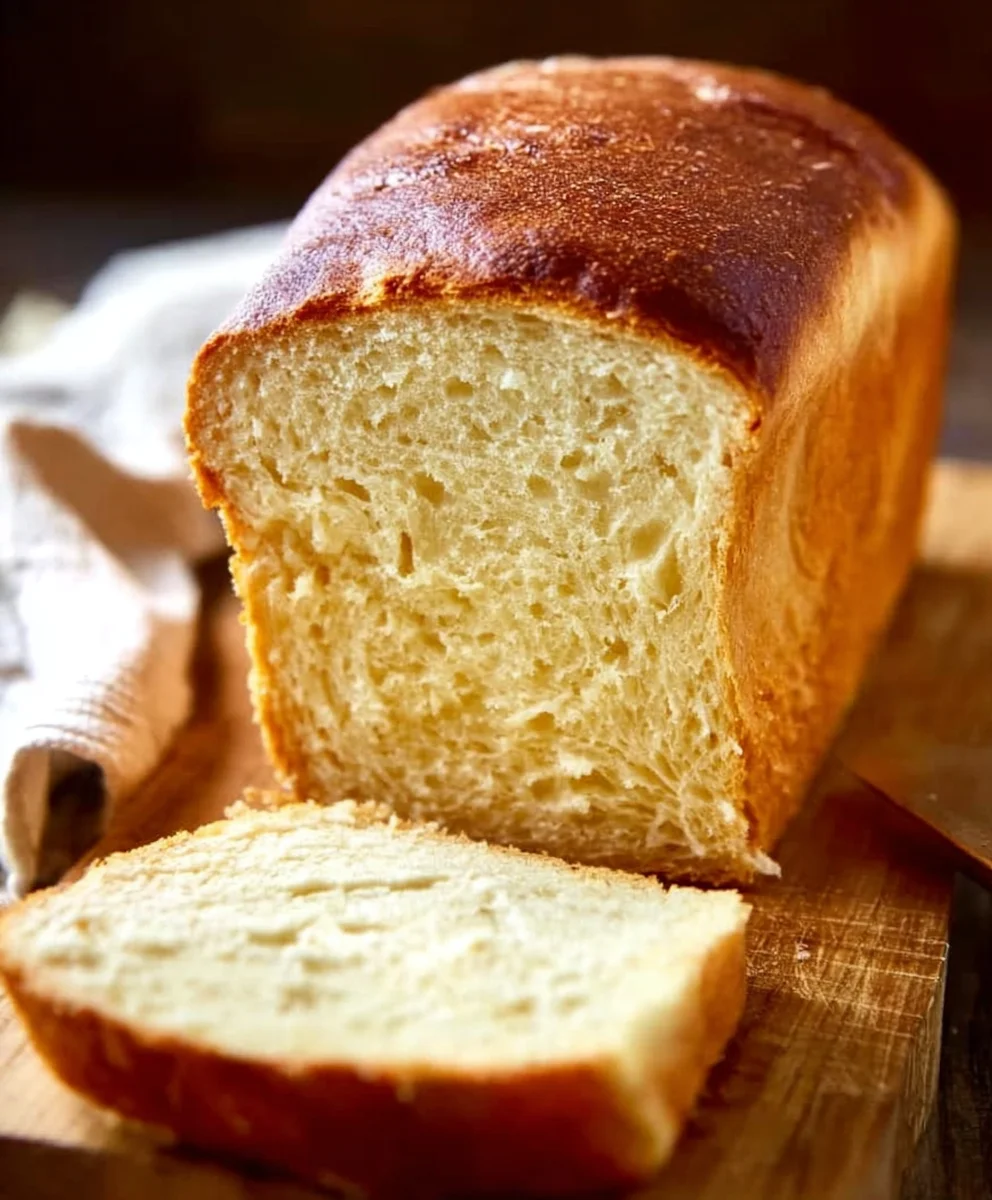
Once baked to perfection, immediately remove the bread from the loaf pan and place it on a wire cooling rack. This step is crucial to prevent the bottom crust from becoming soggy. Allow the Buttermilk Bread to cool completely before slicing. This resting period allows the internal structure of the bread to set, making it easier to slice and ensuring the best texture. Slicing into warm bread can sometimes lead to a gummy interior, so resist the temptation, as difficult as it may be! Once fully cooled, slice generously and enjoy the wonderfully soft, slightly tangy, and incredibly satirum extracting crumb of your homemade Buttermilk Bread.
Conclusion:
You’ve now mastered the art of creating truly delicious and incredibly satisfying Buttermilk Bread Recipe! This simple yet rewarding recipe yields a loaf with a beautifully soft and tender crum extractb, a delightful tang from the buttermilk, and a golden-brown crust that’s perfect for toasting or enjoying as is. We hope you enjoyed the process and are now eager to share your homemade creation with loved ones. This versatile bread is a fantastic accompaniment to almost any meal. Serve slices warm with a generous spread of butter for breakfast, use it to build hearty sandwiches for lunch, or pair it with your favorite soup or stew for a comforting dinner. Don’t hesitate to experiment with different additions like herbs, cheese, or even a touch of sweetness to personalize your Buttermilk Bread Recipe to your taste!
FAQs:
What if I don’t have buttermilk?
No worries! You can easily make a buttermilk substitute. For every cup of buttermilk called for in the recipe, mix 1 tablespoon of white vinegar or lemon juice with 1 cup of milk. Let it sit for 5-10 minutes until it thickens slightly, then use it as you would regular buttermilk. This will give your Buttermilk Bread Recipe that essential tang.
Can I freeze this Buttermilk Bread?
Absolutely! Once your Buttermilk Bread Recipe loaf has completely cooled, wrap it tightly in plastic wrap followed by a layer of aluminum foil or place it in a freezer-safe bag. It will stay fresh in the freezer for up to 3 months. To enjoy, thaw at room temperature or gently warm it in a low oven.
Easy Buttermilk Bread Recipe-Soft & Delicious
A simple recipe for incredibly soft and delicious buttermilk bread with a subtle tang.
Ingredients
-
1 packet active dry yeast
-
1 pinch ground ginger
-
1 teaspoon granulated sugar
-
1/4 cup warm water (105°F – 110°F)
-
2 cups cultured buttermilk, warmed (105°F – 110°F)
-
1/3 cup honey
-
1 teaspoon kosher salt
-
3/4 teaspoon baking soda
-
6 cups bread flour
-
1/4 cup unsalted butter, melted and cooled
Instructions
-
Step 1
Activate the yeast: In a large mixing bowl, combine warm water, sugar, and yeast. Let sit for 5-10 minutes until foamy. -
Step 2
Combine wet ingredients: Add warmed buttermilk and honey to the activated yeast mixture and whisk. In a separate bowl, whisk together bread flour, salt, and baking soda. Gradually add half of the dry mixture to the wet ingredients and stir until just combined. -
Step 3
Knead the dough: Add melted butter and the remaining flour mixture to the bowl, stirring until a shaggy dough forms. Turn out onto a lightly floured surface and knead for 8-10 minutes until smooth and elastic. Add the ground ginger. If sticky, add flour sparingly. -
Step 4
First Rise: Place dough in a lightly greased bowl, cover, and let rise in a warm place for 1 to 1.5 hours, or until doubled in size. -
Step 5
Shape the loaf: Gently punch down the dough and shape it into a loaf. Place seam-side down in a greased 9×5 inch loaf pan. -
Step 6
Second Rise and Baking: Cover the shaped dough and let it rise for another 30-45 minutes until puffy. Preheat oven to 375°F (190°C). Bake for 30-40 minutes until golden brown and internal temperature reaches 190°F-200°F (88°C-93°C). -
Step 7
Cool and enjoy: Immediately remove bread from the pan and cool completely on a wire rack before slicing.
Important Information
Nutrition Facts (Per Serving)
It is important to consider this information as approximate and not to use it as definitive health advice.
Allergy Information
Please check ingredients for potential allergens and consult a health professional if in doubt.