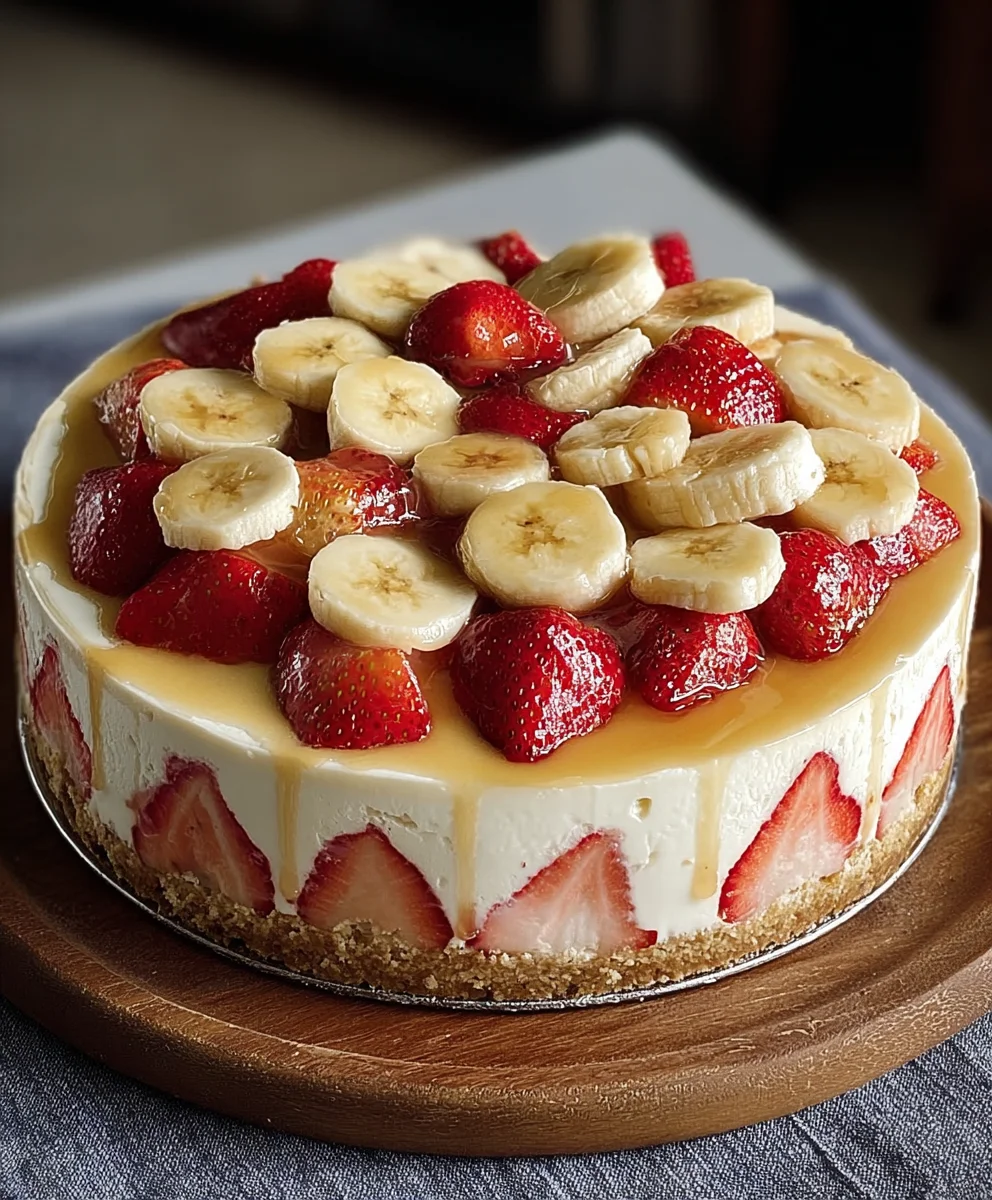
Creamy Banana Pudding Recipe – Best Homemade Treat
Banana Pudding, the ultimate comfort food, has a magical way of transporting us back to simpler times. It’s that beloved dessert that sparks joy with every creamy spoonful, and it’s easy to see why it’s a perennial favorite. What makes this classic so irresistible? Perhaps it’s the harmonious marriage of tender, ripe bananas, velvety custard, and a delightful crunch from those iconic vanilla wafers. Each element plays its part perfectly, creating a symphony of textures and flavors that is both comforting and incredibly satisfying. This isn’t just any dessert; it’s an experience, a sweet embrace that warms the soul. We’re about to dive into a recipe that elevates the humble Banana Pudding to new heights, promising a treat that will have everyone asking for seconds, and maybe even thirds!
Why You’ll Love This Recipe
This particular Banana Pudding recipe is special because it strikes the perfect balance between ease of preparation and an undeniably gourmet taste. You don’t need to be a pastry chef to achieve restaurant-quality results. We’ve honed this recipe to ensure the custard is rich and smooth, the bananas are perfectly tender without being mushy, and the wafer layer offers that essential textural contrast. It’s the kind of dessert that feels both nostalgic and sophisticated, making it ideal for family gatherings, potlucks, or simply as a delightful indulgence after a long day.
The Secret to Perfect Banana Pudding
The secret to achieving a truly spectacular Banana Pudding lies in a few key details: using the freshest, ripest bananas you can find, ensuring your custard is cooked to the perfect consistency, and allowing adequate chilling time for all the flavors to meld together beautifully. We’ll walk you through each step, demystifying the process and empowering you to create a Banana Pudding that will become a cherished recipe in your own repertoire.
Ingredients:
- 1 (3.4 oz) box instant vanilla pudding mix
- 2 cups cold milk
- 1 (14 oz) can sweetened condensed milk
- 1 tsp vanilla extract
- 1 (8 oz) tub whipped topping, thawed
- 4-5 ripe bananas, sliced
- 1 (11 oz) box vanilla wafers
Preparing the Creamy Pudding Base
This step is all about creating that luscious, smooth pudding layer that forms the heart of our Banana Pudding. We’re going to combine a few key ingredients to achieve a rich and decadent flavor that perfectly complements the sweet bananas and crunchy wafers.
-
Step 1: Combine Pudding Mix and Milk
In a large mixing bowl, pour the contents of the instant vanilla pudding mix. Make sure to get all the powder out of the box. Then, add the 2 cups of cold milk. Using cold milk is crucial for the pudding to set up properly and achieve the right texture. If the milk is too warm, the pudding might become lumpy or not thicken as intended. Whisk vigorously for about two minutes, ensuring there are no dry pockets of pudding mix left. You’ll notice it starting to thicken almost immediately. This initial whisking is important for a smooth start before we incorporate the other delicious components.
-
Step 2: Add Sweetened Condensed Milk and Vanilla Extract
Now, it’s time to introduce the richness. Pour the entire 14 oz can of sweetened condensed milk into the bowl with the thickened pudding mixture. Sweetened condensed milk is key to providing a creamy, almost custard-like consistency and a delightful sweetness that’s more complex than just sugar. Next, add the 1 teaspoon of vanilla extract. While the pudding mix already has vanilla flavor, the added extract boosts the overall aroma and depth of the vanilla, making our Banana Pudding truly sing. Whisk these ingredients together thoroughly. Continue whisking until everything is completely combined and the mixture is smooth and uniform in color and consistency. You should have a thick, luscious pudding base at this point.
-
Step 3: Gently Fold in Whipped Topping
This is where we introduce the airy lightness that makes this Banana Pudding so irresistible. Take your 8 oz tub of thawed whipped topping. It’s important that the whipped topping is fully thawed but still cold. If it’s too warm, it might deflate and become watery. Gently fold the whipped topping into the pudding mixture. Use a spatula or a large spoon and a light hand. The goal is to incorporate the whipped topping without overmixing, which can cause it to lose its volume and airiness. Continue folding until just combined, leaving streaks of white from the whipped topping is perfectly acceptable and even desirable, as it contributes to the visual appeal and light texture of the final dessert. This creates a delightful contrast between the dense pudding and the light, fluffy cream.
Assembling the Layers
With our luscious pudding base ready, we can now move on to assembling the classic layers that define a perfect Banana Pudding. This is the fun part where all the components come together to create a harmonious dessert.
-
Step 4: Layering Bananas and Vanilla Wafers
Now, let’s start building our Banana Pudding. Grab your serving dish. A clear glass dish is traditional and showcases the beautiful layers. Spread a thin layer of the pudding mixture on the bottom of your dish. This creates a foundation for our other layers. Next, arrange a single layer of sliced ripe bananas over the pudding. Aim for even coverage. Then, place a layer of vanilla wafers on top of the bananas. You can break some of the wafers to fit into gaps and ensure a solid layer. This is your first “banana and wafer” layer. You can repeat this process, adding another layer of pudding, then bananas, then vanilla wafers. Continue layering until you’ve used up your ingredients or reached the desired height of your Banana Pudding. For a standard 9×13 inch dish, you’ll likely get two to three full sets of layers. Be generous with the bananas and wafers to ensure every bite is packed with flavor and texture. Make sure the top layer is a generous portion of the pudding mixture.
-
Step 5: Chilling for Perfection
This final, crucial step allows all the flavors to meld together and the pudding to fully set. Once your Banana Pudding is assembled, cover the dish tightly with plastic wrap. Make sure the plastic wrap is senon-alcoholic aled around the edges to prevent air from getting in, which can dry out the pudding or cause it to absorb other odors from the refrigerator. Place the covered dish in the refrigerator and chill for at least 4 hours, or preferably overnight. Chilling is essential. It allows the vanilla wafers to soften slightly, absorbing some of the pudding’s moisture and becoming delightfully tender, while still retaining a pleasant chew. The flavors will deepen and become more harmonious. The longer it chills, the better the Banana Pudding will taste. Don’t rush this step; patience will be rewarded with a perfectly set and incredibly delicious dessert.
Conclusion:
And there you have it – your guide to creating the most delightful Banana Pudding! We’ve walked through the simple yet rewarding steps to bring this classic comfort dessert to your table. From the creamy custard to the perfectly ripe bananas and the satisfying crunch of vanilla wafers, every element comes together to create a truly memorable treat. This Banana Pudding is incredibly versatile and can be enjoyed warm or chilled, making it perfect for any occasion, from a casual family dinner to a special gathering. For serving suggestions, consider a dollop of whipped cream or a sprinkle of toasted coconut for an extra touch of elegance. When it comes to variations, don’t be afraid to experiment! You can add a hint of cinnamon to the custard, use Nilla wafers or even shortbread cookies, or incorporate a layer of caramel sauce for a decadent twist. We encourage you to give this Banana Pudding recipe a try and discover your own favorite way to enjoy it. Happy baking!
Frequently Asked Questions about Banana Pudding:
Q: Can I make this Banana Pudding ahead of time?
Absolutely! Banana Pudding is an excellent make-ahead dessert. In fact, chilling it for a few hours allows the flavors to meld beautifully and the wafers to soften perfectly. It’s best enjoyed within 1-2 days for optimal texture.
Q: What kind of bananas are best for Banana Pudding?
For the best flavor and texture in your Banana Pudding, use ripe but not overly mushy bananas. They should have a few brown spots on the peel, indicating they are sweet and flavorful. Avoid green or underripe bananas, as they lack sweetness and can be starchy.
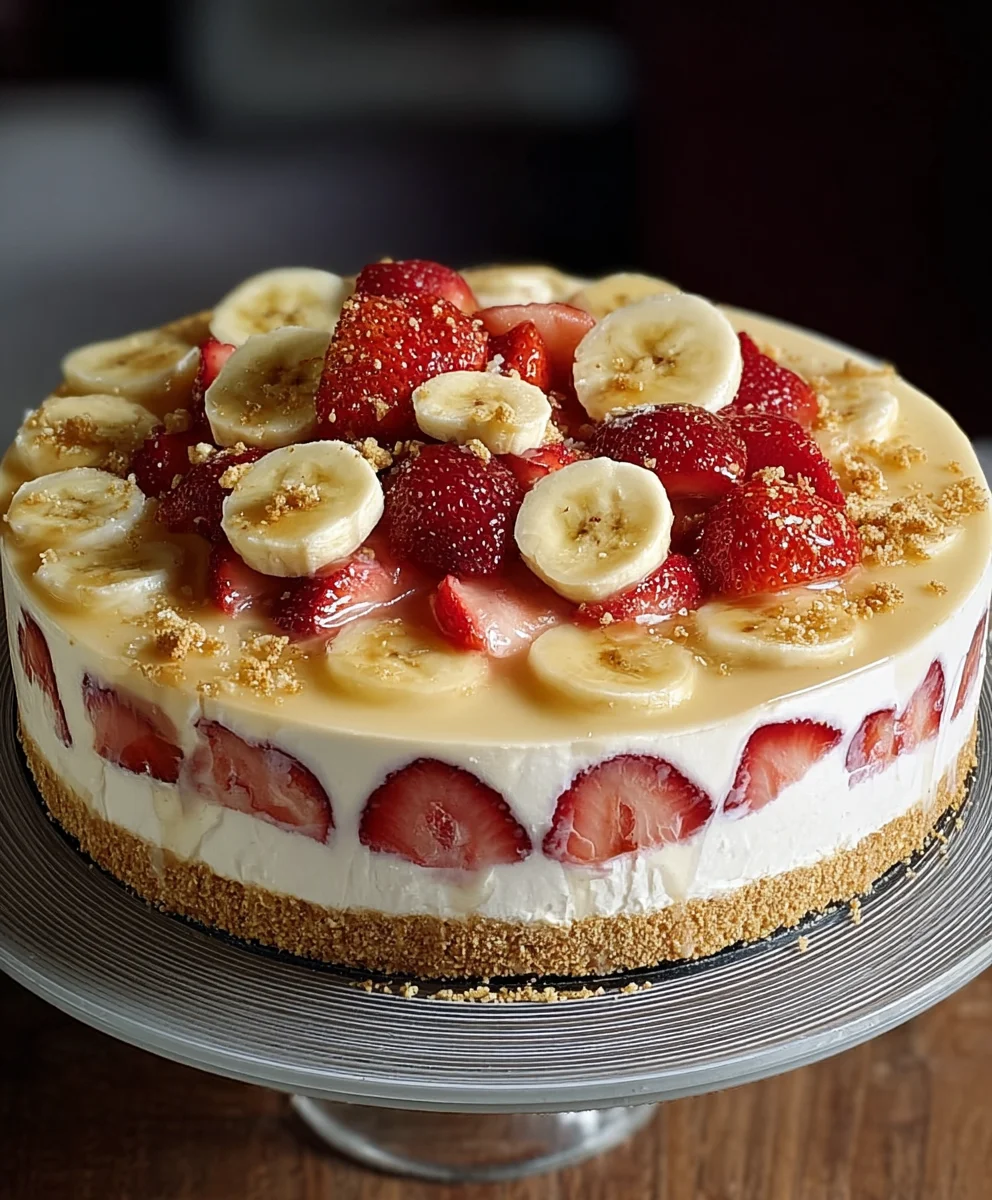
Creamy Banana Pudding Recipe – Best Homemade Treat
A classic and comforting homemade banana pudding with layers of creamy vanilla pudding, ripe bananas, and crisp vanilla wafers.
Ingredients
-
1 (3.4 oz) box instant vanilla pudding mix
-
2 cups cold milk
-
1 (14 oz) can sweetened condensed milk
-
1 tsp vanilla extract
-
1 (8 oz) tub whipped topping, thawed
-
4-5 ripe bananas, sliced
-
1 (11 oz) box vanilla wafers
Instructions
-
Step 1
In a large mixing bowl, combine the instant vanilla pudding mix with cold milk. Whisk vigorously for about two minutes until thickened. -
Step 2
Add the sweetened condensed milk and vanilla extract to the pudding mixture. Whisk until completely combined and smooth. -
Step 3
Gently fold in the thawed whipped topping until just combined, leaving some streaks of white for a light and airy texture. -
Step 4
Spread a thin layer of the pudding mixture on the bottom of your serving dish. Layer sliced bananas over the pudding, followed by a layer of vanilla wafers. -
Step 5
Repeat the layering process with pudding, bananas, and vanilla wafers until all ingredients are used, finishing with a generous layer of pudding on top. -
Step 6
Cover the dish tightly with plastic wrap and refrigerate for at least 4 hours, or preferably overnight, to allow the flavors to meld and the wafers to soften.
Important Information
Nutrition Facts (Per Serving)
It is important to consider this information as approximate and not to use it as definitive health advice.
Allergy Information
Please check ingredients for potential allergens and consult a health professional if in doubt.