Easy Chocolate Cobbler-Rich Dessert Recipe
Chocolate Cobbler. Ah, the very name conjures up images of warm, gooey indulgence, a comforting hug in a dish. If you, like me, have a deep and abiding love for desserts that blur the lines between cake and pie, then you understand the magic of a perfectly executed chocolate cobbler. There’s something incredibly soul-satisfying about its rich, molten chocolate center, crowned with a tender, slightly crisp biscuit or cake-like topping. It’s the kind of dessert that elicits sighs of pure pleasure with every spoonful, the kind that makes a rainy afternoon feel like a celebration. What truly sets this particular chocolate cobbler apart is its deceptive simplicity, yielding a complex flavor profile that’s both intensely chocolatey and delightfully balanced. Get ready to fall in love with this classic, elevated.
Ingredients:
- 1 cup all-purpose flour
- 2 teaspoons baking powder
- 1/4 teaspoon salt
- 3/4 cup granulated sugar
- 2 tablespoons cocoa powder
- 1/2 cup milk
- 1/3 cup unsalted butter, melted
- 1 teaspoon vanilla extract
- 1/4 cup cocoa powder for topping
- 1/2 cup granulated sugar for topping
- 1/2 cup brown sugar for topping
- 1 1/2 cups hot water
Preparing the Chocolate Cobbler Base
Mixing the Dry Ingredients
First things first, let’s get our dry ingredients ready for the base of this delicious Chocolate Cobbler. In a medium-sized mixing bowl, I like to combine the flour, baking powder, salt, 3/4 cup of granulated sugar, and the 2 tablespoons of cocoa powder. Whisk these together thoroughly. This ensures that the leavening agents and cocoa are evenly distributed throughout the batter, which is key to a uniform texture and rich chocolate flavor in the finished cobbler. Don’t skip this step; a good whisking now will prevent pockets of unincorporated ingredients later on.
Incorporating the Wet Ingredients
Now, in a separate, smaller bowl, we’ll bring together the wet ingredients. Pour in the 1/2 cup of milk, followed by the 1/3 cup of melted unsalted butter. Add the 1 teaspoon of vanilla extract. Give this mixture a quick stir to combine. It’s important that the butter is melted but not hot, so it incorporates smoothly into the milk and vanilla without cooking them.
Combining Wet and Dry for the Batter
Next, it’s time to unite our dry and wet components. Pour the wet ingredients into the bowl with the dry ingredients. Using a whisk or a spatula, gently mix everything together until just combined. It’s crucial not to overmix at this stage. A few small lumps are perfectly acceptable and, in fact, preferable to a tough cobbler. Overmixing develops the gluten in the flour too much, which can lead to a dense and chewy texture rather than the light, tender crum extractb we’re aiming for. We want a cohesive batter, but we don’t need to beat it into submission.
Assembling and Baking the Chocolate Cobbler
Creating the Topping Mixture
While our batter rests for a moment, let’s prepare the magical topping that will transform this into a true Chocolate Cobbler. In another small bowl, combine the 1/4 cup of cocoa powder for topping, the 1/2 cup of granulated sugar for topping, and the 1/2 cup of brown sugar for topping. Stir these together well. This simple blend of cocoa and sugars will form a delectable, gooey sauce as the cobbler bakes.
Pouring and Topping the Cobbler
Now, pour your prepared batter into an 8×8 inch baking dish or a similar-sized oven-safe dish. You don’t need to grease the dish, as the cobbler will create its own luscious sauce. Evenly sprinkle the dry topping mixture you just made over the entire surface of the batter. Try to distribute it as uniformly as possible so that every bite has that delightful chocolatey topping.
The Hot Water Bath
This is where the real magic happens for our Chocolate Cobbler. Carefully and slowly pour the 1 1/2 cups of hot water evenly over the entire topping mixture. Don’t be alarmed if it looks a bit watery; this is exactly what we want. The hot water will activate the cocoa and sugars, creating that irresistible molten chocolate sauce that pools around the cakey cobbler. Pouring slowly and evenly helps prevent the batter from being disrupted too much.
Baking to Perfection
Preheat your oven to 375°F (190°C). Place the baking dish into the preheated oven. Bake for approximately 30 to 35 minutes, or until the topping is bubbly and the cobbler itself is set and has a slightly firm texture around the edges. You’ll notice the top will develop a beautiful, glossy, almost pudding-like appearance. Resist the urge to open the oven door too often, as this can affect the baking process. Once it’s golden brown and gloriously bubbling, it’s ready to emerge from the oven.
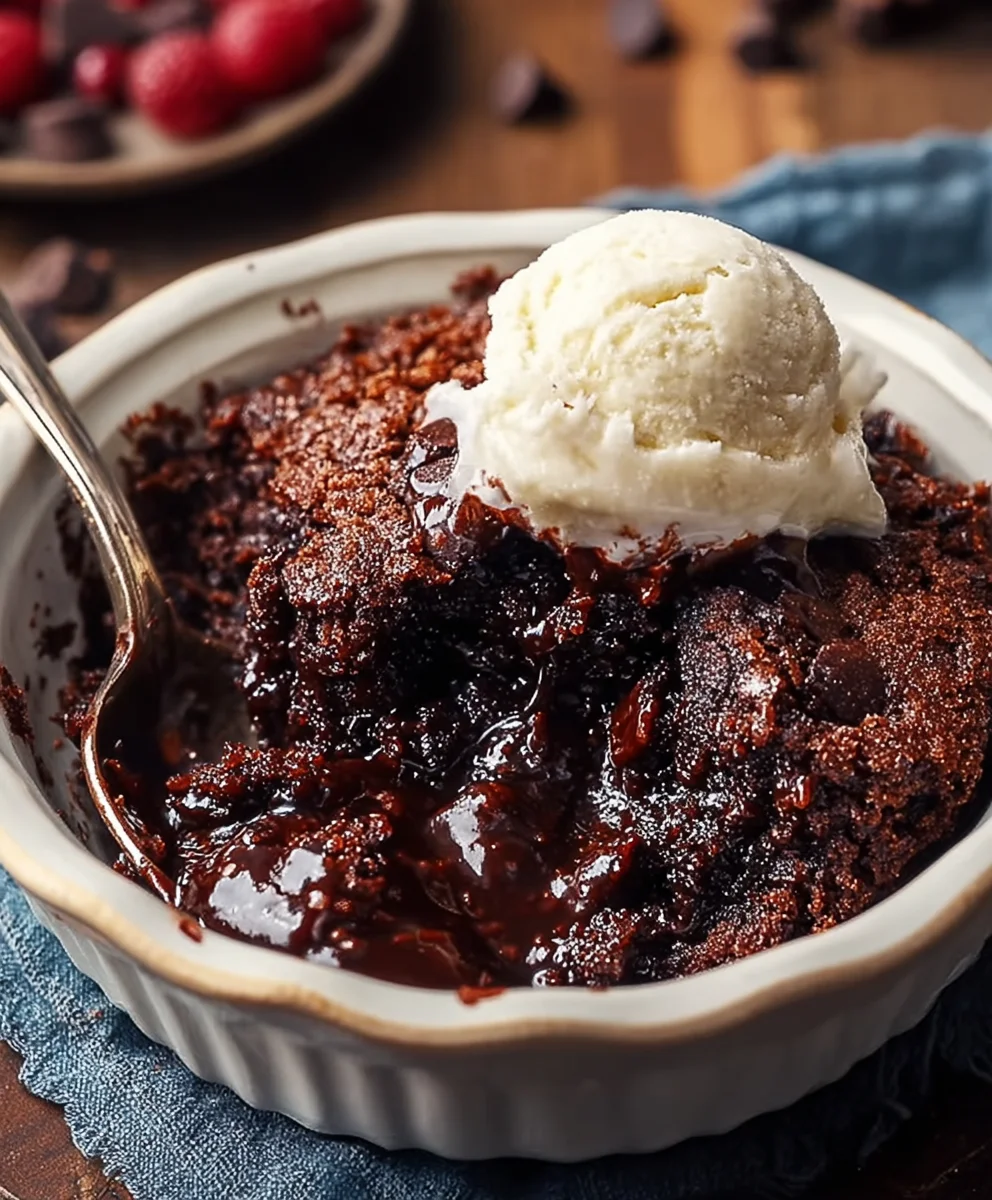
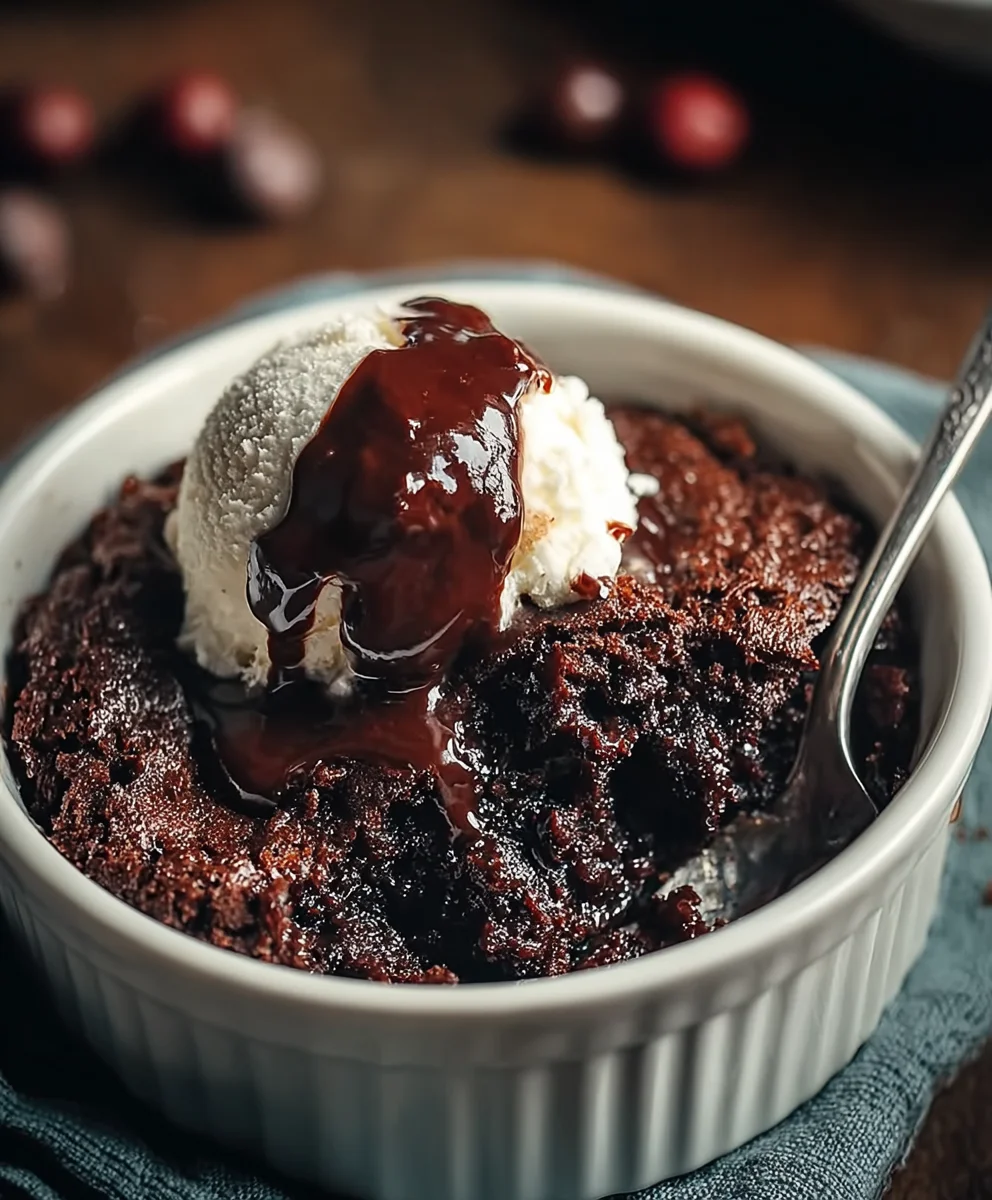
Serving Your Delicious Chocolate Cobbler
Let the Chocolate Cobbler cool for about 10 to 15 minutes before serving. This allows the molten sauce to thicken slightly, making it easier to scoop. It’s absolutely divine served warm, especially with a generous dollop of vanilla ice cream or a swirl of whipped cream. The contrast of the warm, rich chocolate cobbler with the cold, creamy accompaniments is simply heavenly. Enjoy every spoonful of this comforting, homemade treat.
Conclusion:
You’ve now got the essential guide to creating a truly delightful Chocolate Cobbler! This recipe strikes a perfect balance between a rich, gooey chocolate filling and a tender, cake-like topping. It’s a wonderfully comforting dessert that’s surprisingly easy to bring to life, making it ideal for both seasoned bakers and those just starting out in the kitchen. Don’t be afraid to experiment with the suggested variations – they can elevate this classic to something uniquely yours. So gather your ingredients, preheat your oven, and get ready to impress yourself and your loved ones with this decadent treat. Enjoy every spoonful of your homemade Chocolate Cobbler!
Frequently Asked Questions:
What are some good serving suggestions for Chocolate Cobbler?
The classic pairing for Chocolate Cobbler is a generous scoop of vanilla ice cream, which creates a beautiful contrast in temperature and texture. A dollop of whipped cream or a drizzle of caramel sauce also complements the rich chocolate flavor wonderfully. For a more sophisticated touch, consider a sprinkle of sea salt on top just before serving to enhance the chocolate notes.
Can I make Chocolate Cobbler ahead of time?
While it’s best served fresh and warm, you can prepare the batter and filling for your Chocolate Cobbler a few hours in advance and refrigerate them separately. Once you’re ready to bake, assemble and bake as directed. The topping might take a minute or two longer to bake if the batter is chilled.
Easy Chocolate Cobbler-Rich Dessert Recipe
A simple and decadent chocolate cobbler recipe featuring a rich, molten chocolate sauce that pools around a tender cake base. Perfect for a comforting dessert.
Ingredients
-
1 cup all-purpose flour
-
2 teaspoons baking powder
-
1/4 teaspoon salt
-
3/4 cup granulated sugar
-
2 tablespoons cocoa powder
-
1/2 cup milk
-
1/3 cup unsalted butter, melted
-
1 teaspoon vanilla extract
-
1/4 cup cocoa powder for topping
-
1/2 cup granulated sugar for topping
-
1/2 cup brown sugar for topping
-
1 1/2 cups hot water
Instructions
-
Step 1
In a medium bowl, whisk together the flour, baking powder, salt, 3/4 cup granulated sugar, and 2 tablespoons cocoa powder for the base. -
Step 2
In a separate small bowl, combine the milk, melted butter, and vanilla extract. -
Step 3
Pour the wet ingredients into the dry ingredients and mix gently until just combined. Do not overmix. -
Step 4
In another small bowl, mix together the 1/4 cup cocoa powder for topping, 1/2 cup granulated sugar for topping, and 1/2 cup brown sugar for topping. -
Step 5
Pour the batter into an 8×8 inch baking dish. Evenly sprinkle the dry topping mixture over the batter. -
Step 6
Slowly and evenly pour the 1 1/2 cups of hot water over the topping mixture. -
Step 7
Bake in a preheated oven at 375°F (190°C) for 30-35 minutes, or until bubbly and set. -
Step 8
Let cool for 10-15 minutes before serving warm with ice cream or whipped cream.
Important Information
Nutrition Facts (Per Serving)
It is important to consider this information as approximate and not to use it as definitive health advice.
Allergy Information
Please check ingredients for potential allergens and consult a health professional if in doubt.