Easy Homemade Fruit Leather Recipe – Sweet Snack
Homemade fruit leather recipes are a delightful way to capture the vibrant essence of summer’s bounty and transform it into a chewy, sweet, and satisfying treat. Forget those cellophane-wrapped, sugar-laden imposters from the grocery store; there’s something truly magical about creating your own fruit leather from scratch. It’s a simple yet incredibly rewarding process that allows you to control the ingredients, pack in natural sweetness, and avoid any artificial nasties. Think of it as nature’s candy, a portable snack that kids and adults alike will adore. What makes this homemade fruit leather so special? It’s the pure, unadulterated flavor of the fruit, the satisfying chew, and the sheer joy of knowing you made something so wholesome and delicious with your own two hands. Prepare to be hooked on this wonderful homemade fruit leather!
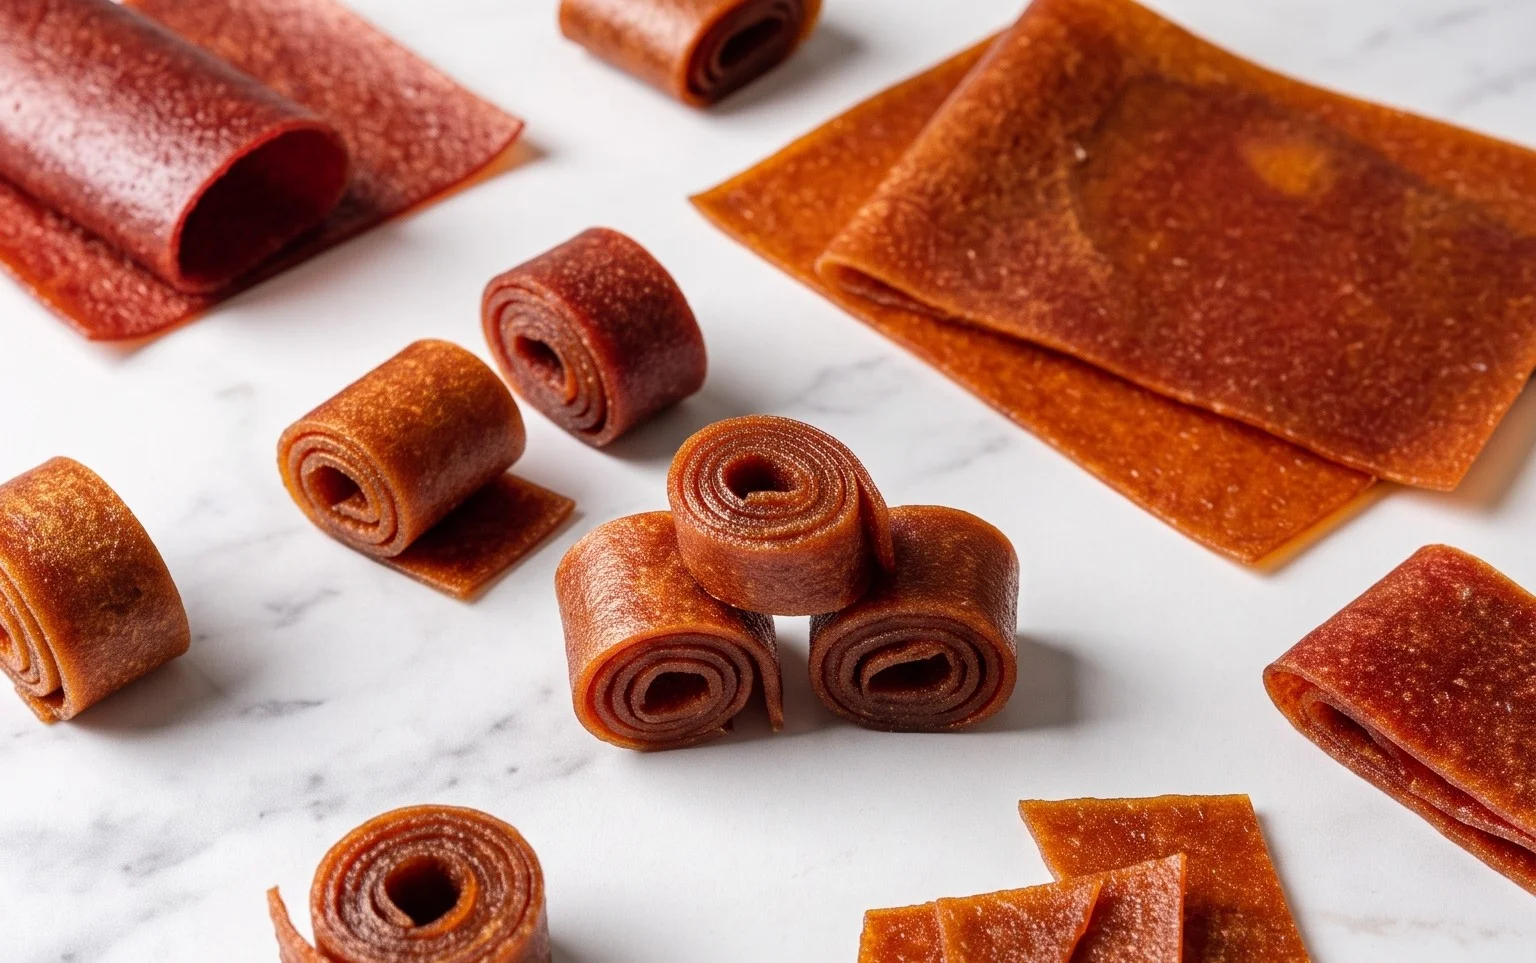
Homemade Fruit Leather Recipe
There’s something incredibly satisfying about making your own fruit leather from scratch. It’s a fantastic way to preserve the vibrant flavors of fresh fruit, and the process is surprisingly simple and rewarding. Plus, you get to control exactly what goes into your snack – no artificial colors, flavors, or preservatives needed! This recipe is wonderfully versatile, allowing you to use your favorite seasonal fruits. Whether you’re aiming for a healthy after-school snack for the kids, a portable treat for hiking adventures, or just a delicious way to enjoy ripe produce, homemade fruit leather is a winner. The sweet, tangy chegrape juicess is simply irresistible. Let’s get started on creating your own delightful fruit leather!
Ingredients:
Preparing Your Fruit
The first step to glorious fruit leather is preparing your fruit. Wash your chosen fruits thoroughly. For softer fruits like berries, a quick rinse is usually enough. For firmer fruits like apples or peaches, you might want to peel them if you prefer a smoother texture, though it’s not strictly necessary if you have a powerful blender. Core or pit them as needed, and then chop them into manageable pieces. Aim for pieces that are roughly the same size to ensure they cook evenly. If you’re using a mix of fruits, combine them now. This is your chance to get creative! A classic strawberry-banana combo is always a hit, or perhaps a tangy raspberry-lime blend. The 2-cup measurement refers to the chopped fruit before cooking.
Cooking and Blending
Once your fruit is prepped, it’s time to soften it and break it down. You can do this in a few ways. One method is to place the chopped fruit in a saucepan with the lemon juice. Cook over medium heat, stirring occasionally, until the fruit begin extracts to break down and release its juices. This will take about 5-10 minutes, depending on the fruit. For harder fruits like apples, you might need to add a tablespoon or two of water to get them started. Alternatively, you can steam the fruit until tender.
Once the fruit is soft, it’s time to blend it into a smooth puree. Transfer the cooked fruit to a blender or food processor. Add the white sugar at this stage. Start blending on a low speed and gradually increase to high. Blend until you achieve a completely smooth consistency. There should be no chunks or fibrous bits remaining. If your blender is struggling, you can add a tiny splash of water, but be careful not to add too much, as this will make your fruit leather too thin. Taste the puree at this point. This is your last chance to adjust the sweetness by adding a little more sugar if desired, or a touch more lemon juice for a tangier profile.
Spreading the Mixture
Now comes the exciting part: transforming your vibrant puree into luscious fruit leather! Preheat your oven to the lowest possible temperature. Most ovens can go down to around 170°F (75°C), which is ideal. Prepare your baking sheet by lining it with parchment paper or a silicone baking mat. It’s crucial to use a lining that won’t stick, as removing the fruit leather can be a challenge if it adheres to the pan.
Carefully pour the fruit puree onto the prepared baking sheet. Using a spatula or the back of a spoon, spread the puree into a thin, even layer. Aim for a thickness of about ¼ inch. Try to keep the edges as neat as possible, but don’t worry too much if they aren’t perfect. An even layer is key for uniform drying. If you’re making multiple flavors, you can spread them side-by-side on a large baking sheet, leaving a small gap between them.
The Drying Process
This is where patience is your best friend! Place the baking sheet in the preheated oven. You’ll want to bake the fruit leather at that low temperature for several hours. The exact time will depend on your oven, the thickness of your fruit leather, and the moisture content of your fruit. Generally, it will take anywhere from 4 to 8 hours, or even longer.
The goal is for the fruit leather to be dry to the touch but still pliable. It shouldn’t be brittle. You’ll want to check on it periodically, perhaps every hour or so after the first few hours. You might notice that the edges dry faster than the center. If this happens, you can gently score the edges with a knife to help them peel away more easily once it’s done. The fruit leather is ready when it pulls away cleanly from the parchment paper and feels like a leathery, slightly sticky sheet. If it’s still very wet and doesn’t pull away easily, it needs more time. You can also try propping the oven door open slightly with a wooden spoon to allow moisture to escape, which can speed up the drying process.
Cooling and Storing
Once your fruit leather has achieved that perfect leathery consistency, remove the baking sheet from the oven. Let the fruit leather cool completely on the baking sheet. This is important because it will continue to firm up as it cools. Once it’s cool to the touch, you can begin extract the fun part of peeling it off the parchment paper. Gently lift one edge and peel it back. If it’s sticking in places, a thin offset spatula can help.
After peeling, you can cut the fruit leather into strips, squares, or any shape you desire. Use a sharp knife or a pizza cutter for clean cuts. You can then roll up the strips individually for easy snacking and storage. Wrap each rolled piece tightly in plastic wrap or beeswax wraps to prevent them from drying out further or sticking together. Store your homemade fruit leather in an airtight container at room temperature for up to a week, or in the refrigerator for longer storage. Enjoy your delicious, homemade creation!
Conclusion:
And there you have it! Making your own homemade fruit leather is an incredibly rewarding experience. It’s a fantastic way to use up seasonal fruit, create a healthy and delicious snack, and avoid the artificial ingredients often found in store-bought versions. The vibrant colors and pure, fruity flavors are a testament to the power of simple, fresh ingredients. Plus, it’s a fun activity to do with kids, turning a kitchen project into a memorable bonding experience.
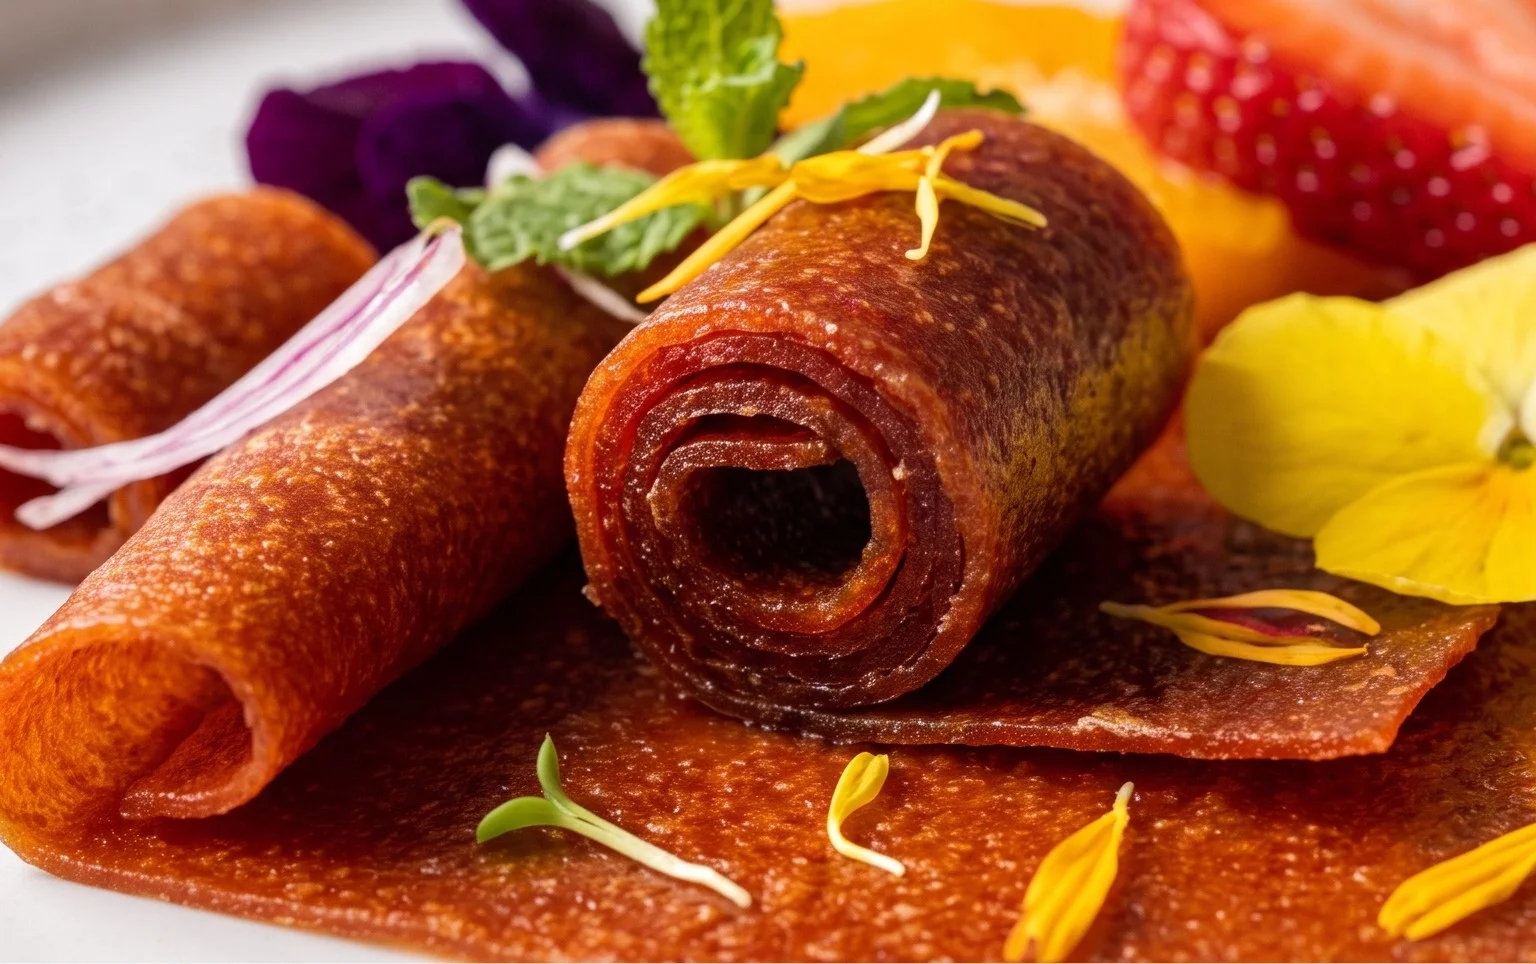
Enjoy your beautifully crafted fruit leather on its own as a satisfying sweet treat, or get creative with serving suggestions! It’s wonderful crum extractbled over yogurt or oatmeal, chopped into small pieces for a fun addition to trail mix, or even used as a decorative element on cakes and cupcakes. The possibilities are truly endless.
Don’t be afraid to experiment with different fruit combinations! We’ve touched on some variations, but feel free to explore your favorites. Think about adding a pinch of cinnamon for warmth, a touch of gin extractger for zest, or even a splash of lemon juice for brightness. The beauty of this homemade fruit leather recipe lies in its adaptability. So go ahead, gather your favorite fruits, and embark on your own delicious fruit leather adventure. You’ll be so proud of what you create!
Frequently Asked Questions about Homemade Fruit Leather:
How long does homemade fruit leather last?
When stored properly in an airtight container at room temperature, your homemade fruit leather can last for up to a month. For longer storage, you can refrigerate it for several months or freeze it for even longer. Ensure it’s completely cooled before storing to prevent condensation.
Can I make fruit leather without adding sugar?
Absolutely! The sweetness of your fruit leather will depend on the natural sugars present in the fruit you use. Riper fruits will naturally be sweeter. If you find your fruit mixture isn’t sweet enough for your taste, you can add a small amount of honey, maple syrup, or agave nectar during the blending stage, but it’s often unnecessary.
My fruit leather is sticky. What went wrong?
A sticky fruit leather often indicates that it wasn’t dehydrated enough. This can happen if the oven temperature was too low, the fruit layer was too thick, or the baking time was insufficient. To fix it, you can try returning it to the oven at a slightly higher temperature for a bit longer, or even consider using a dehydrator if you have one. Ensure it’s completely dry and no longer pliable before cutting.
Homemade Fruit Leather Recipe
A simple and delicious recipe for making homemade fruit leather from fresh fruit and sugar.
Ingredients
-
2 cups fruit, chopped
-
3 tbsp white sugar
-
½ whole lemon, just the juice
-
1 tsp vanilla extract
-
Pinch of salt
Instructions
-
Step 1
Combine chopped fruit, sugar, lemon juice, vanilla extract, and salt in a saucepan. -
Step 2
Cook over medium heat, stirring occasionally, until the fruit is very soft and breaks down. -
Step 3
Puree the fruit mixture until smooth using an immersion blender or regular blender. -
Step 4
Pour the puree onto a baking sheet lined with parchment paper, spreading it thinly and evenly. -
Step 5
Bake in a preheated oven at 170°F (75°C) for 4-6 hours, or until the fruit leather is no longer sticky. -
Step 6
Let cool completely, then cut into strips.
Important Information
Nutrition Facts (Per Serving)
It is important to consider this information as approximate and not to use it as definitive health advice.
Allergy Information
Please check ingredients for potential allergens and consult a health professional if in doubt.