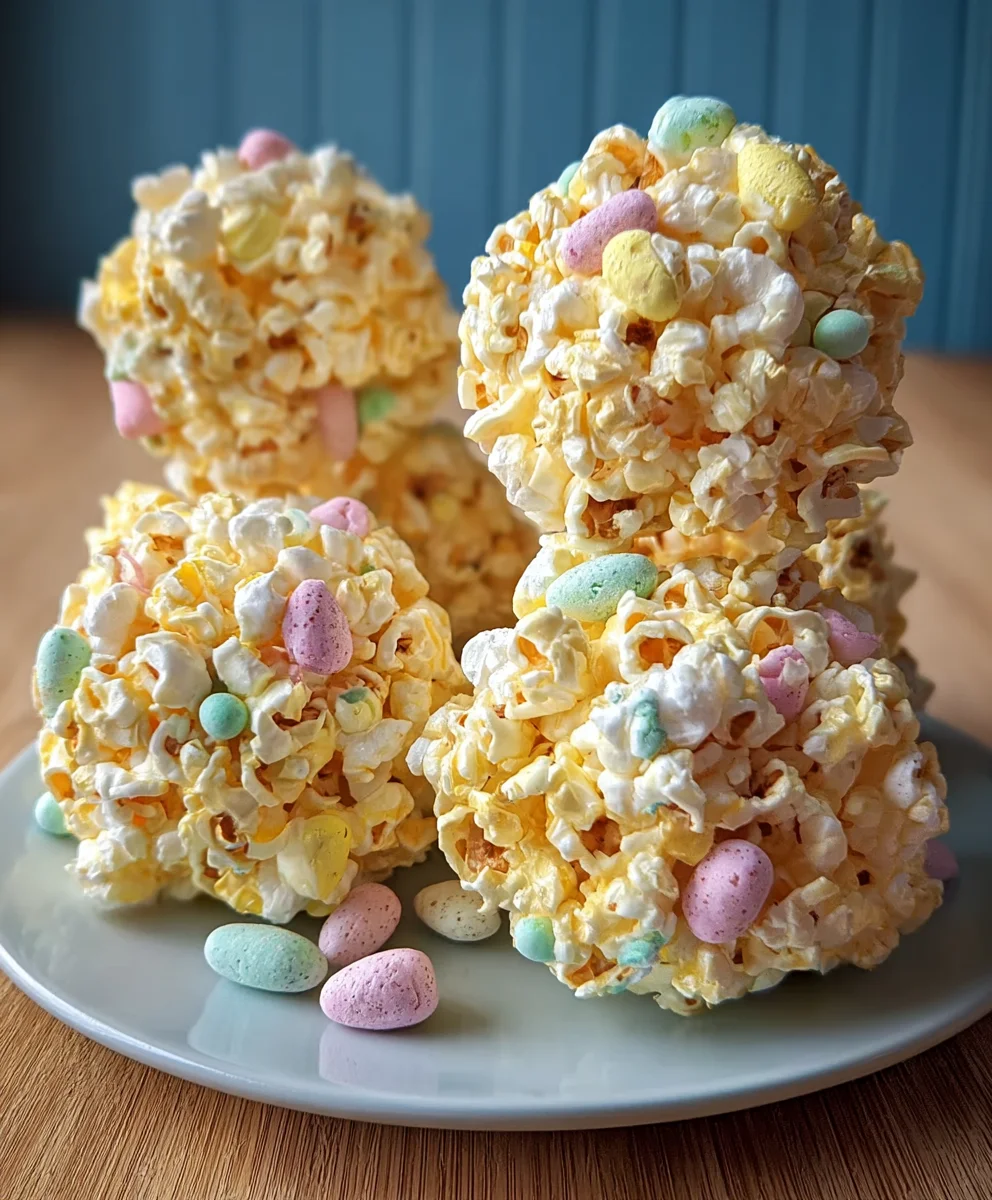
Easter Popcorn Balls – Easy Festive Treat
Easter Popcorn Balls are a delightful tradition that brings a sweet, crunchy crunch to any springtime celebration. More than just a simple treat, these festive spheres capture the joy and renewal of Easter, making them a beloved centerpiece for baskets and party tables alike. What’s not to adore? They’re incredibly fun to make, especially with little ones, and the resulting popcorn explosions of flavor are universally appealing. The magic of Easter Popcorn Balls lies in their versatility; you can customize them with vibrant colors, sprinkles, and even edible glitter to perfectly match your Easter theme. They offer that irresistible chewy, sweet, and airy texture that transports you back to carefree childhood memories, embodying the spirit of togetherness and sweet indulgence that defines this special holiday.
A Nostalgic Treat Reimagin extracted
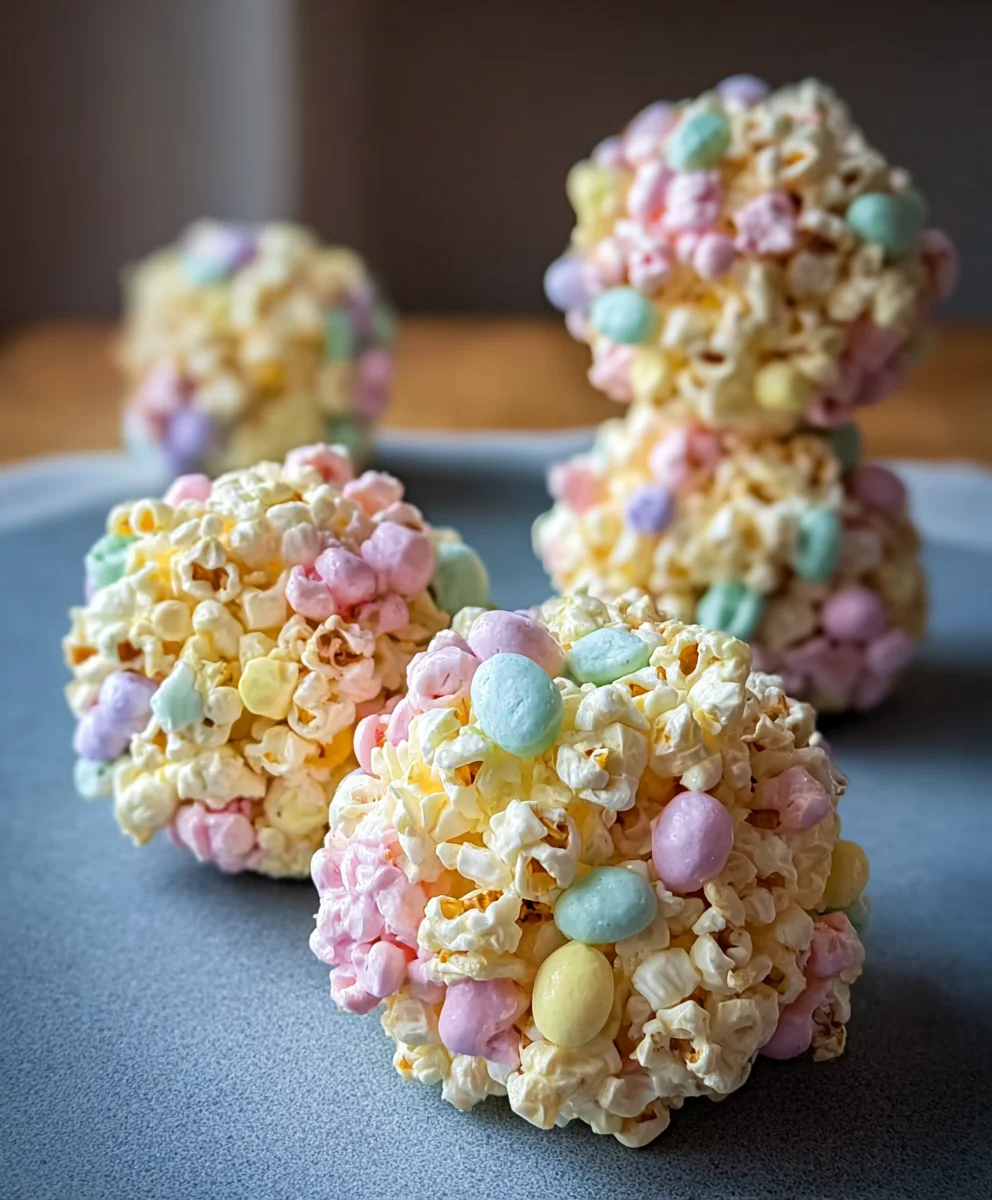
There’s something incredibly nostalgic about a well-made Easter Popcorn Ball. They evoke images of Easter egg hunts, family gatherings, and the simple pleasures of shared moments. We’ve taken this classic confection and given it a vibrant, Easter-themed makeover, ensuring that each bite is not only delicious but also a visual feast. This recipe focuses on achieving that perfect balance of sticky sweetness and airy popcorn, while also offering creative ways to decorate them that will wow your guests and delight your family. Get ready to create edible works of art that are as fun to assemble as they are to devour!
Ingredients:
- 8 cups popped popcorn (about 1/2 cup unpopped kernels)
- 6 Peeps marshmallows (any color or flavor will work), roughly chopped into smaller pieces
- 3 tablespoons unsalted butter
- 1 bag (10 ounces) mini marshmallows
- 1 teaspoon pure vanilla extract
- Assorted Easter-themed sprinkles
- Edible glitter
- Small Easter candies (like jelly beans, chocolate eggs, or candy corn) for decoration
Preparing Your Workspace and Ingredients
Step 1: Get Your Popcorn Ready and Set Up
Begin extract by ensuring you have 8 cups of popped popcorn. This is the foundation of our delightful Easter Popcorn Balls. If you’re popping your own, make sure to remove as many unpopped kernels as possible to avoid any unexpected crunch! Place the popped popcorn into a very large mixing bowl. The bigger the bowl, the easier it will be to mix everything together without making a huge mess. Next, take your 6 Peeps marshmallows and give them a quick chop. You don’t need to be precise here; small, irregular pieces will add a fun texture and visual appeal to the finished popcorn balls. Set these chopped Peeps aside with your popcorn.
Step 2: Melt the Marshmallow Mixture
In a medium saucepan, add the 3 tablespoons of unsalted butter. Place this saucepan over low to medium heat on your stovetop. Allow the butter to melt completely, swirling the pan gently if needed to ensure even melting. Once the butter has melted, add the entire 10-ounce bag of mini marshmallows to the saucepan. Continue to stir constantly with a heat-resistant spatula or wooden spoon. The key here is patience and consistent stirring. We want the marshmallows to melt smoothly and evenly without scorching. Keep the heat low enough that you’re not browning the marshmallows, just melting them into a gooey, sticky mass. This should take about 5-7 minutes.
gin extract>Bringing It All Together
Step 3: Incorporate Flavor and Combine with Popcorn
As soon as the mini marshmallows are completely melted and smooth, remove the saucepan from the heat. Immediately stir in the 1 teaspoon of pure vanilla extract. The vanilla adds a lovely aroma and subtle flavor that complements the sweetness of the marshmallows beautifully. Give it a good stir to ensure the vanilla is fully incorporated into the melted marshmallow mixture. Now comes the exciting part: pour the hot, gooey marshmallow mixture over the popped popcorn and chopped Peeps in your large mixing bowl. Work quickly but carefully, as the mixture is hot and sticky.
Step 4: The Sticky Mixing Process
This is where your hands (or buttered spatulas/spoons) will get a little sticky, and that’s part of the fun! Using a sturdy, heat-resistant spatula or two, start gently folding the marshmallow mixture into the popcorn and Peeps. Your goal is to coat all of the popcorn as evenly as possible. You can also use lightly greased hands for this step if you’re comfortable with the stickiness. Simply butter your hands or spray them with a non-stick cooking spray. Gently press and fold the mixture until all the popcorn is coated. The chopped Peeps will start to melt slightly into the warm marshmallow, creating colorful pockets. Be thorough but don’t overmix to the point of crushing the popcorn.
Shaping and Decorating Your Easter Delights
Step 5: Forming and Decorating Your Easter Popcorn Balls
Once the popcorn mixture is well combined, it’s time to shape your Easter Popcorn Balls. Lightly grease your hands with butter or non-stick cooking spray to prevent sticking. Scoop about a cup of the mixture at a time and gently press it together to form a ball. Don’t press too hard, or your popcorn balls might become too dense. Aim for a firm but not overly compressed shape. As you form each ball, you cagin extractmmediately begin decorating. This is where your Easter-themed sprinkles, edible glitter, and small Easter candies come into play. Gently press the decorations into the sides of the popcorn balls while they are still warm and sticky. You can roll them in sprinkles, arrange candy pieces like little Easter eggs, or dust them with edible glitter for a magical shimmer. For a festive look, try using a mix of colors and shapes. You can make them as simple or as elaborate as you like!
Step 6: Setting and Enjoying Your Creations
Once you’ve formed and decorated all your Easter Popcorn Balls, place them on a baking sheet lined with parchment paper or wax paper. Allow them to cool and set completely at room temperature. This usually takes about 30 minutes to an hour, depending on the ambient temperature. Resist the urge to speed up the process by refrigerating them, as this can sometimes make them too hard. Once they are firm to the touch, your beautiful Easter Popcorn Balls are ready to be admired and, more importantly, enjoyed! They make a wonderful treat for Easter gatherings, an fun activity for kids, or a delightful homemade gift.
Conclusion:
You’ve now got all the tools to create delightful Easter Popcorn Balls, a classic treat that brings a touch of festive fun to any celebration! This recipe is wonderfully straightforward, making it perfect for bakers of all skill levels. Imagin extracte the joy on faces as they bite into these sweet, chewy, and delightfully crunchy spheres, each one bursting with springtime flavor. Whether you’re making them for a family gathering, a classroom party, or just as a special Easter surprise, these Easter Popcorn Balls are sure to be a hit. Don’t be afraid to get creative with your decorations – sprinkles, edible glitter, or even a drizzle of melted chocolate can elevate them even further. I encourage you to give this recipe a try and experience the simple pleasure of homemade Easter treats!
Frequently Asked Questions about Easter Popcorn Balls:
Q: Can I make Easter Popcorn Balls ahead of time?
Yes, absolutely! Easter Popcorn Balls can be made 1-2 days in advance. Store them in an airtight container at room temperature, separating layers with parchment paper to prevent sticking. Avoid refrigerating, as this can make them hard.
Q: How can I prevent my Easter Popcorn Balls from being too sticky?
The key is to work quickly and to lightly grease your hands with butter or cooking spray before shaping the popcorn mixture. Ensure your marshmallow mixture is fully melted and smooth, and avoid over-stirring once the popcorn is added. Allowing them to cool slightly before shaping, but not completely, also helps.
Q: What are some fun variations for Easter Popcorn Balls?
For a unique twist, consider adding chopped nuts like pecans or walnuts for extra crunch, or mini chocolate chips for a hint of chocolatey goodness. You can also add a touch of vanilla extract or a pinch of cinnamon to the marshmallow mixture for added flavor complexity.
Easter Popcorn Balls – Easy Festive Treat
A simple and festive recipe for making delicious Easter-themed popcorn balls, perfect for holiday celebrations and fun for kids.
Ingredients
-
8 cups popped popcorn
-
6 Peeps marshmallows (any color/flavor), cut into small pieces
-
3 tablespoons unsalted butter
-
1 bag (10 ounces) mini marshmallows
-
1 teaspoon pure vanilla extract
-
Assorted Easter-themed sprinkles
-
Edible glitter
-
Small Easter candies (like jelly beans, chocolate eggs)
Instructions
-
Step 1
Ensure you have 8 cups of popped popcorn. Remove any unpopped kernels. Place the popped popcorn into a very large mixing bowl. Chop the 6 Peeps marshmallows into small, irregular pieces and set aside with the popcorn. -
Step 2
In a medium saucepan over low to medium heat, melt the 3 tablespoons of unsalted butter. Once melted, add the 10-ounce bag of mini marshmallows. Stir constantly until the marshmallows are completely melted and smooth, about 5-7 minutes. Do not let them scorch. -
Step 3
Remove the saucepan from the heat. Immediately stir in the 1 teaspoon of pure vanilla extract until fully incorporated into the melted marshmallow mixture. -
Step 4
Pour the hot marshmallow mixture over the popcorn and chopped Peeps in the large mixing bowl. Work quickly and carefully. Using a heat-resistant spatula or buttered hands, gently fold and mix until all the popcorn is evenly coated. The chopped Peeps will begin to melt slightly. -
Step 5
Lightly grease your hands with butter or non-stick cooking spray. Scoop about a cup of the mixture and gently press it together to form a ball. While still warm and sticky, press assorted Easter-themed sprinkles, edible glitter, and small Easter candies into the sides of the popcorn balls for decoration. -
Step 6
Place the formed and decorated popcorn balls on a baking sheet lined with parchment paper or wax paper. Allow them to cool and set completely at room temperature for about 30 minutes to an hour. Do not refrigerate. Once firm, they are ready to be enjoyed.
Important Information
Nutrition Facts (Per Serving)
It is important to consider this information as approximate and not to use it as definitive health advice.
Allergy Information
Please check ingredients for potential allergens and consult a health professional if in doubt.