Easy Bread Machine Recipes Over Fifty Delicious Options
50+ Bread Machine Recipes are your passport to effortless baking, transforming your kitchen into a fragrant haven with minimal fuss. Imagin extracte waking up to the warm, comforting aroma of freshly baked bread, perfectly formed and ready to be slathered with butter. That’s the magic of utilizing a bread machine, and this collection of 50+ Bread Machine Recipes unlocks a world of possibilities beyond your wildest yeasty dreams. We all love the simple pleasure of a perfectly crusty loaf, but what truly sets these recipes apart is their sheer diversity and the sheer joy they bring to everyday life. From hearty whole wheat and fluffy brioche to adventurous flavors like rosemary parmesan and even sweet cinnamon raisin, there’s something here to satisfy every craving and occasion. Prepare to discover your new favorite go-to and impress yourself and your loved ones with homemade bread that tastes like it came from a professional bakery, all with the help of your trusty machine!
Ingredients:
- 3 cups All-Purpose Flour
- 1 cup Warm Water (approximately 105-115°F or 40-46°C)
- 1 ½ teaspoons Active Dry Yeast
- 1 teaspoon Granulated Sugar (optional, for yeast activation)
- 1 teaspoon Salt
Preparing Your Dough
Step 1: Activating the Yeast (Optional but Recommended)
First, gather your ingredients. For this simple, versatile bread machine loaf, we’re keeping it straightforward. If you’re using active dry yeast, it’s a good practice to give it a little head start to ensure it’s alive and ready to work its magic. In a small bowl or directly in your bread machine’s baking pan, combine the warm water and the granulated sugar (if using). Give it a gentle stir. Sprinkle the active dry yeast over the surface of the water. Let this mixture sit undisturbed for about 5 to 10 minutes. You should see the yeast begin extract to foam and bubble, forming a frothy layer on top. This indicates that your yeast is active and ready to leaven your bread beautifully. If you don’t see any activity after 10 minutes, your yeast might be old, and it’s best to start with a fresh packet to avoid a flat loaf. If you are using instant yeast, you can often skip this activation step and add it directly to the dry ingredients. However, for consistency and peace of mind, I still prefer to activate it.
Step 2: Adding the Dry Ingredients
Once your yeast is happily bubbling, it’s time to add the other dry ingredients. Carefully measure out your flour and add it to the bread machine pan, on top of the activated yeast mixture. Try to create a slight mound of flour over the liquid. Next, add the salt to one corner of the pan, away from where you’ll add the yeast, as salt can sometimes inhibit yeast activity if it’s in direct contact too early. The bread machine’s mixing paddle should be in place at the bottom of the pan. Some machines have a designated spot for yeast, often a small dispenser that releases it partway through the cycle. If yours does, follow the manufacturer’s instructions for where to place the yeast. If not, placing it with the wet ingredients as described in step 1 is perfectly fine for most standard cycles.
Step 3: Initiating the Dough Cycle
Now, let’s get the machine working. Ensure the bread machine pan is securely locked into place according to your machine’s specific instructions. Close the lid firmly. Select the appropriate cycle for your bread machine. For this basic loaf, you’ll want to choose the “Basic,” “White,” or “Standard” bread cycle. These cycles are designed to handle the entire process, from kneading to rising to baking. If your machine has different crust settings, you can choose your preferred level of browning now, or wait until the baking gin extractse begins if your model allows for mid-cycle adjustments. Press the start button. Thegin extractchine will begin by kneading the dough, a crucial step that develops the gluten structure, which is what gives bread its chewy texture and ability to rise.
Step 4: Monitoring the Kneading and First Rise
The kneading process typically takes about 15-20 minutes. You’ll hear the machine working, and you can peek through the viewing window (if your machine has one) to observe the dough. It should start as a shaggy mess and gradually come together into a smooth, elastic ball. If the dough appears too dry and isn’t forming a cohesive ball, you can add a tablespoon of water at a time through the lid’s opening while the machine is kneading. Conversely, if the dough is too wet and sticky, add a tablespoon of flour at a time. After the kneading cycle is complete, the machine will enter its first rise, also known as proofing. This is where the yeast gets to work, consuming sugars and producing carbon dioxide gas, causing the dough to expand. The bread machine will maintain a warm environment to facilitate this rise, which can take anywhere from 30 minutes to an hour or more, depending on the machine and the ambient temperature.
Step 5: The Baking Process
Once the first rise is complete, the bread machine will automatically punch down the dough (if progin extractmmed to do so) and begin the baking cycle. This is where the magic truly happens, transforming the dough into a golden-brown loaf. The baking cycle duration will vary depending on your machine and the size of the loaf you’re making, but it typically lasts between 40 minutes and an hour. You’ll notice a wonderful aroma filling your kitchen as the bread bakes. Resist the urge to open the lid too early during the baking phase, as the sudden change in temperature can cause your loaf to collapse. Most machines will beep to signal the end of the baking cycle.
Step 6: Cooling the Bread
As soon as the baking cycle is finished and the machine beeps, carefully open the lid. Using oven mitts, remove the bread pan from the machine. Be cautious, as the pan and the bread will be very hot. Invert the bread pan immediately onto a wire cooling rack. If the bread sticks, gently shake the pan. You might need to use a silicone spatula or a wooden spoon to help coax it out. Allow the bread to cool completely on the wire rack for at least 30 minutes, and preferably an hour, before slicing. This crucial cooling period allows the internal structure of the bread to set properly. Slicing hot bread can result in a gummy texture, so patience here is key to achieving the best results. Enjoy your homemade bread!
Conclusion:
And there you have it – a fantastic foundation for exploring the incredible versatility of your bread machine! We’ve barely scratched the surface of what your “50+ Bread Machine Recipes” book or digital collection can offer. From rustic whole wheat to sweet brioche, the possibilities truly are endless. Don’t be afraid to experiment! This machine is designed to make baking accessible and enjoyable for everyone. Serve your freshly baked loaves warm, perhaps with a generous spread of butter, your favorite jam, or a savory cheese. They’re perfect for sandwiches, toasting, or simply enjoying on their own. Feeling adventurous? Try incorporating herbs, seeds, or even a touch of honey into your next dough. The journey with your bread machine is one of continuous discovery and delicious rewards. So, get baking and savor every bite!
Frequently Asked Questions:
Q1: My bread machine loaf is dense. What could be the reason?
A dense loaf often indicates an issue with the yeast activation or the ratio of wet to dry ingredients. Ensure your yeast is fresh and properly activated according to the recipe’s instructions. Also, double-check that you’re measuring your flour accurately – too much flour can lead to a dense texture. Sometimes, the ambient temperature can affect yeast activity, so make sure your machine is in a relatively consistent temperature environment.
Q2: Can I use different types of flour in my “50+ Bread Machine Recipes”?
Yes, you can experiment with different flours, but it’s best to start with recipes that specifically call for them, or make small substitutions to begin extract with. For example, you can often substitute a portion of all-purpose flour with whole wheat flour, gin extract changing the entire flour type might significantly alter the dough consistency and baking results. Always be prepared to adjust liquid content slightly if you make substitutions.
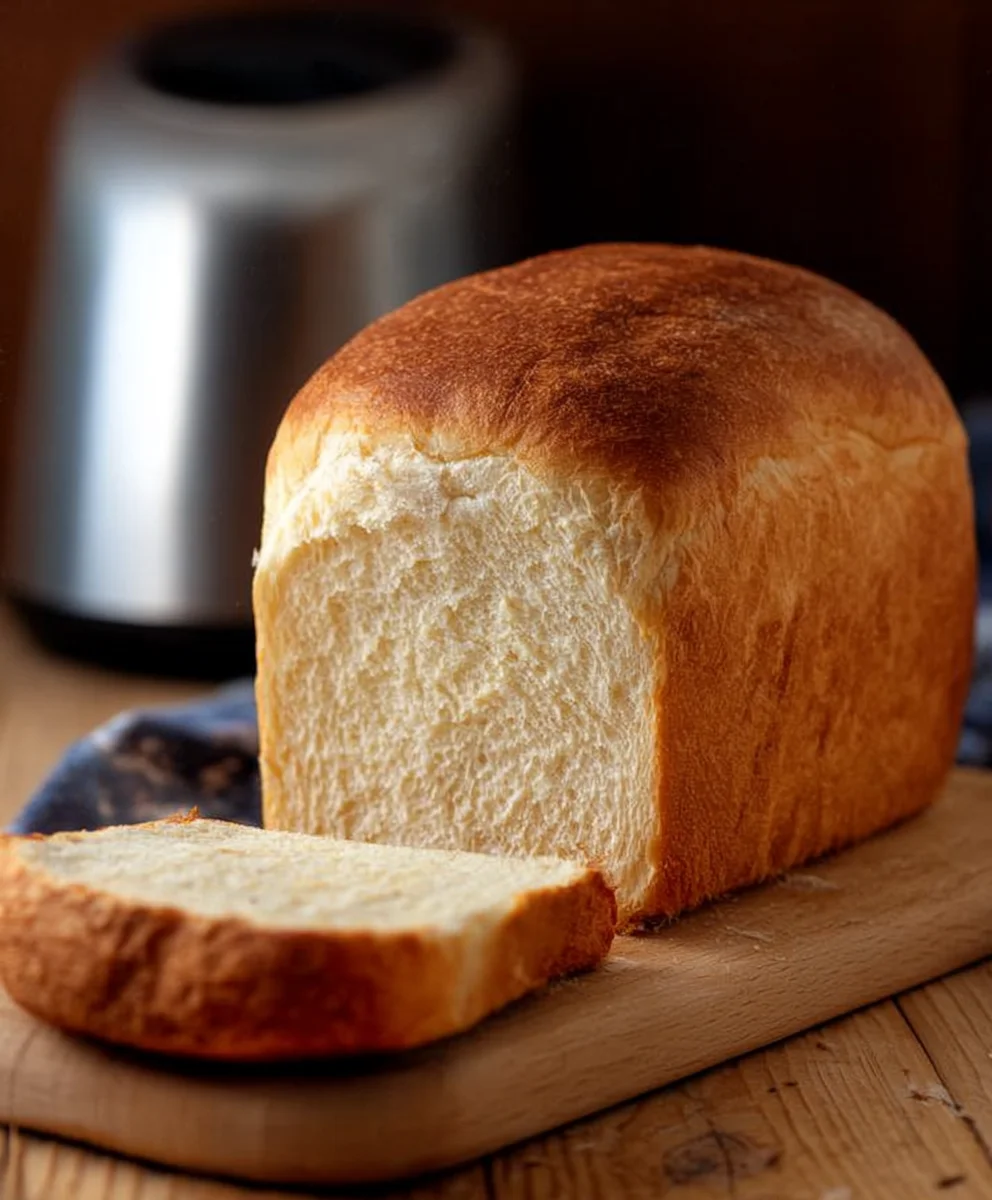
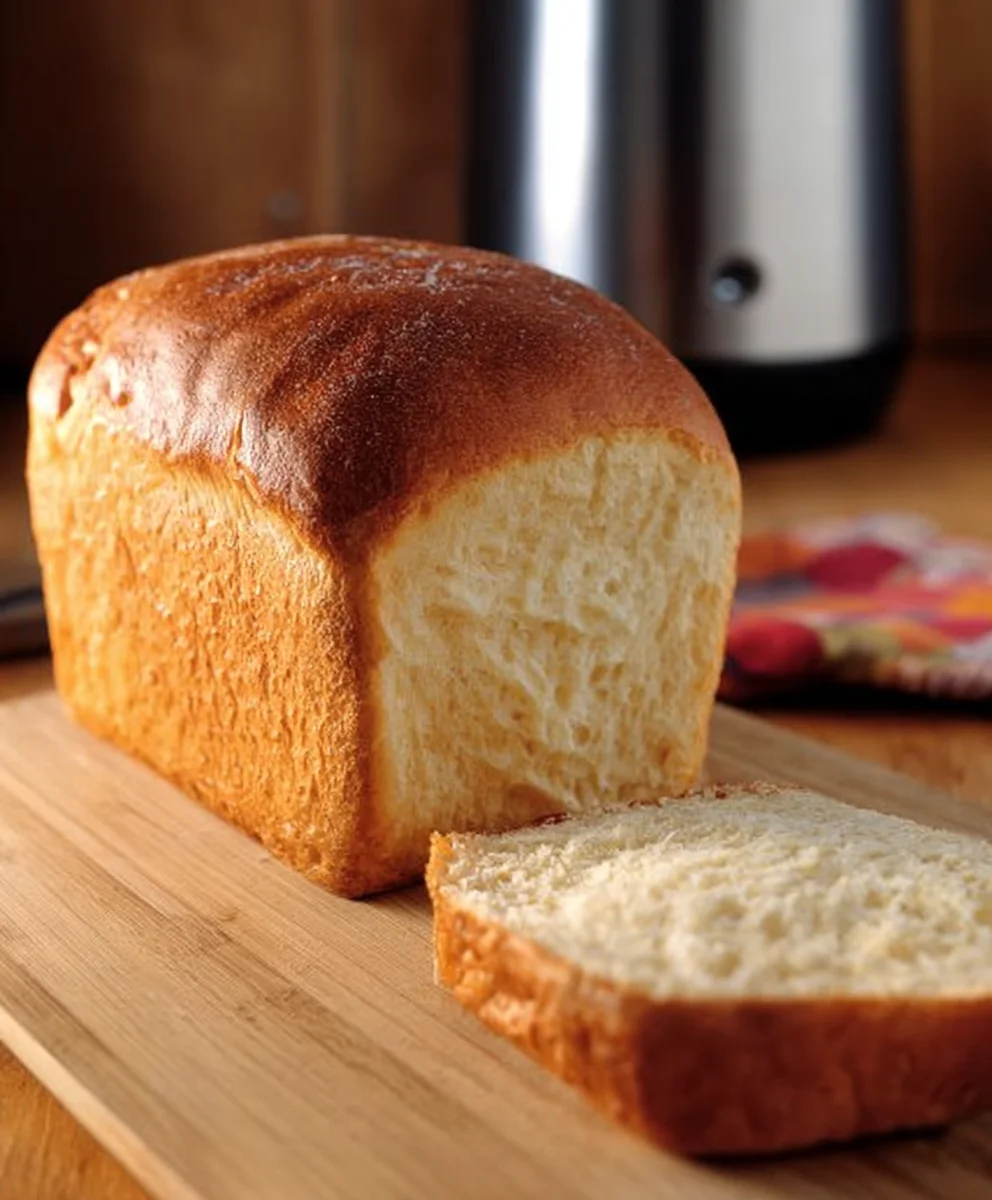
Easy Bread Machine Loaf
A simple and versatile bread machine recipe for a basic, delicious loaf. Perfect for beginners and seasoned bakers alike.
Ingredients
-
3 cups All-Purpose Flour
-
1 cup Warm Water
-
1 ½ teaspoons Active Dry Yeast
-
1 teaspoon Granulated Sugar
-
1 teaspoon Salt
Instructions
-
Step 1
Activate the yeast by combining warm water and sugar (if using) in a small bowl or the bread machine pan. Sprinkle yeast over the top and let sit for 5-10 minutes until frothy. If using instant yeast, you can often skip this. -
Step 2
Add the flour to the bread machine pan over the activated yeast mixture. Add salt to a corner, away from the yeast. Ensure the mixing paddle is in place. -
Step 3
Secure the bread pan in the machine, close the lid, and select the ‘Basic’, ‘White’, or ‘Standard’ bread cycle. Choose your preferred crust setting if available. Press start. -
Step 4
Monitor the kneading process (approx. 15-20 minutes) and make minor adjustments to dough consistency with water or flour if needed. The machine will then proceed to the first rise (proofing). -
Step 5
Once the first rise is complete, the machine will automatically begin the baking cycle, typically lasting 40-60 minutes. Avoid opening the lid during baking. -
Step 6
When the baking cycle ends, carefully remove the hot bread pan from the machine. Invert the pan onto a wire rack to remove the bread. Let cool completely for at least 30 minutes, preferably an hour, before slicing.
Important Information
Nutrition Facts (Per Serving)
It is important to consider this information as approximate and not to use it as definitive health advice.
Allergy Information
Please check ingredients for potential allergens and consult a health professional if in doubt.