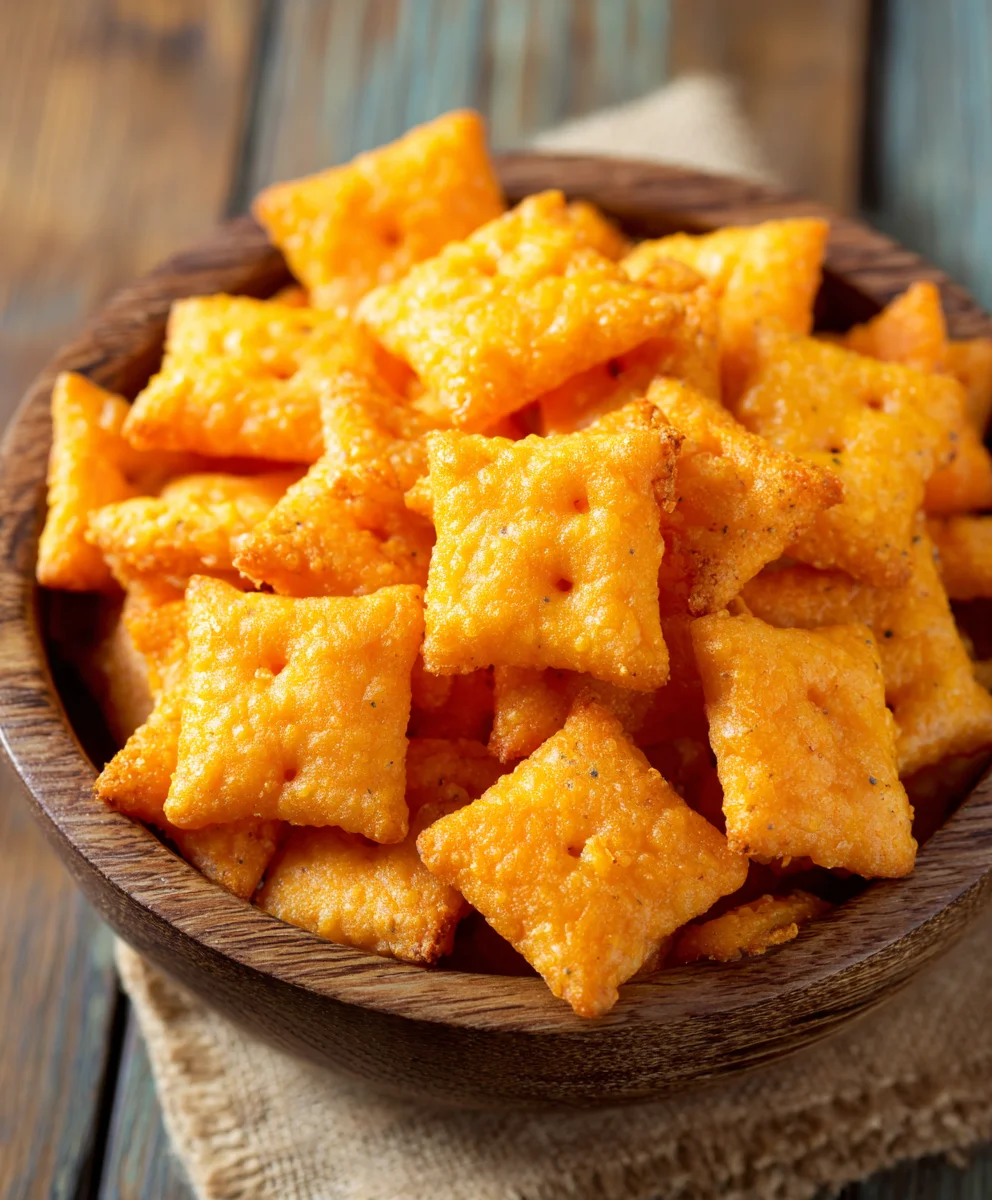
Easy Homemade Cheez-Its Recipe – Deliciously Cheesy Snacks
Homemade Cheez Its are more than just a snack; they’re a nostalgic trip back to childhood, a comforting crunch that satisfies an undeniable craving. If you’ve ever found yourself reaching for a box of these cheesy crackers, dreaming of a more wholesome and even more intensely flavorful version, then you’re in the right place. What makes these Homemade Cheez Its so irresistible? It’s the magic of transforming simple pantry staples into perfectly crisp, delightfully gooey, and intensely cheesy little squares that simply can’t be replicated by store-bought versions. We’re talking about a flavor explosion that dances on your tongue, a satisfying texture that’s both airy and substantial, and the pure joy of creating something so incredibly delicious from scratch. Get ready to elevate your snack game to a whole new level with this remarkably achievable recipe.
Ingredients:
- ¼ cup unsalted butter, softened to room temperature
- 8 oz. sharp cheddar cheese, finely shredded
- 1 ¼ cups all-purpose flour
- 1 teaspoon kosher salt, plus extra for sprinkling on top
- 2-3 tablespoons ice-cold water
- 2 tablespoons olive oil
Making Your Homemade Cheez-Its:
Phase 1: Creating the Dough Base
The foundation of our delicious Homemade Cheez-Its is a simple yet crucial dough. We’ll start by combining the softened unsalted butter with the finely shredded sharp cheddar cheese in a medium mixing bowl. It’s important that your butter is at room temperature – not melted, but soft enough to easily cream with the cheese. This ensures a smooth, cohesive base for our crackers. Using a fork or a pastry blender, mash and mix the butter and cheese together until they form a somewhat uniform, crum extractbly texture. Don’t worry about it being perfectly smooth at this stage; further mixing will take care of that. Once you have this cheesy butter mixture, gradually add the all-purpose flour and the 1 teaspoon of kosher salt. Begin extract to incorporate these dry ingredients into the wet mixture. You can use your hands at this point, gently working the ingredients together until a coarse meal-like consistency is achieved. The goal here is to distribute the flour and salt evenly throughout the cheese and butter.
Phasegin extract Bringing the Dough Together
Now it’s time to bind our ingredients into a workable dough. This is where the ice-cold water comes into play. Start by adding just 2 tablespoons of the cold water to the mixture. Continue to gently work the dough with your hands, pressing and folding it gin extractil it just begins to come together. You’re not looking for a sticky, wet dough; rather, something that holds its shape when squeezed. If the dough seems too drum extractand crumbly, add the remaining tablespoon of cold water, a teaspoon at a time, until the dough just clumps together. Be very careful not to overwork the dough at this stage, as this can lead to tough crackers. Once the dough has formed a cohesive ball, flatten it into a disc, wrap it tightly in plastic wrap, and refrigerate it for at least 30 minutes. This chilling period is essential as it allows the gluten to relax, making the dough easier to roll out, and it also firms up the butter, which will contribute to a flakier texture in the final Cheez-Its.
Phase 3: Rolling and Shaping Your Crackers
After your dough has had ample time to chill and firm up, remove it from the refrigerator. Lightly flour a clean, dry surface and your rolling pin. Unwrap the chilled dough disc and place it ongin extracte floured surface. Begin rolling the dough out evenly. Aim for a thickness of about 1/8 inch. This might take a little effort, especially at first, so be patient. If the dough becomes too soft or sticky while you’re rolling, don’t hesitate to pop it back into the refrigerator for a few minutes. A consistently thin dough is key to achieving evenly baked, crispy crackers. Once you have your dough rolled out to the desired thickness, it’s time to shape your Homemade Cheez-Its. You can use a pizza cutter or a sharp knife to cut the dough into small squares, approximately 1 inch by 1 inch. For that authentic Cheez-It look, you can then use the blunt side of a skewer or a toothpick to gently press a few small holes into the center of each square. This helps to prevent them from puffing up too much during baking and also adds to the visual appeal.
Phase 4: Baking to Golden Perfection
Preheat your oven to 350°F (175°C). Line a baking sheet with parchment paper for easy cleanup. Carefully arrange the cut dough squares onto the prepared baking sheet, leaving a little space between each cracker. You want them to have a bit of room to expand slightly without touching. Before they go into the oven, we’ll add the finishing touches. Lightly brush the tops of each cracker with the olive oil. This will give them a subtle richness and help them achieve a lovely golden-brown color. Then, generously sprinkle the tops of the crackers with additional kosher salt. Don’t be shy with the salt – it truly enhances the cheesy flavor and provides that satisfying crunch. Now, place the baking sheet into the preheated oven.
Phase 5: Cooling and Enjoying
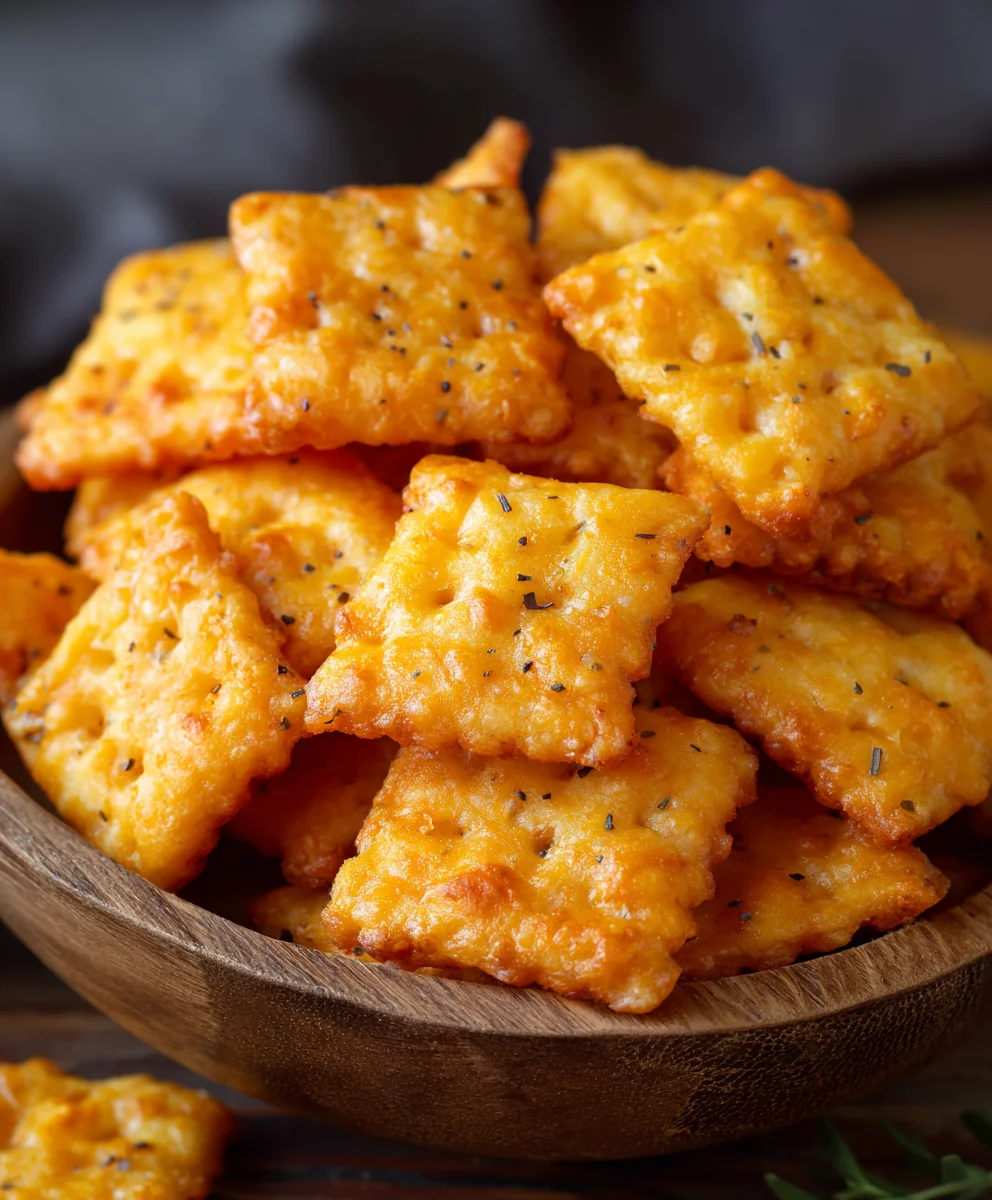
Bake the Homemade Cheez-Its for approximately 12-15 minutes, or until they are golden brown around the edges and slightly firm to the touch. Keep a close eye on them during the last few minutes of baking, as they can go from perfectly baked to slightly overdone very quickly due to their thinness. Once baked to your liking, carefully remove the baking sheet from the oven. Allow the crackers to cool on the baking sheet for a few minutes before transferring them to a wire rack to cool completely. They will become crispier as they cool. Once fully cooled, your delicious homemade crackers are ready to be enjoyed! Store any leftovers in an airtight container at room temperature for up to a week. They are perfect for snacking, serving with dips, or even crushing as a crunchy topping for casseroles.
Conclusion:
Congratulations on diving into the world of homemade snacks! You’ve now learned how to create delicious and satisfying Homemade Cheez Its right in your own kitchen. This recipe offers a fantastic alternative to store-bought crackers, allowing you to control the ingredients and customize the flavor to your liking. The satisfaction of biting into a perfectly baked, cheesy, crispy cracker that you made yourself is truly unparalleled.
These Homemade Cheez Its are wonderfully versatile. Serve them as a delightful appetizer at your next gathering, pack them in lunchboxes for a wholesome snack, or simply enjoy them by the handful while relaxing. For even more fun, consider experimenting with different cheeses like smoked gouda or sharp white cheddar for a flavor twist. You can also add a pinch of garlic powder or onion powder to the dough for an extra layer of savory goodness.
Don’t be discouraged if your first batch isn’t absolutely perfect; baking is a journey, and each attempt will bring you closer to your ideal cracker. Embrace the process, have fun in the kitchen, and savor the delicious results. We encourage you to share your creations and variations with friends and family – they’re sure to be a hit!
Frequently Asked Questions:
Q1: My Homemade Cheez Its are a bit too hard. What did I do wrong?
A1: If your Homemade Cheez Its are too hard, it’s likely due to overworking the dough or baking them for too long. Try to mix the dough until just combined, and be mindful of the baking time. Overworking develops the gluten, leading to a tougher cracker. Keep an eye on them during the last few minutes of baking and remove them as soon as they’re golden brown and firm.
Q2: Can I use a different type of cheese in this recipe?
A2: Absolutely! The beauty of making Homemade Cheez Its is the flexibility. Sharp cheddar is classic, but feel free to experiment with other hard, flavorful cheeses. Monterey Jack, Gruyère, or even a spicy Pepper Jack can offer exciting new taste dimensions. Just ensure the cheese is finely grated for even melting and distribution.
Easy Homemade Cheez-Its Recipe
Deliciously cheesy homemade crackers that are a perfect copycat of your favorite store-bought snack.
Ingredients
-
1/4 cup unsalted butter, softened to room temperature
-
8 oz. sharp cheddar cheese, finely shredded
-
1 1/4 cups all-purpose flour
-
1 teaspoon kosher salt, plus extra for sprinkling on top
-
2-3 tablespoons ice-cold water
-
2 tablespoons olive oil
Instructions
-
Step 1
In a medium mixing bowl, combine the softened unsalted butter and finely shredded sharp cheddar cheese. Mash and mix with a fork or pastry blender until a somewhat uniform, crumbly texture is achieved. Gradually add the all-purpose flour and 1 teaspoon of kosher salt, gently working them in until a coarse meal-like consistency is reached. -
Step 2
Add 2 tablespoons of ice-cold water to the mixture and gently work the dough with your hands until it just begins to come together. If too crumbly, add another tablespoon of water, a teaspoon at a time, until the dough clumps together. Be careful not to overwork. Flatten the dough into a disc, wrap tightly in plastic wrap, and refrigerate for at least 30 minutes. -
Step 3
Preheat oven to 350°F (175°C). Line a baking sheet with parchment paper. Lightly flour a clean surface and your rolling pin. Unwrap the chilled dough and roll it out evenly to about 1/8 inch thickness. Cut the dough into approximately 1-inch by 1-inch squares. Press a few small holes into the center of each square with the blunt side of a skewer or toothpick. -
Step 4
Arrange the cut dough squares onto the prepared baking sheet, leaving a little space between each cracker. Lightly brush the tops of each cracker with olive oil and generously sprinkle with additional kosher salt. -
Step 5
Bake for 12-15 minutes, or until golden brown around the edges and slightly firm. Keep a close eye on them to prevent overbaking. Remove from the oven and let cool on the baking sheet for a few minutes before transferring to a wire rack to cool completely and become crispier.
Important Information
Nutrition Facts (Per Serving)
It is important to consider this information as approximate and not to use it as definitive health advice.
Allergy Information
Please check ingredients for potential allergens and consult a health professional if in doubt.